
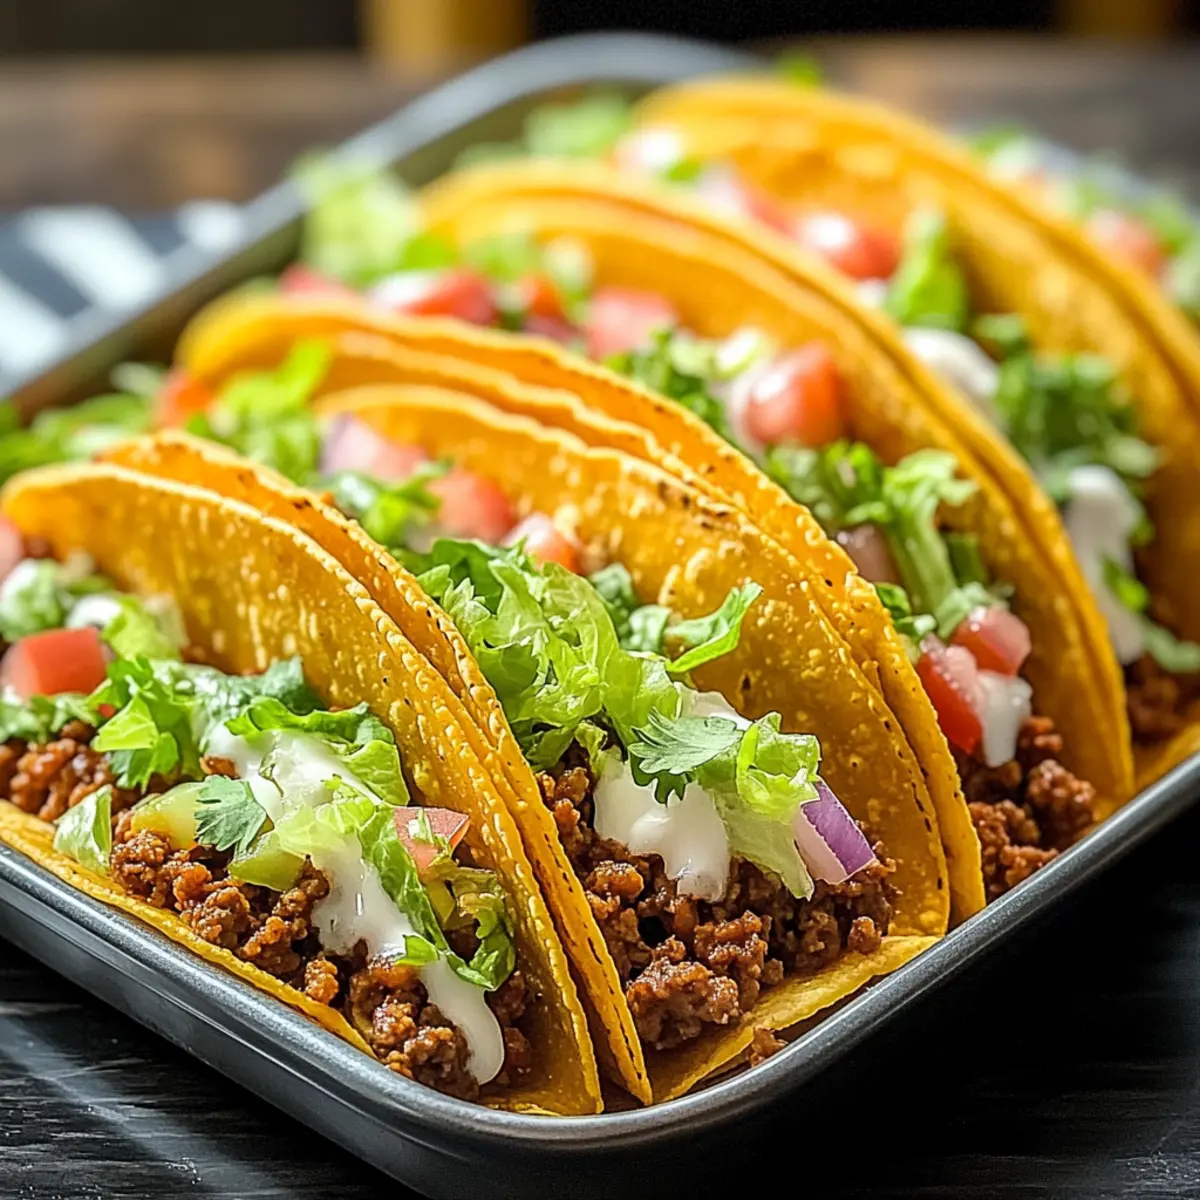
The tantalizing aroma of spices wafts through the kitchen, instantly transporting me to a vibrant Mexican market. Today, I can’t wait to share my delicious Oven-Baked Cheesy Tacos (Crispy & Loaded), a dish that brings joy to my busy weeknight dinners. In just 35 minutes, these customizable tacos transform from simple ingredients into a crowd-pleasing feast that everyone will adore—yes, even the picky eaters! With a crispy shell and gooey cheese, they’d make a perfect centerpiece for gatherings or a cozy family night in. Plus, feel free to swap the ground beef for ground turkey, chicken, or even plant-based options like black beans or lentils for a twist of your own. Ready to dive into the crunchy, cheesy goodness? Let’s get cooking!
Why are these tacos a game-changer?
Quick and Easy: You’ll love how these Oven-Baked Cheesy Tacos can be whipped up in just 35 minutes. Perfect for busy nights!
Customizable: Use your favorite proteins—switch between ground beef, turkey, chicken, or even hearty lentils to fit your diet.
Crowd-Pleasing: With their crispy shells and gooey cheese, these tacos are sure to impress family and friends. Pair them with sides like rice or beans for a complete meal!
Flavor-Packed: Seasoned to perfection, they’ll fill your kitchen with mouth-watering aromas that make everyone eager to dig in.
Make Ahead: Prep them in advance and simply bake when ready to serve, saving you time so you can relax and enjoy!
Oven-Baked Cheesy Tacos Ingredients
For the Taco Filling
• Olive Oil – Adds flavor and helps sauté aromatics; can be substituted with any neutral oil.
• Onion – Provides sweetness and depth; feel free to use any type of onion.
• Garlic – Enhances the flavor of your filling; fresh garlic is preferred for optimal taste.
• Ground Beef – The main protein in this recipe; alternative options include ground turkey, chicken, or plant-based choices like black beans or lentils.
• Taco Seasoning – Key for infusing flavor into the meat; you can use store-bought or create your own blend.
• Tomato Sauce – Adds moisture and richness; substitute with diced tomatoes for extra texture.
For the Taco Shells and Toppings
• Taco Shells – Provides the crunchy structure you crave; opt for gluten-free varieties if needed.
• Shredded Cheese – Melts beautifully for a gooey topping; try cheddar, Monterey Jack, or your favorite cheese blend.
• Fresh Toppings (Lettuce, Tomatoes, Red Onion, Cilantro) – Brings freshness and color; customize with your personal favorites for a unique twist.
Unleash the goodness of Oven-Baked Cheesy Tacos that are both satisfying and quick to make!
Step‑by‑Step Instructions for Oven-Baked Cheesy Tacos
Step 1: Preheat the Oven
Begin your delicious journey by preheating your oven to 375°F (190°C). This step is crucial for achieving perfectly crispy taco shells. While the oven heats up, gather all your ingredients to set the stage for your Oven-Baked Cheesy Tacos.
Step 2: Sauté Aromatics
In a medium skillet, heat a tablespoon of olive oil over medium heat. Add the diced onion and minced garlic, cooking for 2-3 minutes until the onions are translucent and garlic is fragrant. This aromatic blend will form the flavorful base of your meaty filling.
Step 3: Cook the Ground Beef
Next, add the ground beef to the skillet, breaking it apart with a spatula. Stir in your taco seasoning along with the tomato sauce, salt, and pepper. Let the mixture simmer for 5 minutes, allowing the flavors to meld while the beef cooks thoroughly and turns a rich brown color.
Step 4: Prepare Taco Shells
While the meat mixture is simmering, take your taco shells and warm them slightly in the oven for about 3-5 minutes. This step will help make them more pliable and enhance their crispiness, ensuring an enjoyable texture for your Oven-Baked Cheesy Tacos.
Step 5: Assemble the Tacos
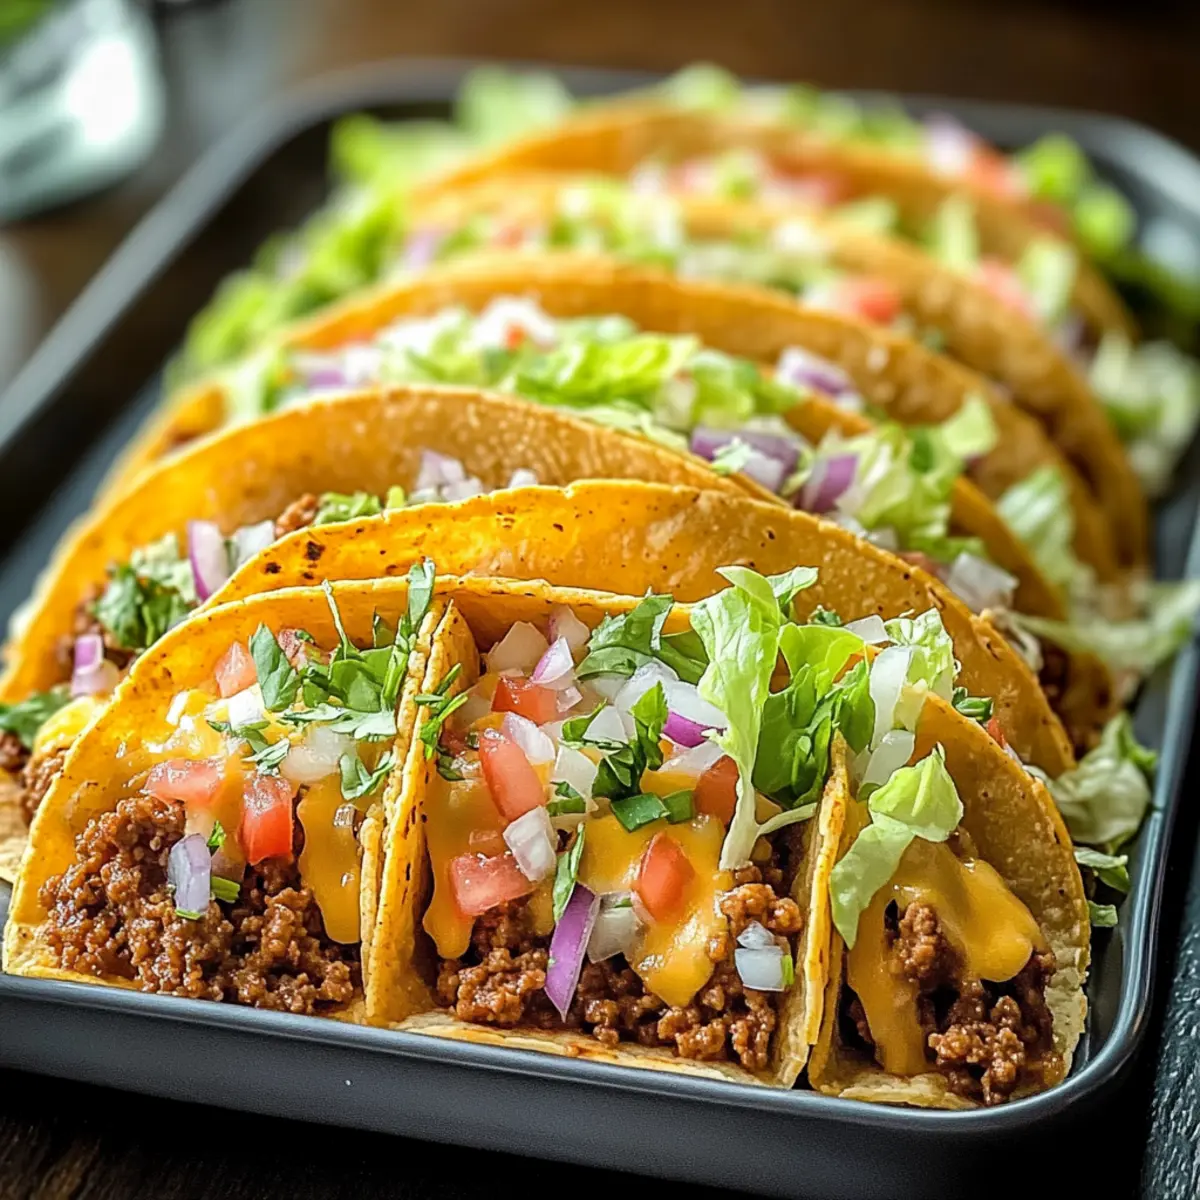
Once warmed, carefully fill each taco shell with the savory meat mixture, ensuring each shell is generously stuffed. Top each taco with a generous layer of shredded cheese, creating a luscious and gooey topping that will melt beautifully during baking.
Step 6: Bake the Tacos
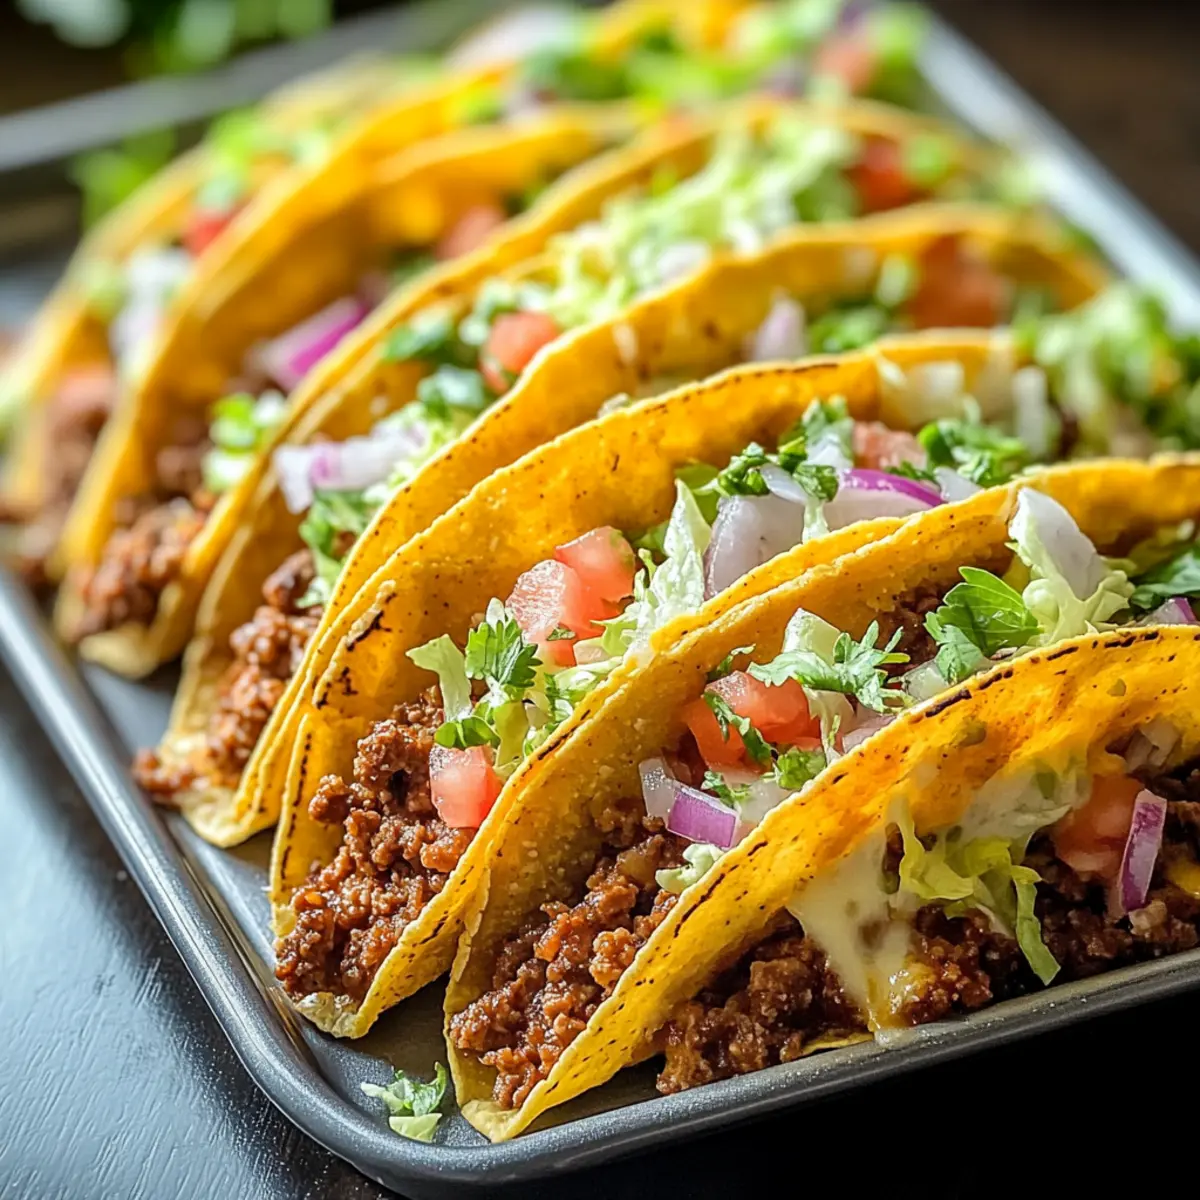
Arrange the filled taco shells in a greased baking dish, standing them upright for optimal crispiness. Place the dish in the preheated oven and bake for 10-15 minutes, or until the cheese is melted and bubbly, and the edges of the shells are golden brown and crispy.
Step 7: Add Fresh Toppings
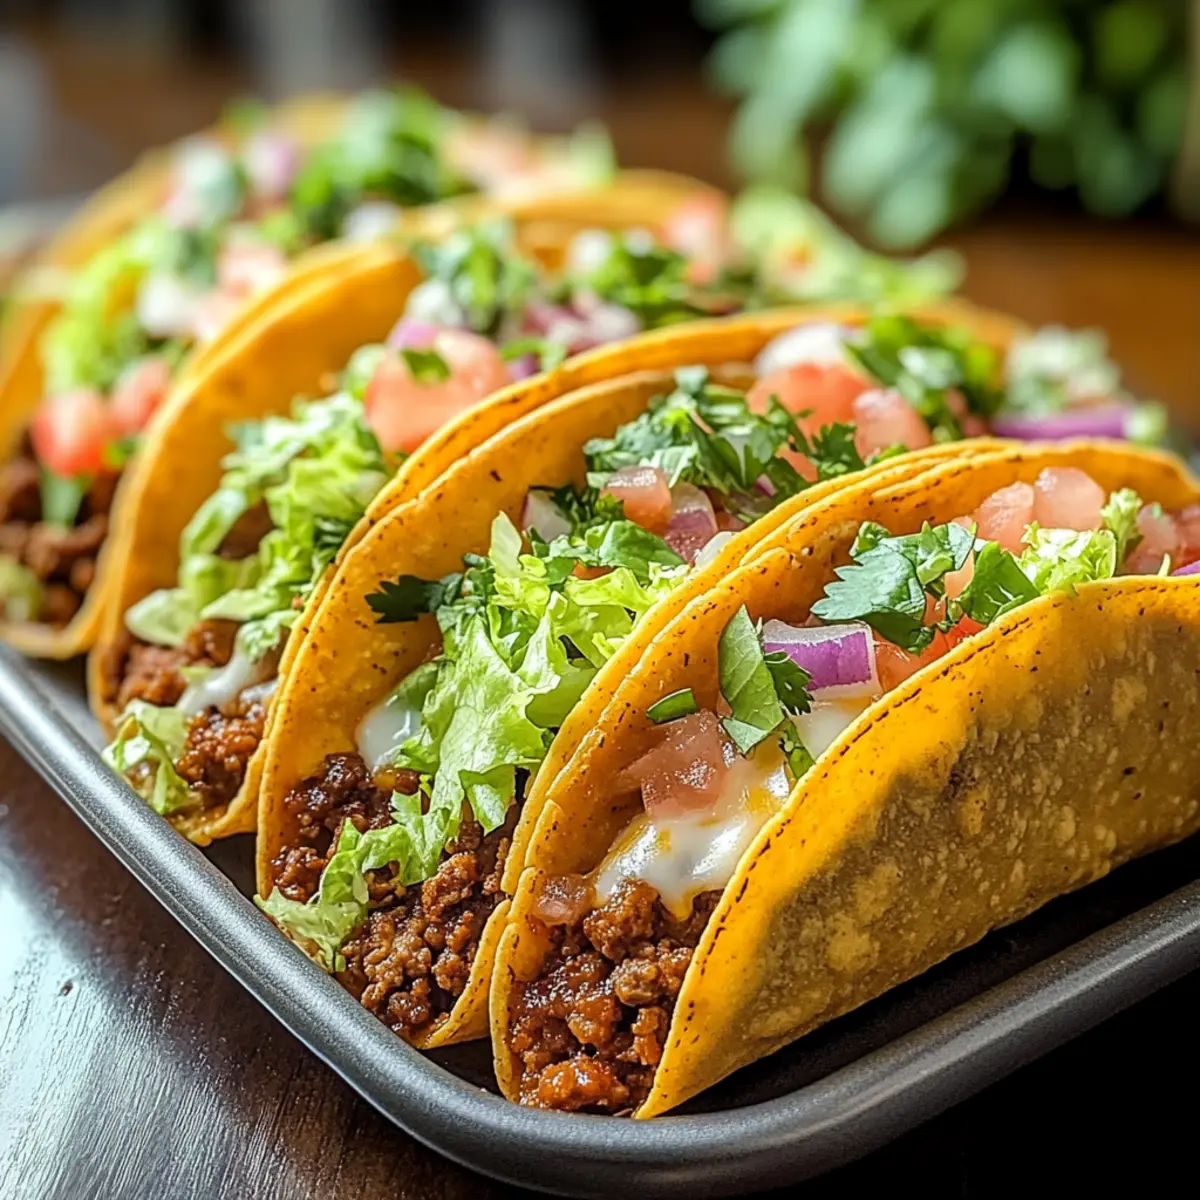
After baking, remove the tacos from the oven and let them rest for a minute. Finish off your Oven-Baked Cheesy Tacos by garnishing with fresh toppings like lettuce, diced tomatoes, red onion, and cilantro for a burst of color and flavor.
Expert Tips for Oven-Baked Cheesy Tacos
-
Oven Readiness: Preheat your oven thoroughly before baking; this ensures the shells crisp up perfectly and makes for even cooking.
-
Spacing Matters: Avoid overcrowding the taco shells in the baking dish. Give them room so they can get crispy all around, ensuring delicious bites every time.
-
Substitutions: For a healthier twist, swap ground beef with ground turkey or plant-based lentils. Adjust seasoning for best flavor in your Oven-Baked Cheesy Tacos.
-
Assembly Tips: Make sure to pack the taco shells well; filling them too lightly may cause them to become soggy after baking.
-
Prep Ahead: Assemble your tacos in advance and cover them in the refrigerator. Bake them fresh for a speedy, delightful dinner!
Make Ahead Options
These Oven-Baked Cheesy Tacos are a dream come true for meal prep lovers! You can prepare the savory meat mixture up to 24 hours in advance by cooking the ground beef, onion, garlic, and spices, then refrigerating it in an airtight container. The taco shells can be warmed and assembled on the day you’re ready to bake. Simply fill them with the prepped meat mixture, top with cheese, and refrigerate until you’re ready to bake and serve, keeping the shells perfectly crispy. Bake directly from the fridge to the oven, adding a couple of extra minutes to ensure everything is heated through. This strategy lets you enjoy a homemade feast with minimal effort on busy weeknights!
Storage Tips for Oven-Baked Cheesy Tacos
-
Fridge: Store leftover Oven-Baked Cheesy Tacos in an airtight container for up to 3-4 days. Make sure to let them cool completely before sealing to avoid condensation.
-
Freezer: If you want to freeze them, wrap individual tacos in plastic wrap and then place them in a freezer bag. They can be stored for up to 2 months.
-
Reheating: For best results, reheat frozen or refrigerated tacos in the oven at 350°F (175°C) for about 10-15 minutes to restore their crispy texture.
-
Make-Ahead Option: Assemble the tacos in advance and refrigerate them. Bake straight from the fridge when ready to serve, making weeknight meals a breeze!
What to Serve with Oven-Baked Cheesy Tacos
Looking to create an unforgettable meal experience that everyone will love? These delightful pairings will elevate your taco night!
- Spanish Rice: A flavorful side bursting with aromatic spices, it complements the hearty nature of tacos and brings a warm touch to your table.
- Guacamole: Creamy and rich, homemade guacamole adds a refreshing contrast to the crispy tacos for a deliciously satisfying texture.
- Fresh Salsa: A zesty salsa made with diced tomatoes, onions, and cilantro will brighten each bite and add a fresh burst of flavor.
- Black Beans: A side of seasoned black beans provides a hearty and nutritious addition, creating balance and depth with every taco.
- Creamy Corn Salad: This sweet and tangy salad introduces a delightful crunch, offering a contrast to the cheesy, baked tacos. The textures will keep everyone coming back for seconds!
- Chips and Queso: For an appetizer or side, crispy tortilla chips paired with luscious queso dip will keep your guests happily snacking and set the festive mood!
- Margaritas: Unwind with a refreshing margarita, the perfect drink to enhance the flavors of your Oven-Baked Cheesy Tacos and create a fun vibe.
- Churros: End your meal on a sweet note with warm churros, providing a delightful crispy exterior and fluffy interior, perfect for dipping in chocolate sauce!
Oven-Baked Cheesy Tacos Variations
Feel free to tailor these Oven-Baked Cheesy Tacos to match your taste buds and dietary preferences for a delightful twist!
-
Ground Turkey: Swap ground beef for ground turkey for a lighter, leaner option without sacrificing flavor.
-
Vegetarian Delight: Use black beans or lentils in place of meat, creating a filling that’s rich in protein and perfect for veggie lovers.
-
Spicy Kick: Add chopped jalapeños or a pinch of cayenne pepper to the filling for a burst of heat that tantalizes your palate.
-
Cheese Bliss: Experiment with different cheeses like pepper jack for a spicy twist, or try a cream cheese blend for extra creaminess.
-
Homemade Taco Seasoning: Mix your own blend of spices such as cumin, paprika, and chili powder for a personalized flavor that elevates your tacos.
-
Gluten-Free Options: Use gluten-free taco shells or corn tortillas to accommodate dietary restrictions while still enjoying the full deliciousness.
-
Flavorful Add-Ins: Toss in some corn or diced bell peppers to the meat mixture for added texture and sweet crunch, enhancing your tacos immeasurably.
-
Fresh Garnishes: Elevate your toppings game with avocado slices, pickled onions, or diced mango for a refreshing and colorful finish; let your creativity shine!
Feel free to explore these ideas while keeping your palate in mind. Your culinary journey is uniquely yours, so have fun with it! If you’re looking for more inspiration, check out our guides on customizing ingredients for dietary needs and experimenting with fresh, seasonal produce. Happy cooking!
Oven-Baked Cheesy Tacos Recipe FAQs
How do I select the right ripeness for the ingredients?
Absolutely! For onions, choose firm ones without soft spots or blemishes, as these indicate sweetness and freshness. When it comes to garlic, opt for plump, tight bulbs. If using tomatoes as toppings, look for vibrant, evenly colored ones that yield slightly when gently pressed for optimal flavor.
What is the best way to store leftover Oven-Baked Cheesy Tacos?
Leftover tacos can be safely stored in an airtight container in the refrigerator for up to 3-4 days. Make sure they cool completely before sealing to prevent moisture buildup. When you’re ready to enjoy them again, reheat in the oven at 350°F (175°C) for about 10-15 minutes to bring back their crispy deliciousness.
Can I freeze Oven-Baked Cheesy Tacos?
Yes! Freezing is a great option for leftovers. Wrap each taco individually in plastic wrap and then place them in a zipper freezer bag. They can stay delicious for up to 2 months. When you’re in the mood for them, just bake straight from the freezer without thawing. Set your oven to 350°F (175°C) and bake for about 20-25 minutes until heated through.
What can I do if my taco shells are soggy?
To avoid soggy shells, ensure that you preheat the oven properly and avoid overcrowding the taco shells in the baking dish. If you find that your shells are soggy after baking, try reheating them in the oven for a few additional minutes to crisp them up. You might also consider warming the shells in the oven before filling to help retain their crispness.
Are Oven-Baked Cheesy Tacos suitable for various dietary needs?
Very! This recipe is fully customizable. For a gluten-free option, select gluten-free taco shells. If you’re catering to vegetarian diets, simply swap out the ground beef for black beans, lentils, or any of your favorite plant-based proteins. Just ensure you season well for the flavors to shine!
Oven-Baked Cheesy Tacos for a Quick Delicious Dinner
Ingredients
Equipment
Method
- Preheat your oven to 375°F (190°C) and gather all ingredients.
- In a skillet, heat olive oil over medium heat. Add diced onion and minced garlic, cooking until soft.
- Add ground beef, taco seasoning, and tomato sauce to the skillet. Simmer for 5 minutes.
- Warm taco shells in the oven for 3-5 minutes.
- Fill each taco shell with the meat mixture and top with shredded cheese.
- Place filled shells in a greased baking dish and bake for 10-15 minutes.
- Garnish with fresh toppings before serving.
Leave a Reply