
I once stumbled upon a charming little café while wandering through the cobblestone streets of Spain, where a slice of Basque Burnt Cheesecake captured my heart. With its rich, creamy center and beautifully caramelized top, I knew I had to recreate this piece of heaven at home. What sets this Basque Burnt Cheesecake apart is its simplicity: just seven ingredients come together to create a dessert that’s gluten-free and so easy to prepare, it’s a game-changer for those busy weeknights or special gatherings. Plus, the light, airy texture is a delightful departure from traditional cheesecakes, making it a perfect choice for anyone craving a comforting yet elegant treat. Curious about how to achieve that gooey center and luscious flavors? Let’s dive in!
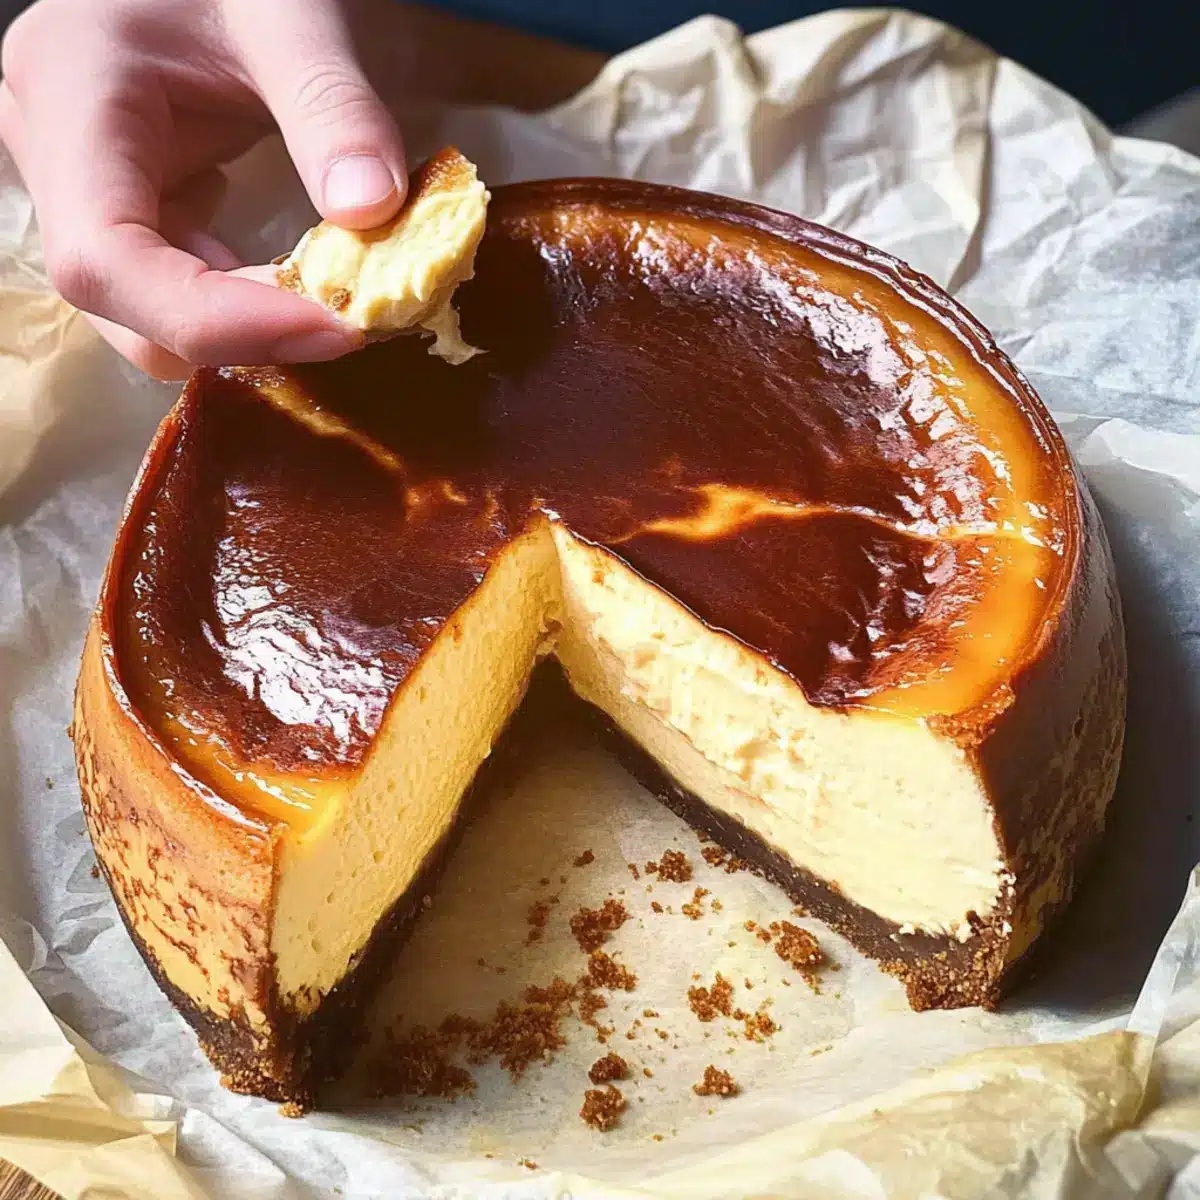
Why is Basque Burnt Cheesecake So Irresistible?
Simplicity, at its core, this cheesecake requires just seven easily accessible ingredients, making it unbelievably approachable for both beginners and seasoned bakers alike. Creamy, the rich texture delights the palate, offering a balance of luxuriously smooth cream cheese with the caramelized top that adds a sweet crunch. Gooey center, for those who crave puddles of indulgence, serve it at room temperature for that luscious experience. Versatile, you can customize it by adding hints of lemon zest or swapping in sour cream for a tang, in case you’re feeling adventurous! It’s the perfect dessert for gatherings, leaving guests enchanted with every bite. Looking for more delightful desserts? Check out our recipe for Decadent Chocolate Lava Cake or explore how to make Classic Tiramisu to impress your friends!
Basque Burnt Cheesecake Ingredients
For the Batter
- Cream Cheese – This provides the rich, creamy base; remember to soften it for easy mixing!
- Castor Sugar – Adds sweetness and helps create that beautiful caramel top; regular sugar works too, but may be grainier.
- Salt – A small pinch enhances all the flavors; just 1/8 teaspoon is all you need.
- Vanilla Paste/Extract – Introduces warm vanilla notes that perfectly complement the cream cheese; if you can’t find paste, extract makes a great substitute.
- Eggs – These act as binding agents, giving structure to your cheesecake; opt for large eggs for the best results.
- Cornstarch – It provides stability and keeps the texture smooth; cake flour can replace it if you’re in a pinch, though it may alter the texture slightly.
- Heavy Whipping Cream – This adds richness and creaminess; it’s essential to use dairy for that signature flavor, so don’t go for non-dairy alternatives!
Indulge your senses in the deliciousness of this Basque Burnt Cheesecake, and get ready to impress your family and friends with this simple yet elegant dessert!
Step‑by‑Step Instructions for Basque Burnt Cheesecake
Step 1: Preheat the Oven
Begin by preheating your oven to 445°F (230°C). While the oven warms up, prepare a 6-inch round cake pan by lining it with parchment paper, allowing the paper to extend over the sides. This ensures easy removal later and prevents sticking, setting the stage for your creamy Basque Burnt Cheesecake.
Step 2: Prepare the Cream Cheese
In a large mixing bowl, add softened cream cheese. Using an electric mixer or a whisk, beat the cream cheese until it’s velvety smooth with no lumps remaining. This step is crucial for achieving the rich texture that defines your Basque Burnt Cheesecake, helping to create that irresistibly creamy interior.
Step 3: Add Sugar and Flavor
Next, blend in castor sugar, salt, and vanilla paste or extract. Mix these ingredients together thoroughly until you achieve a silky consistency. The sugar will sweeten your cheesecake while the vanilla brings a warm aroma—perfect for creating a delicious flavor base for your delightful dessert.
Step 4: Incorporate the Eggs
Now it’s time to add the eggs, one at a time. After adding each egg, whisk until fully incorporated before adding the next. This gradual mixing helps to create a consistent batter while ensuring that the eggs bind everything together, contributing to that luscious, gooey center we love about Basque Burnt Cheesecake.
Step 5: Sift in the Cornstarch
Sift the cornstarch into the creamy batter, mixing briefly to incorporate. This step helps stabilize your cheesecake, giving it a smooth texture without making it too dense. Be careful not to overmix, as that could introduce too much air, leading to cracks while baking.
Step 6: Add the Heavy Cream
Pour in the heavy whipping cream gradually, stirring gently until the mixture is fully blended. This addition enhances the richness of your cheesecake, making it delectably creamy. Ensure that all ingredients are well combined without losing that silky texture, as each element plays a vital role in the end result.
Step 7: Pour and Tap
Carefully pour the batter into your prepared cake pan, smoothing the top with a spatula if needed. To release any air bubbles trapped in the batter, tap the pan gently on the counter a couple of times. This ensures an even bake, allowing your Basque Burnt Cheesecake to rise beautifully.
Step 8: Bake to Perfection
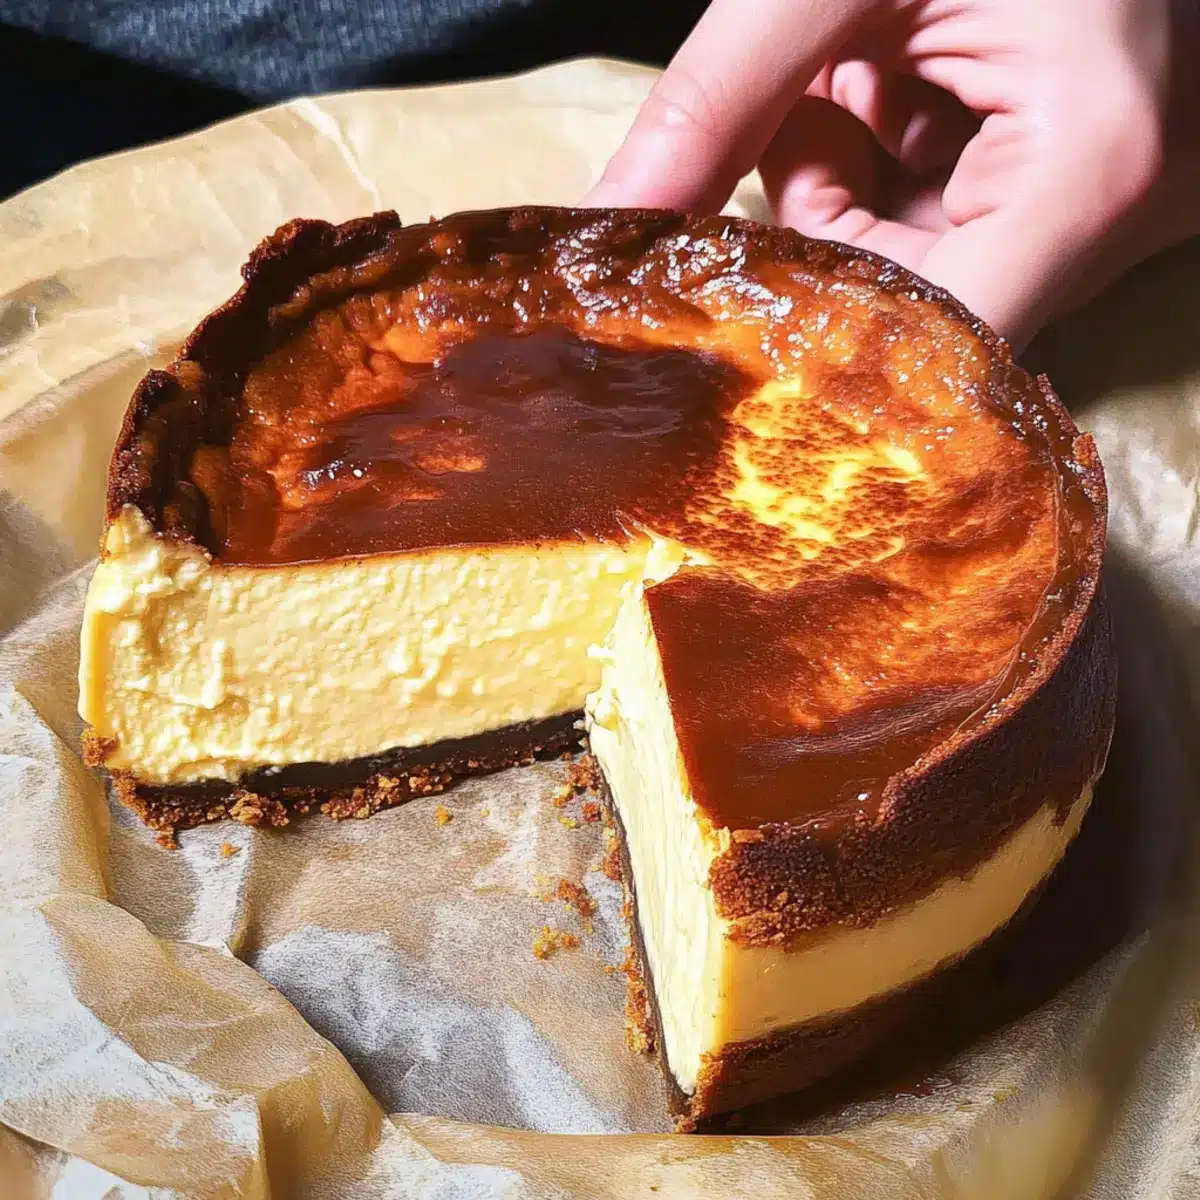
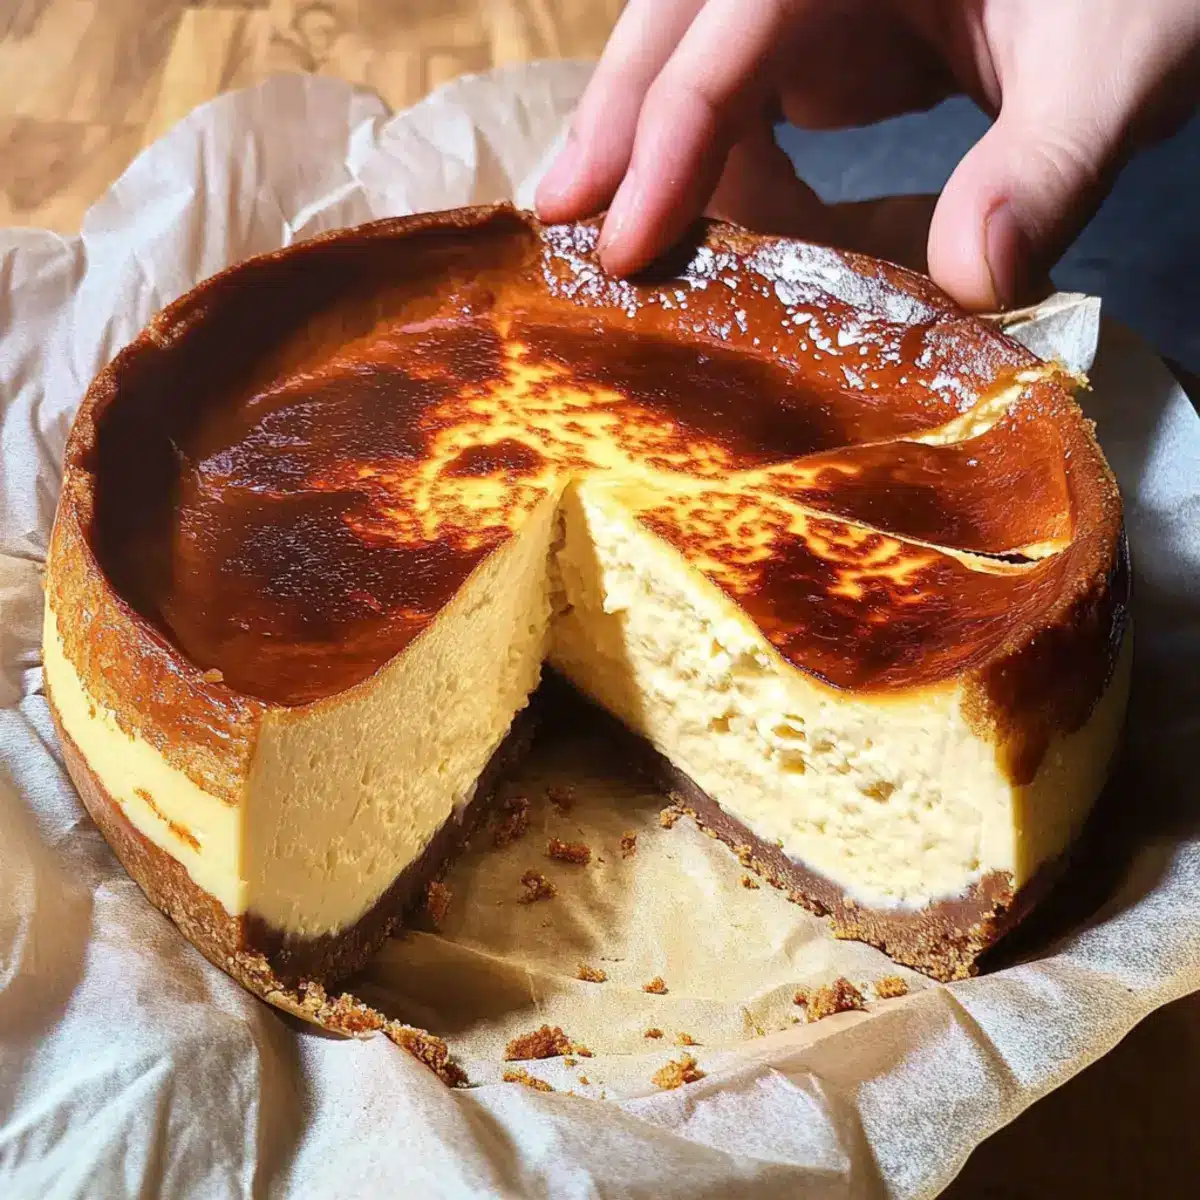
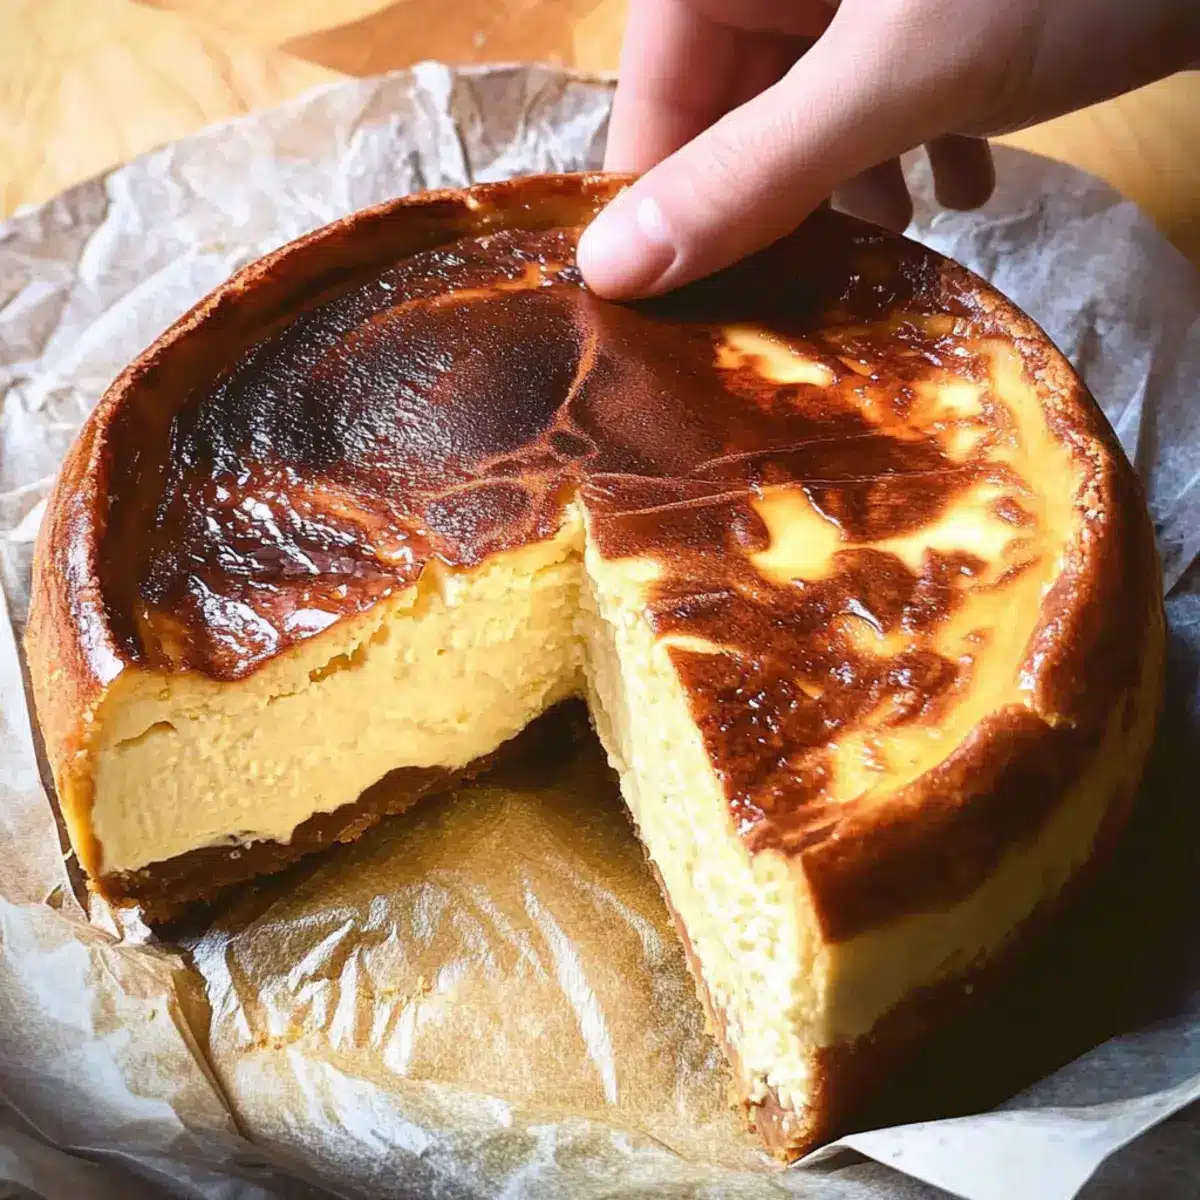
Place the pan in the preheated oven and bake for 25 minutes at 430°F (220°C). Keep an eye on it; the top should develop a beautiful golden-brown color while the center retains a jiggly texture. This visual cue is key to achieving that signature creamy interior everyone craves.
Step 9: Cool Down
Once baked, remove the cheesecake from the oven and let it cool to room temperature in the pan. This cooling process is essential for setting the flavors, as your Basque Burnt Cheesecake will continue to firm up while cooling to perfection.
Step 10: Chill Before Serving
After cooling, transfer your cheesecake to the refrigerator and let it chill for at least 4 hours, or overnight for best results. To achieve the ideal gooey center, allow it to sit at room temperature for 30 minutes before serving. This will enhance its creaminess, making every slice truly irresistible!
Make Ahead Options
These Basque Burnt Cheesakes are perfect for busy home cooks looking to save time! You can prepare the cheesecake batter up to 24 hours in advance by mixing the cream cheese, sugar, eggs, and other ingredients as directed, then refrigerating the mixture (make sure it’s in an airtight container). This not only saves you time on the day of serving but also allows the flavors to meld beautifully. When you’re ready to bake, simply pour the chilled batter into your prepared pan and follow the baking instructions as usual. For optimal quality, avoid overmixing to prevent excess air, ensuring your finished cheesecake is just as delicious! If you want to enjoy it fresh, consider making it the day before and refrigerating—just let it sit at room temperature for about 30 minutes before serving for that delightful gooey center!
What to Serve with Basque Burnt Cheesecake
Indulging in a slice of this creamy delight is special, and pairing it with the right accompaniments can elevate your experience.
-
Fresh Berries: Their natural sweetness and tanginess provide a refreshing contrast to the rich, creamy cheesecake.
-
Whipped Cream: A dollop of lightly sweetened whipped cream adds an airy touch, enhancing the cheesecake’s indulgent texture.
-
Espresso or Coffee: The bold notes of espresso complement the creamy flavors, creating a delightful balance between sweet and strong.
-
Chocolate Sauce: Drizzling warm chocolate sauce not only adds a touch of decadence but also harmonizes beautifully with the cheesecake’s caramel flavor.
-
Citrus Sorbet: A scoop of citrus sorbet offers a refreshing and bright contrast, cleansing the palate after each luscious bite.
-
Hazelnut Praline Crumble: Add a crunch factor with a homemade hazelnut praline crumble, providing a delightful nutty flavor and texture juxtaposition.
-
Caramel Sauce: For those with a sweet tooth, a drizzle of rich caramel sauce intensifies the gooey sweetness of the cheesecake.
-
Red Wine: A glass of sweet red wine pairs beautifully with the burnt flavors, enhancing the dessert’s rustic charm.
Explore these pairings to create a truly unforgettable dessert experience that celebrates the rich flavors of Basque Burnt Cheesecake!
Basque Burnt Cheesecake Variations & Substitutions
Feel free to get creative and personalize your cheesecake experience!
- Sour Cream: Substitute some cream cheese with sour cream for a tangier flavor that adds depth.
- Lemon Zest: Brighten the flavor profile by incorporating a teaspoon of fresh lemon zest into the batter; it adds a delightful citrus fragrance!
- Cocoa Powder: For a chocolate twist, sift in a couple of tablespoons of cocoa powder while mixing the batter. This adds a rich, chocolatey dimension that’s sure to surprise.
- Spiced Version: Consider adding a pinch of cinnamon or nutmeg for a warm, comforting flavor infused into every bite. This twist makes the cheesecake perfect for cozy gatherings!
- Caramel Drizzle: Elevate that caramel flavor by drizzling homemade or store-bought caramel sauce over the cooled cheesecake before serving. It adds both sweetness and a sophisticated touch.
- Berry Compote: Serve with a side of warm berry compote to complement the creamy texture with a fruity burst. Try making it with blueberries or raspberries for a delightful contrast!
- Nutty Topping: Sprinkle crushed almonds or pecans over the top right before serving for an added crunch and nutty flavor that brings textures together beautifully.
- Spicy Kick: If you enjoy heat, mix in a small amount of cayenne pepper or chili powder for a surprising kick that pairs well with the sweetness.
These variations ensure that you can keep this beloved dessert interesting, time and time again. And while you’re experimenting, don’t forget to check out our recipe for Decadent Chocolate Lava Cake or discover how to make Classic Tiramisu for your next dessert adventure!
How to Store and Freeze Basque Burnt Cheesecake
Fridge: Store your Basque Burnt Cheesecake in an airtight container in the refrigerator for up to 5 days. This keeps it fresh while maintaining its creamy texture and delightful flavor.
Freezer: For longer preservation, wrap the cheesecake tightly in plastic wrap and then in aluminum foil before freezing. It can last up to 2 months in the freezer, but note that the texture may change slightly upon thawing.
Thawing: To enjoy your frozen cheesecake, move it to the refrigerator a day before you plan to serve it. For a gooey center, let it sit at room temperature for about 30 minutes before slicing.
Reheating: If you prefer a firmer texture, you can serve it chilled straight from the fridge. However, for that rich, creamy bite typical of Basque Burnt Cheesecake, room temperature is the way to go!
Expert Tips for Basque Burnt Cheesecake
- Perfect Cream Cheese: Make sure your cream cheese is at room temperature for smooth mixing. Cold cream cheese can lead to lumps in your batter.
- Avoid Overmixing: Mix gently after adding eggs and cornstarch; overmixing can incorporate too much air, causing cracks during baking.
- Watch the Time: Baking times may vary by oven. Start checking for that golden top and jiggly center at the 25-minute mark to avoid overcooking.
- Cooling is Key: Allow the cheesecake to cool completely to room temperature after baking—it helps develop those rich flavors.
- Serving Temperature Matters: For that gooey center that melts in your mouth, serve the cheesecake after letting it sit at room temperature for about 30 minutes.
Basque Burnt Cheesecake Recipe FAQs
What type of cream cheese should I use?
Absolutely! For the best results, I recommend using full-fat cream cheese that has been softened to room temperature. This will ensure a smooth, creamy texture, making it easier to blend and giving you that rich mouthfeel. Avoid low-fat or non-fat varieties, as they won’t provide the same flavor or texture.
How do I store leftovers?
You can store your Basque Burnt Cheesecake in an airtight container in the refrigerator for up to 5 days. It’s best enjoyed chilled right out of the fridge, so just pop it in for a bit after baking, and then you’re ready to savor those delicious flavors!
Can I freeze Basque Burnt Cheesecake?
Yes, you can! To freeze, tightly wrap the cooled cheesecake in plastic wrap and then aluminum foil to prevent freezer burn. It will keep well for up to 3 months. When you’re ready to enjoy it, simply thaw it overnight in the fridge. For that gooey center, let it sit at room temperature for about 30 minutes before serving.
What if my cheesecake cracks while baking?
No worries! A few small cracks are normal and can occur from overmixing the batter or baking at too high a temperature. Be gentle when mixing and keep an eye on your oven temperature. If it does crack, simply cover it with a layer of fruit sauce or whipped cream when serving, and no one will be the wiser!
Are there any dietary restrictions I should consider?
This Basque Burnt Cheesecake is naturally gluten-free, making it a great option for those with gluten sensitivities. However, it contains dairy and eggs, so be cautious if you or your guests have lactose intolerance or egg allergies. You might explore alternatives like using vegan cream cheese, but this can significantly alter the taste and texture, so proceed with caution!
Creamy Basque Burnt Cheesecake with Caramelized Perfection
Ingredients
Equipment
Method
- Preheat the oven to 445°F (230°C) and prepare a 6-inch round cake pan with parchment paper.
- In a large mixing bowl, beat the softened cream cheese until smooth and free of lumps.
- Blend in the castor sugar, salt, and vanilla until the mixture is silky.
- Add the eggs one at a time, mixing fully after each addition.
- Sift in the cornstarch and mix briefly to incorporate.
- Pour in the heavy cream and stir gently until well blended.
- Pour the batter into the prepared cake pan and tap the pan to release air bubbles.
- Bake for 25 minutes at 430°F (220°C) until the top is golden-brown and the center is jiggly.
- Let the cheesecake cool to room temperature in the pan.
- Chill in the refrigerator for at least 4 hours before serving.
Leave a Reply