
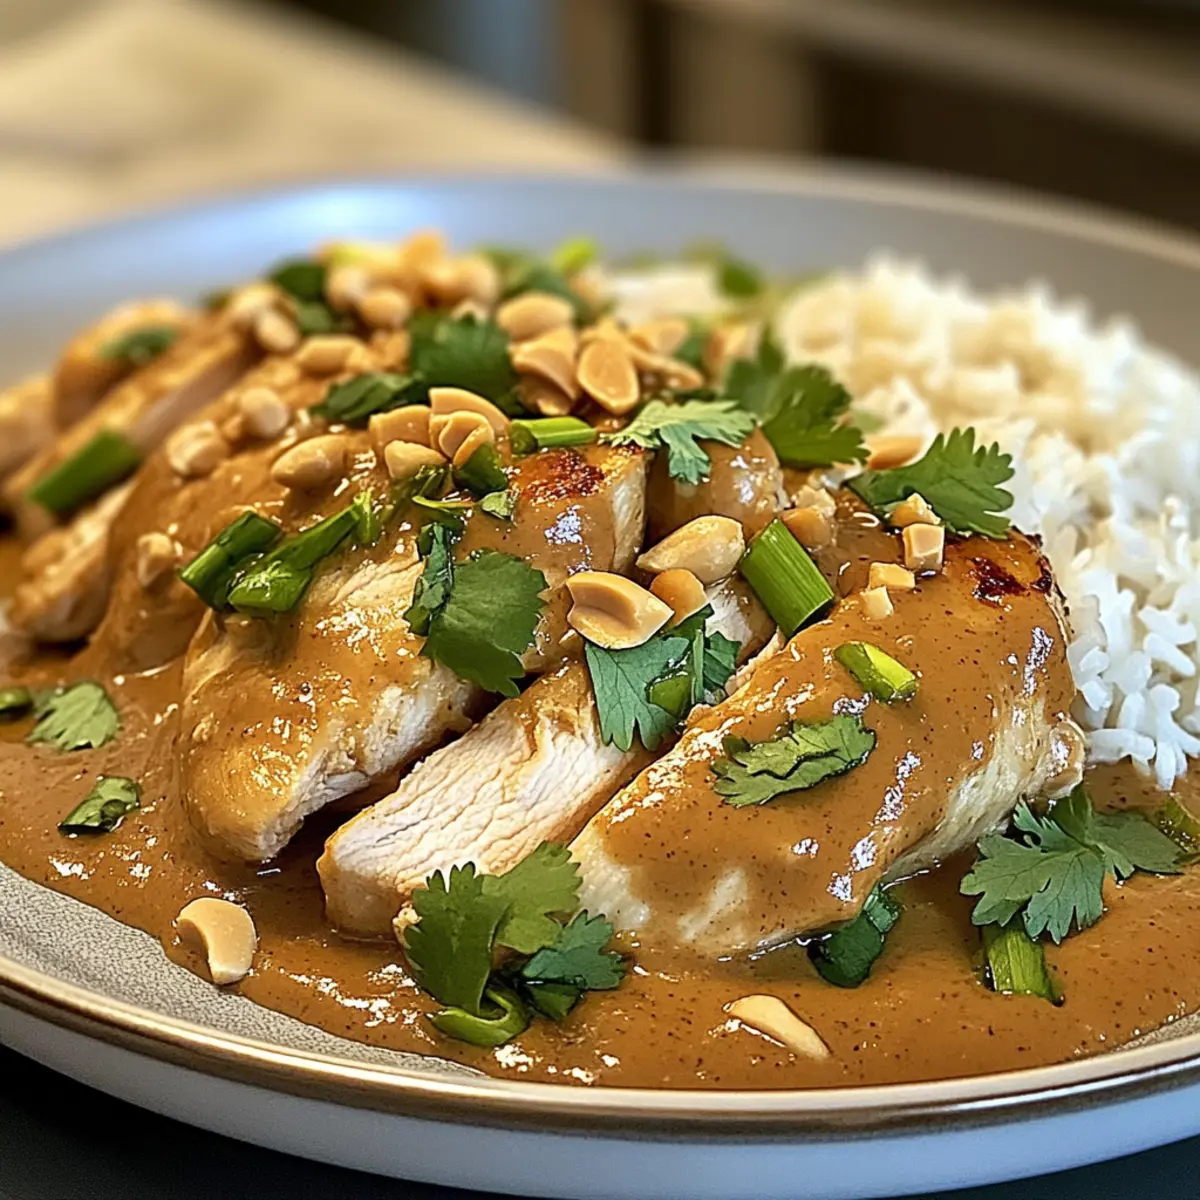
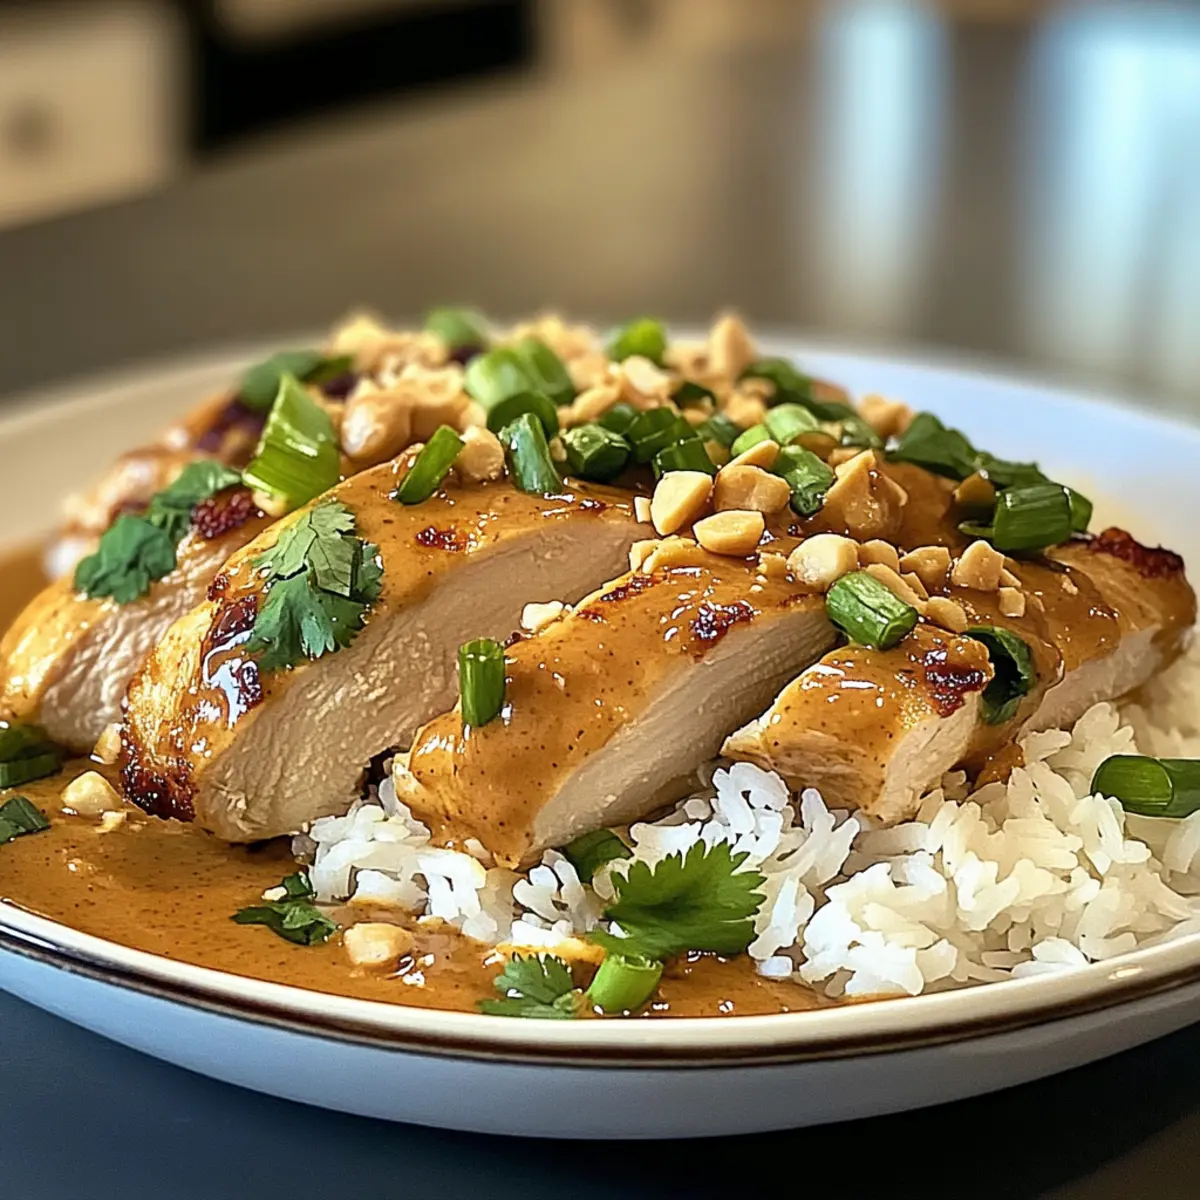
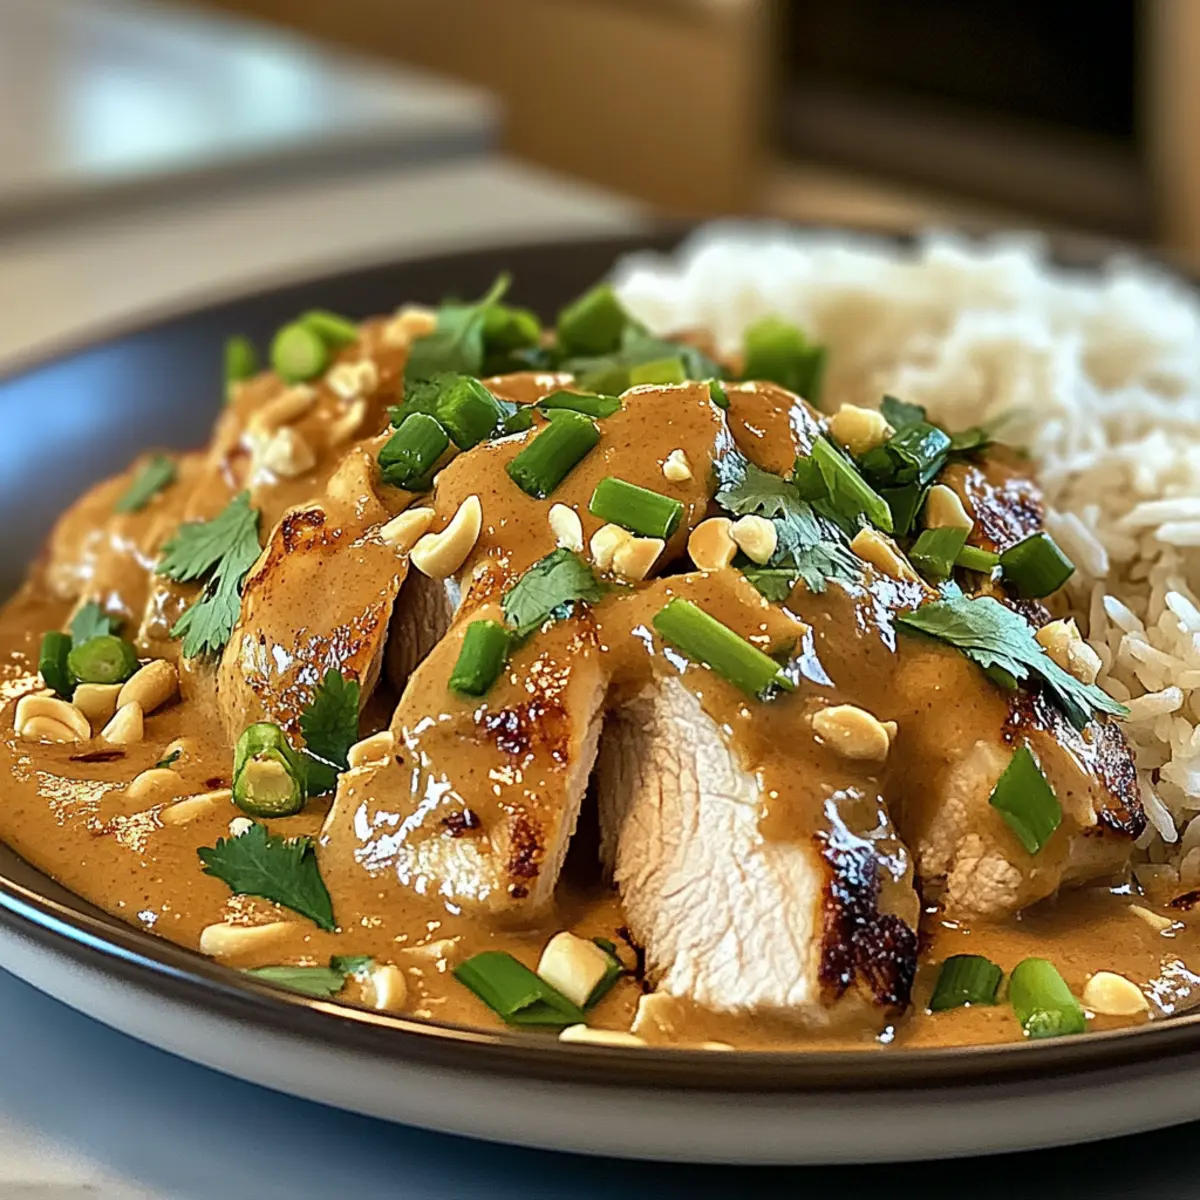
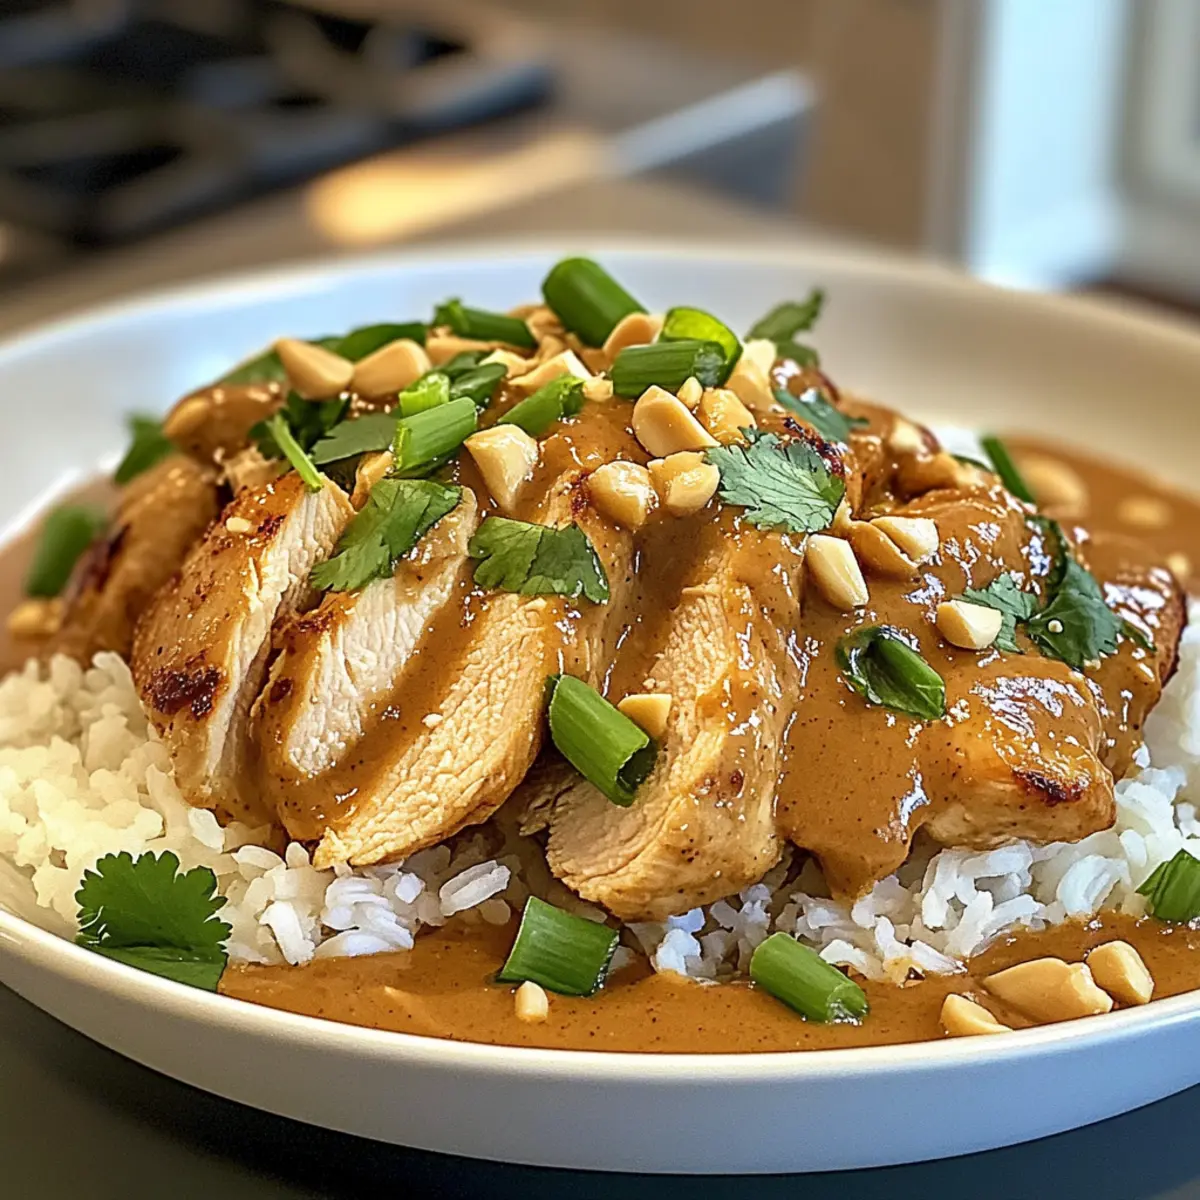
The moment I first tasted Thai street food, I was hooked. The rich, nutty aroma of peanut sauce mingling with the spicy warmth of ginger left an indelible mark on my palate. This experience inspired my Thai Peanut Chicken Recipe, a dish that captures that vibrant essence right in your kitchen. Perfect for a breezy weeknight dinner, it’s quick to whip up and endlessly customizable, making it a true family favorite. With options for gluten-free soy sauce and the ability to switch out chicken for tofu or shrimp, you can tailor this dish to fit any dietary needs. So whether you’re craving comfort food or looking to impress at a gathering, this recipe delivers. Are you ready to turn your kitchen into a Thai food haven? Let’s dive in!
Why is This Recipe a Must-Try?
Unforgettable Flavor: This Thai Peanut Chicken recipe bursts with creamy richness and a spicy kick that will leave your taste buds dancing.
Quick & Easy: With just a few simple steps, you’ll have a delicious meal on the table in no time—perfect for busy weeknights.
Customizable Delight: Whether you prefer chicken, tofu, or shrimp, this recipe is versatile enough to fit everyone’s palate.
Healthy Options: Using low-sodium soy sauce and adding fresh veggies not only enhances the dish but also makes it a healthier choice.
Crowd-Pleasing: Serve it over jasmine rice or stir-fried noodles, and watch your family and friends go back for seconds—it’s a dish that truly wows! If you’re also looking for something hearty, check out my Cheesy Garlic Chicken and Asian Chicken Cranberry recipes for more delicious options!
Thai Peanut Chicken Ingredients
For the Chicken
- Boneless, Skinless Chicken Breasts – The main protein source that yields juicy tenderness; adjust the quantity based on servings.
For the Sauce
- Fresh Garlic – Adds depth and warmth to the dish; opt for firm, plump cloves for optimal flavor.
- Fresh Ginger – Contributes a zesty kick; choose smooth-skinned, juicy roots for the best taste.
- Full-Fat Coconut Milk – Provides a creamy base that balances spices; essential for an authentic richness in this Thai Peanut Chicken recipe.
- Natural Peanut Butter – Infuses the sauce with a rich, nutty flavor; select brands with no added sugars for a cleaner experience.
- Low-Sodium Soy Sauce – Adds savory umami while allowing for better control of saltiness throughout the dish.
- Fresh Lime Juice – Brightens the overall flavor profile, cutting through the creaminess with zesty freshness.
- Chili Flakes – Your chance to customize the heat; sprinkle in according to your spice tolerance.
For Garnish
- Green Onions – Chopped for a refreshing crunch; they add a pop of color and flavor.
- Fresh Cilantro (Optional) – Enhances the flavors and adds visual appeal, perfect for even the pickiest of eaters!
Step‑by‑Step Instructions for Thai Peanut Chicken Recipe
Step 1: Prep Ingredients
Begin by preparing your ingredients. Cut the boneless, skinless chicken breasts into bite-sized pieces to ensure even cooking. Mince the fresh garlic and ginger, setting them aside for when you need those aromatic flavors. Having everything ready will streamline the cooking process for your flavorful Thai Peanut Chicken.
Step 2: Cook Chicken
Heat a large skillet over medium-high heat and add a splash of oil. Once hot, carefully place the chicken pieces into the skillet in a single layer. Cook them for about 5-7 minutes, flipping occasionally, until golden brown and no longer pink in the center. This step is crucial for achieving the perfect texture for your Thai Peanut Chicken.
Step 3: Create Sauce
While the chicken cooks, prepare the peanut sauce. In a separate bowl, whisk together the natural peanut butter, full-fat coconut milk, low-sodium soy sauce, fresh lime juice, and chili flakes until smooth and creamy. The sauce should be rich and well-blended, ready to coat the chicken beautifully.
Step 4: Combine
Once the chicken is cooked, reduce the heat to medium and pour the creamy peanut sauce over the chicken in the skillet. Stir the mixture gently to ensure all pieces are well-coated in the sauce. Allow it to simmer for about 5 minutes, letting the flavors meld and the sauce thicken slightly for that rich, indulgent taste.
Step 5: Finish
Remove the skillet from heat and garnish your Thai Peanut Chicken with freshly sliced green onions and cilantro if desired. This final touch adds freshness and a pop of color, making your dish visually appealing. Serve hot over jasmine rice or stir-fried noodles to complete your delightful weeknight dinner.
What to Serve with Irresistible Thai Peanut Chicken
Pair your Thai Peanut Chicken with vibrant sides that enhance its rich, nutty flavors and create a delightful meal.
-
Jasmine Rice: The perfect fluffy accompaniment, jasmine rice soaks up the creamy peanut sauce, making each bite a delightful experience.
-
Stir-Fried Vegetables: Crisp and colorful, a mix of bell peppers, snap peas, and carrots adds crunch and freshness, balancing the richness of the chicken. Toss them in a wok with a hint of garlic for an extra flavor boost.
-
Cucumber Salad: A refreshing side, tangy cucumber salad counters the spicy warmth of the chicken, offering a cool contrast that brightens the entire meal.
-
Coconut Rice: Infused with a hint of sweetness from coconut milk, this dish enhances the tropical theme and pairs beautifully with the peanut sauce.
-
Spring Rolls: These light, crispy appetizers filled with fresh veggies are a fun finger food that complements your Thai meal, ideal for dipping into sweet chili sauce.
-
Mango Sticky Rice: Finish with this luscious dessert for a sweet, creamy finale that captures the essence of Thai flavors. The combination of sweetness and coconut ties the meal together beautifully.
Indulging in these sides will elevate your dining experience, making your Thai Peanut Chicken a true family favorite!
Storage Tips for Thai Peanut Chicken
Fridge: Store leftovers in an airtight container for up to 3 days to keep the flavors fresh and vibrant. Ensure the chicken is completely cooled before sealing.
Freezer: For longer storage, freeze Thai Peanut Chicken in a suitable container for up to 2 months. Thaw in the refrigerator overnight before reheating.
Reheating: To reheat, place the chicken in a skillet over low heat, adding a splash of coconut milk if the sauce has thickened too much. Stir gently until heated through.
Serving After Storage: Enjoy your stored Thai Peanut Chicken hot, served over freshly cooked jasmine rice or noodles to regain that delightful experience!
Make Ahead Options
These Thai Peanut Chicken is perfect for busy home cooks who want to save time without sacrificing flavor! You can marinate the chicken in the creamy peanut sauce for up to 24 hours in advance, allowing the flavors to deeply infuse. Additionally, you can prep the garlic, ginger, and other components up to 3 days ahead; simply store them in airtight containers in the refrigerator to maintain freshness. When it’s time to cook, just sauté the marinated chicken as instructed, create the sauce, and combine everything. Your Thai Peanut Chicken will be just as delicious and ready in a fraction of the time, making weeknight dinners a breeze!
Thai Peanut Chicken Recipe Variations
Customize your Thai Peanut Chicken experience with these delightful twists that will take your meal from delicious to extraordinary!
-
Tofu Substitute: Swap chicken for firm tofu. Cube and pan-fry until golden for a tasty vegetarian option.
-
Shrimp Variation: For a seafood twist, replace chicken with shrimp. Cook just until pink and tender for a light, flavorful dish.
-
Vegetable Boost: Add bell peppers or snap peas for vibrant color and extra nutrition, creating a well-rounded meal.
-
Nut-Free Option: Substitute peanut butter with sun butter for a nut-free version that maintains richness without compromising flavor.
-
Spicy Kick: Add more chili flakes or fresh sliced jalapeños for those who crave a fiery heat in their dishes.
-
Coconut Milk Swap: For a lighter version, replace full-fat coconut milk with light coconut milk or unsweetened almond milk for a creamy yet less caloric option.
-
Herb Garnish: Experiment with different herbs like basil or mint alongside cilantro to give your dish a fresh, aromatic twist.
-
Noodle Base: Instead of rice, serve this dish over rice noodles or zoodles for a grain-free alternative that’s equally delicious.
These variations not only keep things exciting in the kitchen but also allow you to cater to everyone’s tastes and dietary needs. If you’re also exploring more chicken recipes, consider trying my flavorful Chopped Chicken Bacon or dive into the delightful tastes of Cowboy Butter Chicken!
Tips for the Best Thai Peanut Chicken
-
Marinate for Flavor: Marinate your chicken in the peanut sauce for at least 30 minutes before cooking. This ensures a deeper, richer flavor in every bite of your Thai Peanut Chicken recipe.
-
Adjust Heat Levels: Customize the spice by varying the amount of chili flakes. Start with a small pinch and increase to match your taste preference without overwhelming the dish.
-
Fresh Ingredients Only: Use fresh garlic and ginger for the best flavor. Firm cloves and smooth ginger roots pack the most aromatic punch, making your dish even more delightful.
-
Veggie Bonuses: Incorporate vegetables like bell peppers or snap peas to boost nutrition and add color, making your meal both healthy and visually appealing.
-
Storage Tips: Keep leftovers in an airtight container for up to three days. Gently reheat them in a pan to maintain the creamy texture of your Thai Peanut Chicken.
Thai Peanut Chicken Recipe FAQs
What kind of chicken should I use for the Thai Peanut Chicken?
Absolutely! I recommend boneless, skinless chicken breasts for this recipe. They provide tenderness and cook evenly, ensuring each piece is juicy and delicious. If you’re looking for alternatives, you can also use chicken thighs or even shrimp for a different protein experience.
How long can I store the leftovers of Thai Peanut Chicken?
You can store any leftovers in an airtight container in the fridge for up to 3 days. Just make sure to let the chicken cool completely before sealing it. When you’re ready to enjoy it again, I recommend gently reheating it in a skillet to maintain the creamy texture of the sauce.
Can I freeze Thai Peanut Chicken?
Absolutely! For longer storage, you can freeze your Thai Peanut Chicken. Place it in a suitable airtight container or freezer bag and freeze it for up to 2 months. When you’re ready to enjoy, thaw it overnight in the refrigerator before reheating. I suggest adding a splash of coconut milk while reheating to restore its creamy texture.
What should I do if my sauce is too thick?
No worries! If you find that your peanut sauce has thickened too much, just add a little coconut milk or chicken broth to loosen it up. Stir gently over low heat until you reach your desired consistency. It’s always better to add a little at a time to ensure you don’t thin it out too much.
Can I make Thai Peanut Chicken gluten-free?
Very much! To make this dish gluten-free, simply substitute regular soy sauce with a gluten-free alternative like tamari. This way, you can enjoy all that rich, nutty flavor without any worries!
Are there any allergies to consider with this recipe?
Certainly! Keep in mind that this recipe contains peanuts, which can cause allergic reactions in some individuals. If you’re cooking for someone with nut allergies, feel free to substitute the peanut butter with sunflower seed butter or omit it altogether. Enjoy customizing the recipe to fit everyone’s needs!
Easy Thai Peanut Chicken Recipe That Will Amaze Your Taste Buds
Ingredients
Equipment
Method
- Begin by preparing your ingredients. Cut the boneless, skinless chicken breasts into bite-sized pieces and mince the garlic and ginger.
- Heat a large skillet over medium-high heat and add a splash of oil. Cook chicken pieces in a single layer for about 5-7 minutes until golden brown.
- In a separate bowl, whisk together the peanut butter, coconut milk, soy sauce, lime juice, and chili flakes until smooth.
- Pour the creamy peanut sauce over the cooked chicken in the skillet. Stir gently and let it simmer for about 5 minutes.
- Remove from heat and garnish with sliced green onions and optional cilantro. Serve over jasmine rice or noodles.
Leave a Reply