
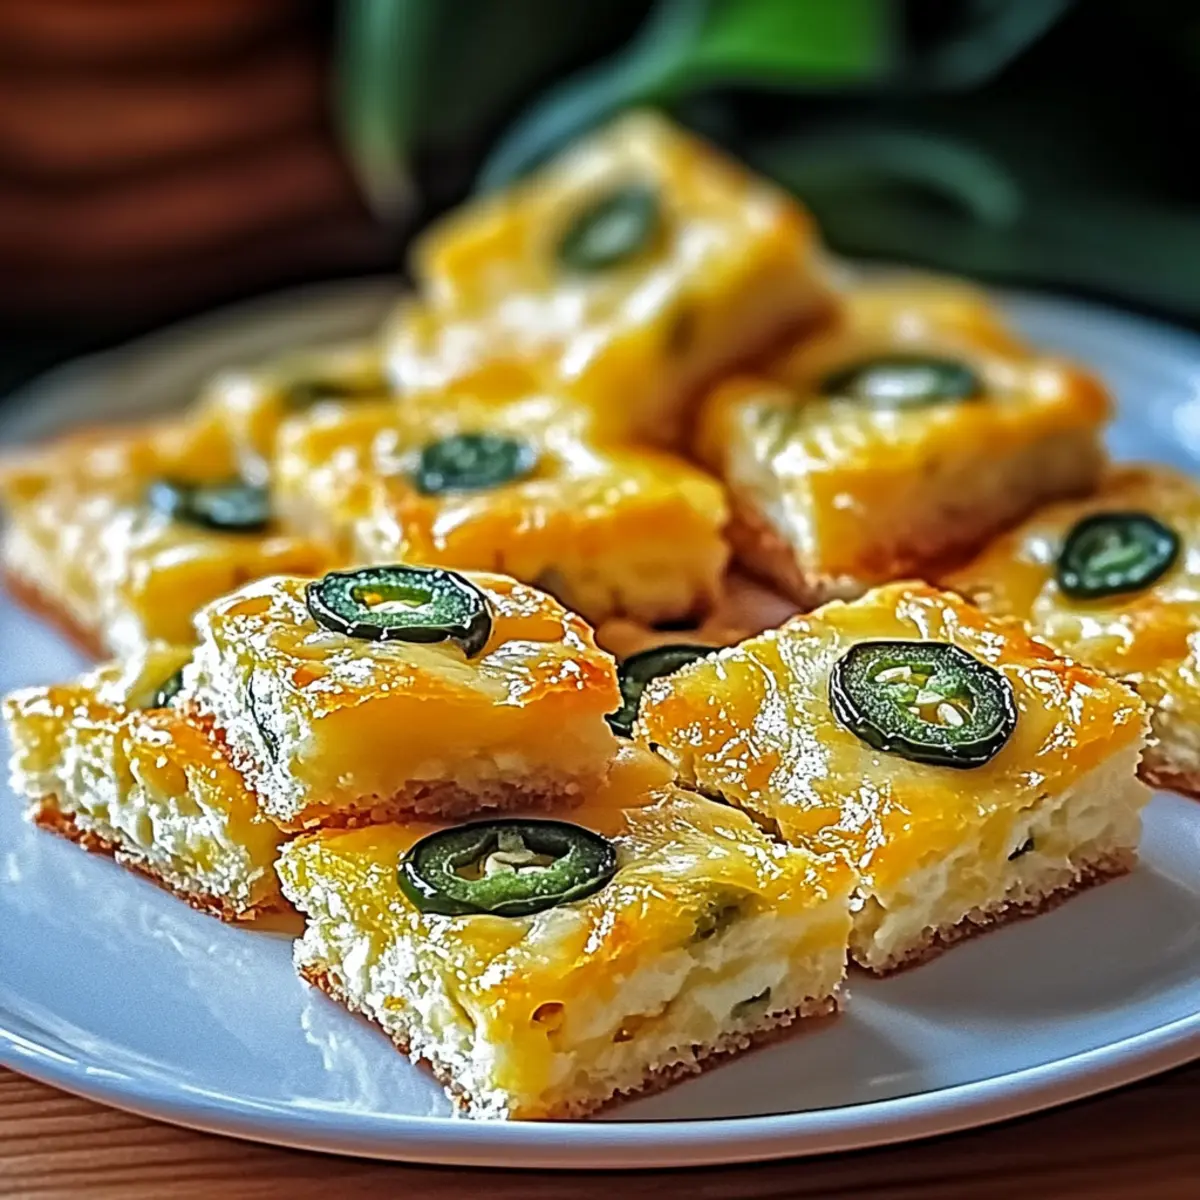
The aroma of melting cheese and the enticing heat of jalapeños wafted through my kitchen, instantly transforming my evening into a celebration. These Jalapeño Cheese Squares are not just a dish; they’re a culinary adventure that beckons friends and family to gather around. With perfectly golden edges cradling a gooey, cheesy center, this quick and easy appetizer is a sure-fire crowd-pleaser. Whether it’s for game nights, cozy family movie marathons, or any casual gathering, these squares shine as a customizable delight. You can easily tweak the spice levels and choose from various cheese options, making them not just delicious but also adaptable to your guests’ dietary preferences, including gluten-free and vegetarian options. Ready to impress your loved ones and elevate your snack game? Let’s dive into this irresistibly savory recipe!
Why Are Jalapeño Cheese Squares So Irresistible?
Flavor Explosion: Packed with spicy jalapeños and creamy cheese, each bite is a delicious adventure that your taste buds won’t forget.
Customizable: Tailor this recipe to your liking by swapping cheeses or adjusting spice levels. It’s perfect for those who enjoy a personal touch in their cooking.
Quick to Prepare: With just a few simple steps, these squares are ready to bake in no time, making it a fantastic choice for impromptu gatherings.
Crowd-Pleaser: These appetizers are sure to impress, leaving everyone asking for the recipe. Serve them warm alongside salsa or ranch for an unforgettable experience.
For more mouthwatering options, check out these delicious recipes like Cottage Cheese Wraps and Apple Grilled Cheese.
Jalapeño Cheese Squares Ingredients
For the Batter
• Sharp Cheddar Cheese – Provides a robust, sharp flavor; substitute with Pepper Jack for an added kick.
• Monterey Jack Cheese – Adds creaminess and a mild taste; can be swapped for mozzarella for a lighter texture.
• Crumbled Bacon – Introduces savory depth; omit for a vegetarian-friendly option.
• Pickled Jalapeños – Contributes tangy heat; use fresh diced jalapeños for a spicier version.
• All-Purpose Flour – Acts as a binding agent; gluten-free flour can be used for a gluten-free version.
• Evaporated Milk – Creates a creamy consistency; regular milk can be substituted when needed.
• Eggs – Help bind the batter; a flax egg can serve as a vegan alternative.
Now that you have all the needed ingredients for your Jalapeño Cheese Squares, let’s get cooking!
Step‑by‑Step Instructions for Jalapeño Cheese Squares
Step 1: Mix Dry Ingredients
In a large mixing bowl, combine 1 cup of shredded sharp cheddar cheese, 1 cup of shredded Monterey Jack cheese, and 1/2 cup of crumbled bacon (if using). Add 1 cup of diced pickled jalapeños to the mixture, ensuring even distribution of ingredients. This blend creates a flavor-packed foundation for your Jalapeño Cheese Squares that will excite your taste buds.
Step 2: Prepare Wet Mixture
In a separate bowl, whisk together 1 cup of evaporated milk, 1 cup of all-purpose flour, and 2 beaten eggs until the mixture is smooth and free of lumps. This creamy combination will help bind the batter together, resulting in that wonderful gooey texture. Take your time to achieve a silky consistency before moving on to the next step.
Step 3: Combine Mixtures
Pour the wet mixture into your bowl of dry ingredients, stirring gently until a thick batter forms. Make sure to mix well, allowing the cheeses and jalapeños to fully incorporate into the batter. The goal is to achieve a cohesive blend without leaving any dry flour visible. This is the crucial step that will create those irresistible Jalapeño Cheese Squares!
Step 4: Prepare Baking Dish
Preheat your oven to 350°F (175°C) and grease a 9×13-inch baking dish with cooking spray or melted butter. Pour the thick batter into the prepared dish, spreading it evenly with a spatula to ensure uniform cooking. The batter should fill the dish nicely, making sure to protect the edges for that perfect golden-brown finish.
Step 5: Bake
Place the baking dish in the preheated oven and bake for 35-40 minutes, or until the top is golden brown and the edges are bubbly. You’ll know your Jalapeño Cheese Squares are ready when a toothpick inserted into the center comes out with just a few moist crumbs. Keep an eye on them, as baking times may vary slightly based on your oven.
Step 6: Cool and Cut
After baking, remove the dish from the oven and let it cool for about 10 minutes. This resting time allows the squares to set up, making it easier to cut clean pieces. Once cooled slightly, use a sharp knife to slice the cheesy delight into squares, and serve warm. Enjoy the delicious burst of flavors in every bite!
Expert Tips for Jalapeño Cheese Squares
• Mix Evenly: Ensure all ingredients are mixed thoroughly to avoid clumps of cheese or jalapeños, resulting in a harmonious flavor throughout.
• Watch Baking Time: Keep an eye on the baking time; for a firmer and slightly crispier texture, extend baking time in small increments, but beware of over-browning.
• Clean Cuts: Allow the squares to cool for at least 10 minutes before cutting. This will help you achieve cleaner edges for serving.
• Storing Leftovers: Store any leftovers in an airtight container in the fridge for up to three days. Reheat in the oven for the best texture.
• Experiment with Flavors: Don’t hesitate to customize your Jalapeño Cheese Squares! Try different cheeses or mix in sautéed vegetables for added depth.
Jalapeño Cheese Squares Variations
Feel free to get creative with your Jalapeño Cheese Squares, adding your own personal touch to this already delicious recipe!
- Vegetarian-Friendly: Omit crumbled bacon to make this dish suitable for vegetarians while keeping all its flavorful appeal.
- Gluten-Free: Substitute all-purpose flour with a gluten-free flour blend to cater to gluten-sensitive friends without losing the desired texture.
- Creamier Texture: Replace sharp cheddar with cream cheese for an ultra-rich, decadent version that melts beautifully in every bite.
- Veggie Boost: Add sautéed onions or bell peppers to the mix for an extra layer of flavor and a delightful crunch.
- Spicy Kick: Swap pickled jalapeños for fresh, diced jalapeños to up the heat level, perfect for spice lovers!
- Savory Swaps: Try using colby jack or pepper jack cheese for different flavor variations, enhancing the overall cheesy experience.
- Crunchy Finish: For a fun twist, consider frying the squares instead of baking them for a crispy outer texture.
- Zesty Dip: Serve with a drizzle of spicy ranch or chipotle mayo for an exciting dipping option that elevates every bite.
These delightful variations are sure to surprise and please your guests. If you’re looking for more cheesy goodness, try Cream Cheese Chicken or some delicious Cottage Cheese Wraps as well!
What to Serve with Jalapeño Cheese Squares
The perfect appetizer deserves delightful accompaniments that enhance its flavors and create a harmonious meal experience.
-
Salsa Fresca: Bright and zesty, fresh salsa elevates these cheesy squares with vibrant flavors and a refreshing crunch. Ideal for balancing the richness of the cheese.
-
Guacamole: Creamy and smooth, guacamole adds a luscious texture that pairs beautifully with the spicy squares. Plus, it brings a touch of coolness that your palate will crave.
-
Creamy Ranch Dip: This tangy ranch dip complements the heat from the jalapeños, creating a perfect balance of flavors. It’s a classic favorite that everyone will love alongside the squares.
-
Chilled Cucumber Salad: Refreshing and crisp, a cucumber salad adds a light and vibrant element to your meal, cutting through the richness of the cheese with its coolness.
-
Spicy Pickled Vegetables: These tangy bites will enhance the flavor profile, providing an extra layer of crunch and spice that keeps your taste buds excited.
-
Craft Beer: An ice-cold, hoppy beer cuts through the cheese and complements the jalapeño’s heat, making each bite even more enjoyable.
-
Margaritas: Celebrate your culinary adventure with a citrusy margarita that highlights the bold flavors of your Jalapeño Cheese Squares and keeps the festive spirit alive.
-
Chocolate Chip Cookies: Finish your gathering on a sweet note with warm chocolate chip cookies. Their sweetness is a delightful contrast to the savory squares, making for a balanced meal.
How to Store and Freeze Jalapeño Cheese Squares
Fridge: Keep leftover Jalapeño Cheese Squares in an airtight container for up to 3 days. Reheat in the oven to enjoy their gooey texture again.
Freezer: For longer storage, freeze the squares in a single layer on a baking sheet, then transfer to a freezer-safe container for up to 3 months.
Reheating: To reheat from frozen, place in a preheated oven at 350°F (175°C) for 20-25 minutes, ensuring they’re heated through and crispy on the edges.
Preparation Tips: Allow squares to cool completely before freezing. This helps maintain their delightful texture and flavor for future enjoyment.
Make Ahead Options
These Jalapeño Cheese Squares are perfect for meal prep, allowing you to enjoy their delightful flavors with minimal fuss on busy days! You can prepare the batter up to 24 hours in advance; simply mix the dry and wet ingredients separately, then combine them and store in an airtight container in the refrigerator. This will keep the flavors fresh while ensuring that the mixture is ready when you are. Additionally, you can bake the squares ahead of time and refrigerate them for up to 3 days. To maintain quality, cover them tightly to prevent drying out. When you’re ready to serve, just reheat in the oven at 350°F (175°C) for about 10-15 minutes, and you’ll have deliciously cheesy bites that are just as tasty as if they were freshly made!
Jalapeño Cheese Squares Recipe FAQs
How do I select the right jalapeños for my recipe?
Choose fresh jalapeños that are firm and bright green in color. Avoid any that have dark spots or a wrinkled appearance, as these may be overripe. If you prefer a milder flavor, select smaller jalapeños, while larger peppers tend to be spicier.
What is the best way to store leftover Jalapeño Cheese Squares?
Store any leftover squares in an airtight container in the refrigerator for up to 3 days. Make sure they are completely cooled before sealing to maintain their texture. Reheat in the oven at 350°F (175°C) for about 10-15 minutes to restore their gooeyness.
Can I freeze Jalapeño Cheese Squares?
Absolutely! To freeze, let the squares cool completely, then arrange them in a single layer on a baking sheet. Freeze until solid, then transfer to a freezer-safe container or zipper bag. They can be stored for up to 3 months. For reheating, place straight from the freezer into a preheated oven at 350°F (175°C) for 20-25 minutes.
What should I do if my Jalapeño Cheese Squares are too crumbly?
If your squares turn out crumbly, it might be due to under-mixing or insufficient binding ingredients. Ensure that the wet and dry mixtures are fully combined without any dry flour left. Adding a bit more milk or an extra egg can also help to achieve a more cohesive texture next time.
Are there any dietary considerations for these Jalapeño Cheese Squares?
Yes! This recipe can easily accommodate various dietary needs. For a gluten-free option, replace all-purpose flour with a gluten-free flour blend. To make them vegetarian, simply omit the crumbled bacon. Additionally, you can use a flax egg as a substitute for traditional eggs to cater to vegan diets.
What are some variations I can try with my Jalapeño Cheese Squares?
The beauty of these squares lies in their versatility! You can experiment by swapping out sharp cheddar for cream cheese or adding sautéed onions and peppers for extra flavor. Consider drizzling spicy ranch or a chipotle mayo for a delicious dipping experience. The more the merrier!
Addictive Jalapeño Cheese Squares That Everyone Will Love
Ingredients
Equipment
Method
- In a large mixing bowl, combine 1 cup of shredded sharp cheddar cheese, 1 cup of shredded Monterey Jack cheese, and 1/2 cup of crumbled bacon (if using). Add 1 cup of diced pickled jalapeños to the mixture, ensuring even distribution of ingredients.
- In a separate bowl, whisk together 1 cup of evaporated milk, 1 cup of all-purpose flour, and 2 beaten eggs until the mixture is smooth and free of lumps.
- Pour the wet mixture into your bowl of dry ingredients, stirring gently until a thick batter forms.
- Preheat your oven to 350°F (175°C) and grease a 9x13-inch baking dish. Pour the thick batter into the prepared dish.
- Place the baking dish in the preheated oven and bake for 35-40 minutes, or until the top is golden brown.
- After baking, remove the dish from the oven and let it cool for about 10 minutes before cutting.
Leave a Reply