
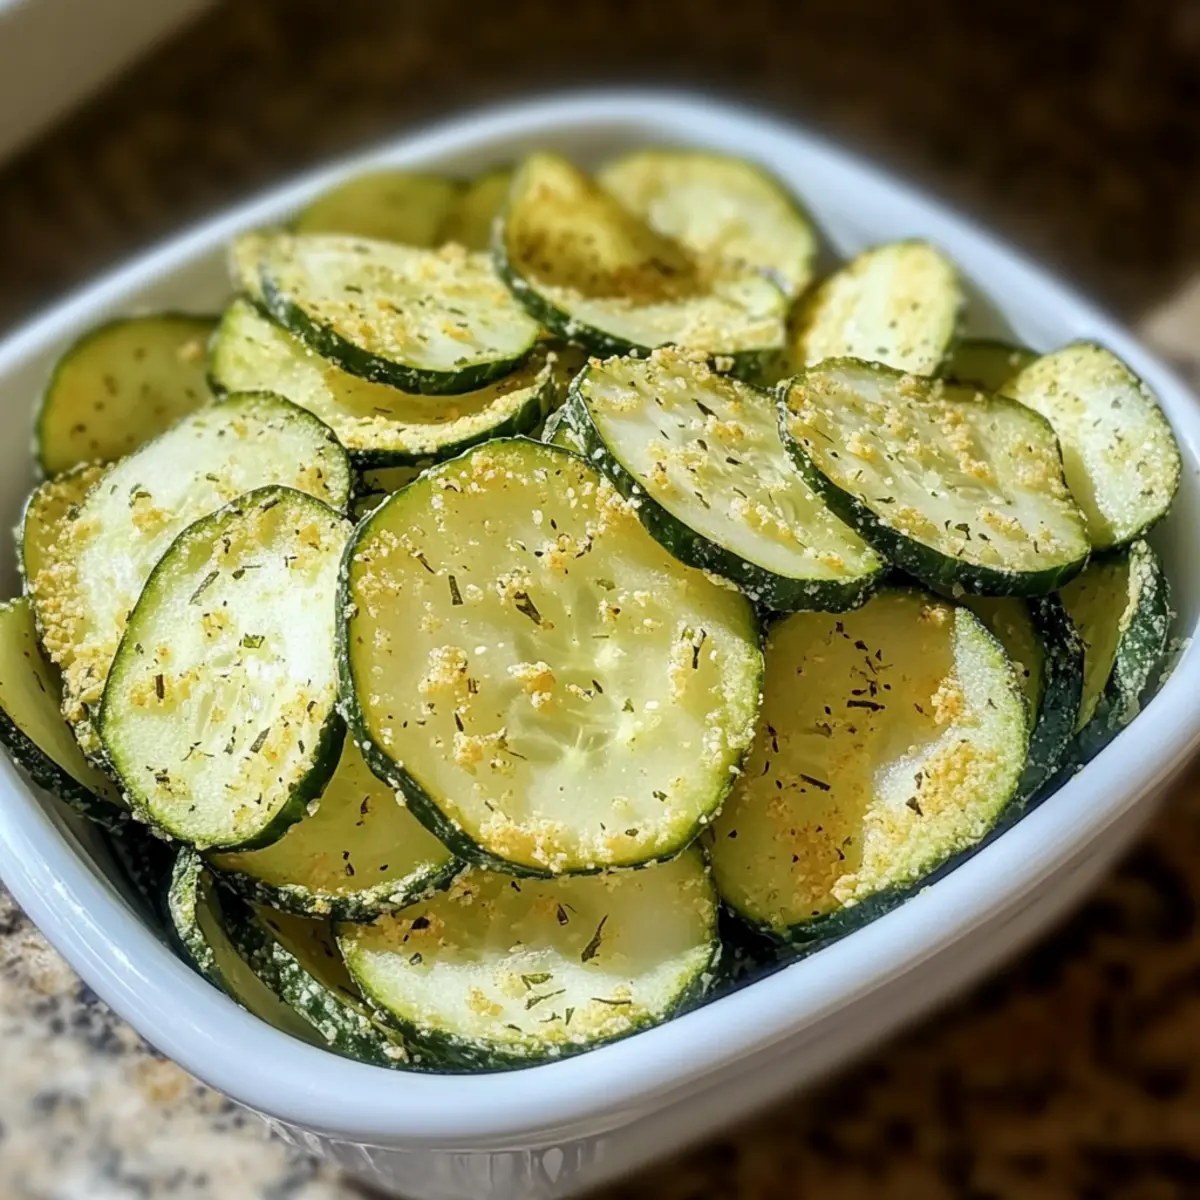
“Have you ever found yourself staring at a platter of chips and wishing for something lighter yet equally satisfying?” That was the moment I stumbled upon the idea for these Crunchy Ranch Cucumber Chips. With their light, crispy texture and zesty ranch flavor, they’re not just a snack; they’re a delightful twist on munching. Crafted from fresh, thinly sliced cucumbers, this Crunchy Ranch Cucumber Chips recipe delivers a refreshing crunch that is both gluten-free and low-calorie, making it an ideal choice for guilt-free snacking. Whether you’re catching up on your favorite series or throwing together a summer picnic, these cucumber chips will be your new go-to. And the best part? They’re simple to whip up! Curious how to turn your ordinary cucumbers into an extraordinary snack? Let’s dive in!
Why Are These Cucumber Chips Irresistible?
Freshness, these Crunchy Ranch Cucumber Chips celebrate the natural taste of cucumbers, bringing a garden-fresh vibe to your snack time. Simplicity is key; you only need a few ingredients to create this quick, healthy treat. Versatile flavor allows for easy customization—switch up the seasoning to match your mood. Low-calorie goodness makes these chips guilt-free, perfect for those mindful of their snacking habits. Pair them with a tangy dip, like hummus or a yogurt-based sauce, for the ultimate crunchy delight. Say goodbye to dull snacks and embrace this lively twist!
Crunchy Ranch Cucumber Chips Ingredients
-
For the Chips
• Cucumbers – Choose firm, fresh cucumbers for the best crunch; Persian cucumbers work beautifully as a sweet alternative.
• Buttermilk – This creamy base enhances flavor; if you’re out, combine milk with a splash of vinegar or lemon juice for a quick substitute.
• Ranch Seasoning – Essential for that zesty kick; you can opt for a packet or make your own with dried herbs and spices.
• Olive Oil – Adds crispiness to your chips; you can use cooking spray for a lighter version if desired. -
For the Dip (optional)
• Hummus – A creamy complement that pairs perfectly with the crunchy texture of the cucumber chips.
• Yogurt-based sauce – A tangy dip to elevate your snacking experience and balance the flavors.
Get ready to recreate this Crunchy Ranch Cucumber Chips recipe that will keep your snack game fresh and exciting!
Step‑by‑Step Instructions for Crunchy Ranch Cucumber Chips Recipe
Step 1: Preheat and Prepare
Begin by preheating your oven to 225°F (110°C). If you plan to use a dehydrator or air fryer, set those up according to the manufacturer’s instructions. While the oven heats, gather your equipment, including a baking sheet, parchment paper, and a sharp knife or mandoline for slicing. This preparation ensures a smooth workflow for making your Crunchy Ranch Cucumber Chips.
Step 2: Slice the Cucumbers
Wash and dry the cucumbers thoroughly to remove any dirt. Using a sharp knife or mandoline, slice them into thin rounds, approximately 1/8 inch thick. Aim for uniform thickness to ensure even cooking. Arrange the cucumber slices on a clean surface, ready for the next step. Their freshness will shine through in your Crunchy Ranch Cucumber Chips!
Step 3: Mix the Ranch Coating
In a medium bowl, combine buttermilk, ranch seasoning, garlic powder, onion powder, salt, and black pepper. Stir until the mixture is well blended and creamy. This seasoning blend is what brings your Crunchy Ranch Cucumber Chips to life, infusing fresh flavors throughout. If you like, let the mixture sit for a few minutes to enhance the flavors.
Step 4: Coat the Cucumber Slices
Toss the cucumber slices gently in your ranch mixture, ensuring each piece is evenly coated. For a deeper flavor, consider marinating them in this mixture for 5-10 minutes. This simple step elevates the taste of your Crunchy Ranch Cucumber Chips and makes them irresistibly zesty!
Step 5: Arrange on the Baking Sheet
Line a baking sheet with parchment paper for easy cleanup. Lay the coated cucumber slices in a single layer on the sheet, ensuring they don’t overlap. Lightly brush or spray the tops with olive oil to promote crispiness while baking. This setup is crucial for achieving crunchy perfection in your chips.
Step 6: Bake to Crispiness
Place the baking sheet in the preheated oven and bake for 1.5 to 2 hours. Flip the cucumber slices halfway through to ensure they brown evenly and achieve that desired crisp texture. Keep an eye on them; they should turn golden and crunchy, signaling that your Crunchy Ranch Cucumber Chips are nearly ready!
Step 7: Cool and Enjoy
Once baked, remove the cucumber chips from the oven and let them cool completely on the baking sheet. As they cool, they will become even crisper. Feel free to taste one; the flavors will be vibrant and exciting! Serve immediately or store in an airtight container for up to 2 days—if they last that long!
What to Serve with Crunchy Ranch Cucumber Chips
Imagine enjoying a delightful summer get-together or a cozy movie night with something crispy and refreshing by your side.
- Creamy Hummus: This flavorful dip pairs beautifully with the crunchy chips, adding a rich creaminess that elevates snacking to new heights.
- Tangy Yogurt Sauce: A cool yogurt-based dip balances the zesty nature of the cucumber chips, providing a delightful contrast in flavors.
- Fresh Vegetable Platter: Complement the chips with a colorful assortment of raw veggies like carrots and bell peppers to add vibrant crunch and nutrition.
- Savory Salsa: A chunky, fresh salsa adds a burst of flavor, blending perfectly with the ranch seasoning for a satisfying bite.
- Light Salad: Serve a crisp garden salad alongside for a light, refreshing meal that showcases those garden-fresh flavors.
- Fruit Skewers: Sweet and juicy fruit skewers offer a sweet contrast to the savory chips, making your plate a palette of tastes and textures.
- Chilled Sparkling Water: Stay refreshed with a bubbly drink; a hint of lemon or cucumber in your water echoes the chips’ freshness beautifully.
How to Store and Freeze Crunchy Ranch Cucumber Chips
- Room Temperature: Store your Crunchy Ranch Cucumber Chips in an airtight container for up to 2 days. This keeps them crisp and delicious, perfect for snacking.
- Fridge: Avoid refrigerating, as the moisture can lead to sogginess. Enjoy these tasty chips at room temperature for the best experience.
- Reheating: If your chips lose crispness, reheat them in a preheated oven at 225°F (110°C) for a few minutes until they regain their delightful crunch.
- Freezer: For longer storage, consider freezing them before baking. Spread the coated cucumber slices on a parchment-lined sheet, freeze until solid, then transfer to a freezer bag. Bake directly from frozen, adding a few extra minutes to the cooking time.
Make Ahead Options
These Crunchy Ranch Cucumber Chips are perfect for busy home cooks looking to save time! You can slice the cucumbers and prepare the ranch coating up to 24 hours in advance. Simply store the sliced cucumbers submerged in cold water in the refrigerator to keep them fresh and prevent browning. The ranch mixture can also be refrigerated in a sealed container. When you’re ready to enjoy your snack, simply drain the cucumbers, toss them in the ranch mixture, and bake as directed. This way, you’ll have super crunchy and flavorful chips in a fraction of the time, making your meal prep a breeze!
Crunchy Ranch Cucumber Chips Variations
Feel free to customize these delightful Crunchy Ranch Cucumber Chips to match your taste buds and dietary needs!
-
Dairy-Free: Replace buttermilk with almond milk mixed with lemon juice for a creamy base without the dairy.
-
Spicy Kick: Add a pinch of cayenne pepper or crushed red pepper flakes to the ranch mixture for some heat. This little twist makes your chips perfectly zesty and exciting!
-
Herby Delight: Incorporate fresh herbs, like dill or parsley, into your ranch seasoning for a garden-fresh flavor that pairs beautifully with cucumbers.
-
Taco Flavor: Swap ranch seasoning for taco seasoning for a fun, fiesta twist. It’ll remind you of your favorite taco night and take your snacking to the next level.
-
Zesty Lemon Pepper: Use lemon pepper seasoning instead of ranch for a bright and refreshing taste that truly highlights the cucumbers’ crispness.
-
Baked Taste Variation: Air fry instead of bake for a different texture and taste, while cutting down on cook time. This approach will keep your chips bright and crunchy!
-
Crunchier Texture: Dehydrate instead of oven-baking for an extra crispy texture that makes your chips last longer—and the flavor will be even more concentrated!
-
Flavorful Swaps: Experiment with ranch seasoning brands or even create your own blend, incorporating flavors from other favorites like Caesar or Italian.
Once you’ve tried out these variations, you can elevate your snacking game! And if you’re looking for other easy snacks, don’t miss my Pitas Herby Ranch recipe for another savory treat!
Expert Tips for Crunchy Ranch Cucumber Chips
- Slice Uniformly: Ensure all cucumber slices are around 1/8 inch thick for even cooking; thicker slices may not crisp properly.
- Use Fresh Ingredients: Opt for fresh cucumbers and homemade ranch seasoning for the best taste; avoid stale packets that can dull flavor.
- Watch the Oven: Stay close while baking; different ovens can vary in temperature, and you don’t want them to burn.
- Cool Completely: Let the chips cool on the baking sheet; they’ll turn crispier as they cool, enhancing your Crunchy Ranch Cucumber Chips experience.
- Try Flavor Variations: Don’t hesitate to experiment! Swap out ranch seasoning with taco or lemon pepper for exciting twists on your chips.
- Storage Matters: To keep them crispy, store in an airtight container at room temperature; avoid refrigerating as it can make them soggy.
Crunchy Ranch Cucumber Chips Recipe FAQs
What cucumbers are best for this recipe?
I recommend using firm, fresh cucumbers for the ideal crunch and flavor. Persian cucumbers work wonderfully as a sweet alternative due to their thinner skin, which adds a nice texture and taste to your Crunchy Ranch Cucumber Chips.
How should I store leftover cucumber chips?
To maintain their crunch, store your Crunchy Ranch Cucumber Chips in an airtight container at room temperature for up to 2 days. Avoid refrigerating them, as the moisture can make them soggy—no one wants that!
Can I freeze these chips?
Absolutely! To freeze, spread the coated cucumber slices on a parchment-lined baking sheet and freeze until firm. Once solid, transfer them to a freezer bag. They can be baked directly from frozen; just add a few extra minutes to the cooking time. This method keeps their delicious flavor intact while allowing for long-term storage.
What should I do if my chips aren’t crispy enough?
If your Crunchy Ranch Cucumber Chips didn’t achieve the desired crispiness, ensure that your cucumber slices are evenly cut at about 1/8 inch thick to allow for proper cooking. If needed, reheat them in a preheated oven at 225°F (110°C) for a few minutes to help them crisp up, keeping a close eye on them to avoid burning.
Can I customize the flavors?
Very! One of the best aspects of this recipe is its versatility. You can swap the ranch seasoning for taco seasoning or lemon pepper to create a variety of flavors according to your mood. Feel free to experiment with the seasoning blends—your taste buds will thank you!
Are these chips suitable for a gluten-free diet?
Yes, these Crunchy Ranch Cucumber Chips are gluten-free, making them a fantastic snack option for those with gluten sensitivities. Just double-check that your ranch seasoning is gluten-free, especially if using a store-bought packet!
Crunchy Ranch Cucumber Chips Recipe for Guilt-Free Snacking
Ingredients
Equipment
Method
- Preheat your oven to 225°F (110°C) and gather your equipment.
- Wash and dry the cucumbers before slicing them into 1/8 inch thick rounds.
- In a medium bowl, combine buttermilk, ranch seasoning, spices, salt, and pepper until creamy.
- Toss cucumber slices in the ranch mixture until evenly coated.
- Lay coated cucumber slices in a single layer on a parchment-lined baking sheet.
- Bake for 1.5 to 2 hours, flipping halfway, until golden and crunchy.
- Cool the chips completely on the baking sheet before serving or storing.
Leave a Reply