
“Can you believe you can whip up waffles that are not only fluffy but also packed with protein?” I remember the first time I discovered high protein waffles; it was a total game changer for my breakfast routine. These delightful Protein Waffles boast a whopping 45 grams of protein per serving, making them an ideal choice for anyone looking to shift away from fast food and indulge in nutritious, homemade goodness. In addition to their impressive protein kick, they’re incredibly versatile, allowing you to customize the ingredients to fit gluten-free or vegan diets effortlessly. Plus, whipping up a batch takes no time, meaning you can enjoy a healthy breakfast even on the busiest mornings! So, are you ready to elevate your breakfast game? Let’s dive into the recipe that will keep you fueled and satisfied all day long!
Why Are These Waffles a Game Changer?
Nutrition-Packed: Each fluffy bite delivers 45 grams of protein, making mornings feel satisfying and guilt-free.
Versatile Ingredients: Customize with your favorite protein powders or flours—like gluten-free options—to suit your preferences!
Quick Prep: Say goodbye to fast food! These waffles come together in no time, ideal for busy lifestyles.
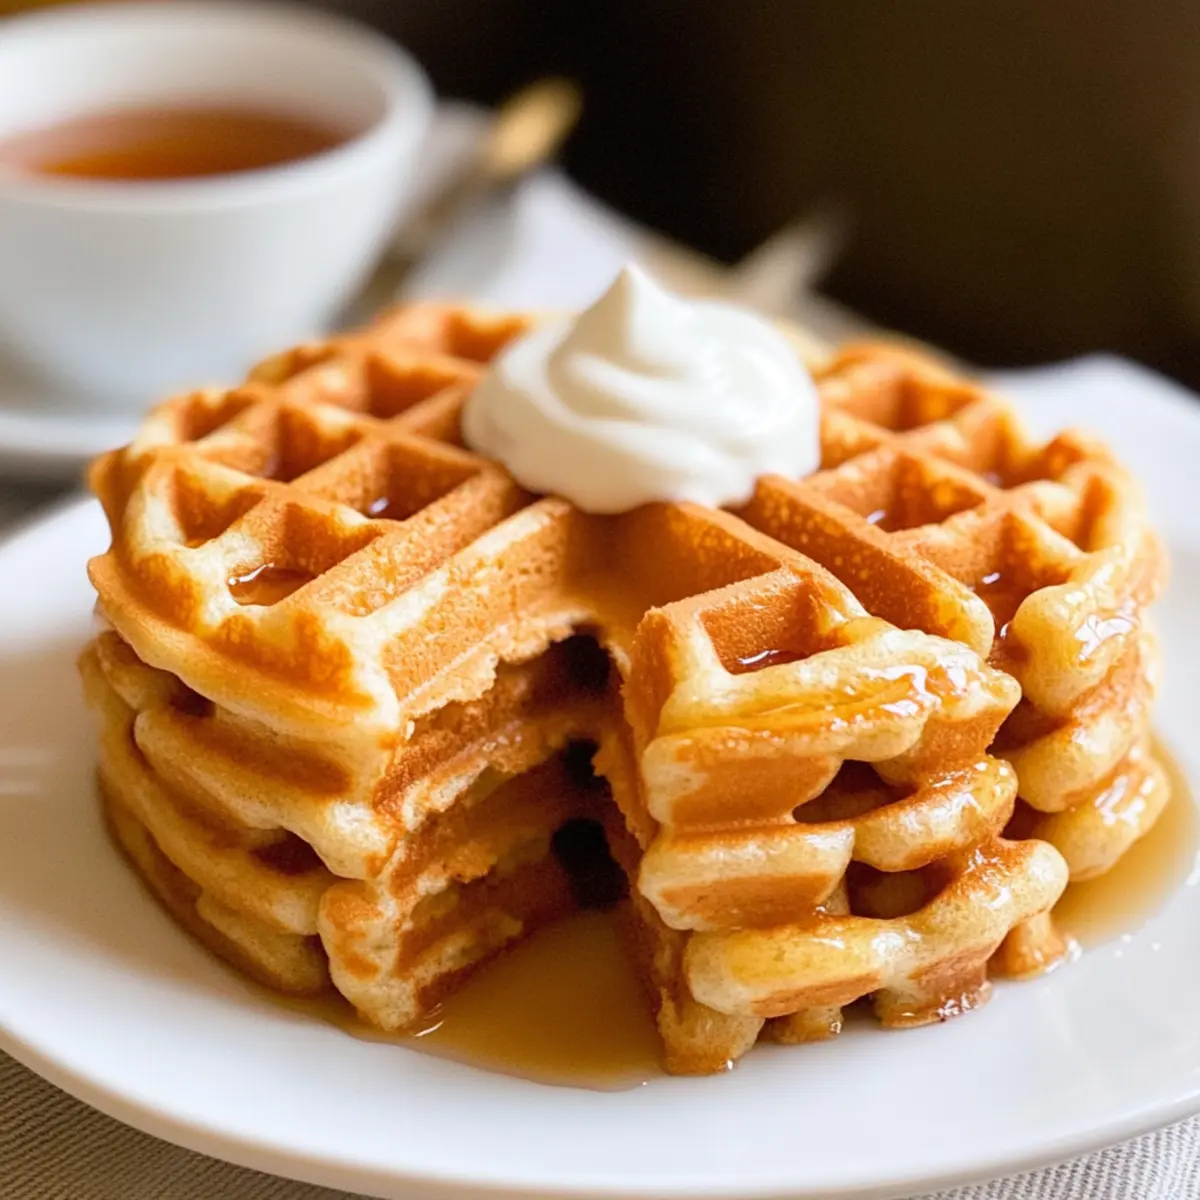
Texture Delight: Expect a perfect balance of crisp outside and soft inside, just like your favorite brunch spot.
Endless Toppings: Top with fruit, yogurt, or even a drizzle of maple syrup for a sweet treat that fits your diet.
Elevate your breakfast with Cottage Cheese Wraps for another nutritious twist!
Protein Waffles Ingredients
For the Batter
• Protein Powder – Provides high protein content; choose your favorite, like whey or pea for a delicious base.
• Flour – Acts as a structural base; options include all-purpose, spelt, or gluten-free flour for versatility.
• Baking Powder – Essential for fluffiness; don’t skip this crucial ingredient for the perfect rise!
• Salt – Enhances overall flavor and balances sweetness, bringing out the best in the batter.
• Water – Hydrates the mixture; adjust depending on your protein powder for the right consistency.
• Egg Whites – Boosts protein and structure; swap with additional water for a vegan-friendly option.
• Yogurt or Applesauce – Adds moisture and a tangy depth; opt for non-dairy yogurt for a vegan choice.
• Sweetener – Elevates the sweetness to taste; use sugar, maple syrup, or a sugar-free alternative.
• Oil (optional) – Aids in achieving crispiness; consider omitting for a lighter version.
For Serving
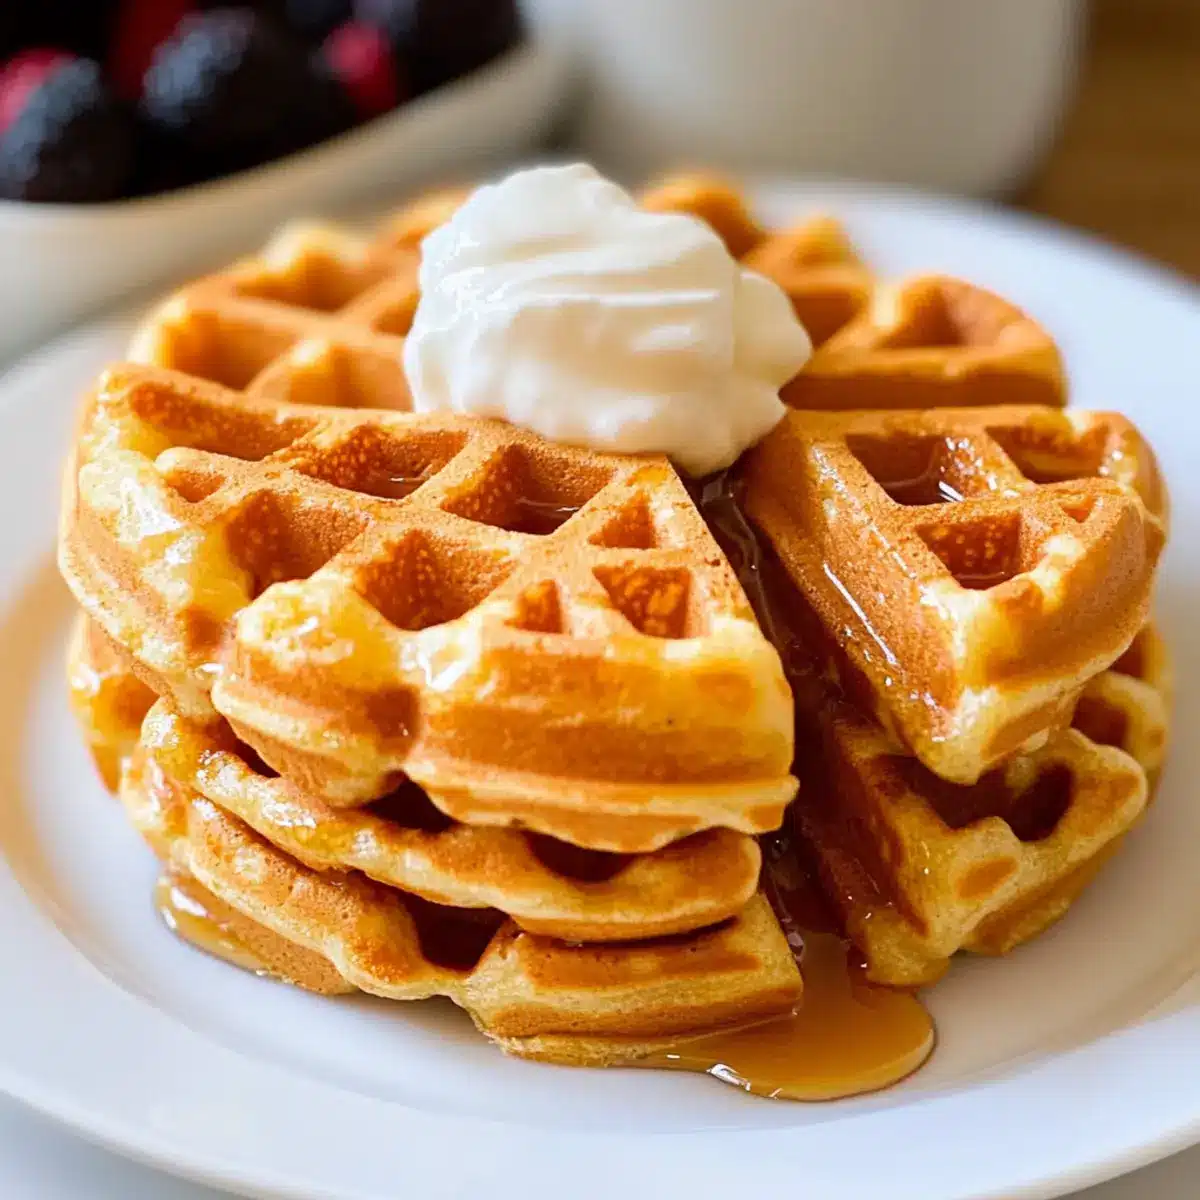
• Fresh Berries – Brighten your waffles with a burst of flavor and nutrients.
• Maple Syrup – Drizzle on for a classic sweet touch; it’s a delightful complement to these Protein Waffles!
• Nut Butter – Amp up the protein and flavor with a creamy spoonful of almond or peanut butter.
Enjoy these delightful, protein-packed waffles that are not just a breakfast, but a celebration of healthy, homemade goodness!
Step‑by‑Step Instructions for Protein Waffles
Step 1: Combine Dry Ingredients
In a large mixing bowl, whisk together your chosen protein powder, flour, baking powder, and salt. Make sure there are no lumps for a smooth batter. This mixture will form the base of your Protein Waffles, so take a moment to ensure everything is well combined.
Step 2: Incorporate Wet Ingredients
Next, add in the water, egg whites, yogurt or applesauce, and your preferred sweetener to the dry mixture. Stir until you achieve a smooth batter without any dry spots or clumps. The consistency should be slightly thick but pourable—adjust with more water if needed, based on your protein powder type.
Step 3: Preheat the Waffle Iron
While your batter rests for a minute, preheat your waffle iron according to the manufacturer’s instructions—usually to a medium-high setting. Grease the surface well with nonstick spray or a light coat of oil to prevent sticking. This step is crucial for achieving those perfectly golden, crisp Protein Waffles.
Step 4: Cook the Waffles
Pour an appropriate amount of batter into the center of the preheated waffle iron, ensuring not to overfill. Close the lid and cook according to your device’s instructions, typically around 4-5 minutes. Look for a crisp exterior and gentle steam release to know when your Protein Waffles are ready.
Step 5: Repeat and Serve
After your first waffle is ready, carefully remove it and repeat with the remaining batter, ensuring to grease the iron between batches. Serve the waffles hot, topped with your favorite fruits, a drizzle of maple syrup, or a dollop of nut butter for an extra protein punch. Enjoy the delightful texture and taste of your homemade Protein Waffles!
Make Ahead Options
These Protein Waffles are perfect for meal prep enthusiasts! You can prepare the batter up to 24 hours in advance, allowing you to simply mix your dry ingredients and wet ingredients the night before. Store the batter in an airtight container in the refrigerator to keep it fresh. Additionally, you can cook the waffles and store them in the freezer for up to 3 months; just make sure to place parchment paper between layers in an airtight container to prevent sticking. When you’re ready to serve, reheat them in a toaster for that just-made crispiness or microwave until hot. This way, you’ll have delicious, high-protein waffles at your fingertips, even on the busiest mornings!
Protein Waffles Variations & Substitutions
Feel free to mix and match ingredients for a breakfast experience that’s uniquely yours, bursting with delightful flavors!
-
Flavor-Packed Protein: Experiment with different protein powder flavors like chocolate or vanilla for a tasty twist tailored to your palate. This is a great way to keep your mornings exciting!
-
Gluten-Free Flour: Substitute regular flour with almond or coconut flour to keep your waffles gluten-free, while still enjoying all the fluffiness. It works well with the waffle batter, creating a lovely texture.
-
Dairy-Free Delight: Swap yogurt for a non-dairy option like almond or coconut yogurt, ensuring both creaminess and a vegan-friendly choice. You can enjoy this recipe with guilt-free bliss!
-
Nutty Boost: Add a scoop of peanut butter to the batter for an extra protein kick and a comforting, nutty flavor that pairs beautifully with sweet toppings. Just imagine the delicious aroma wafting through your kitchen!
-
Sweetness Options: Use mashed bananas or applesauce instead of sweetener for natural sweetness that enhances the flavor profile without added sugars. Your waffles will have a delightful hint of fruity goodness!
-
Texture Treasure: Mix in chopped nuts or seeds for an exciting crunch that contrasts with the softness of the waffles. They not only add texture but also bring in wholesome nutrients!
-
Spicy Kick: Sprinkle a dash of cinnamon or nutmeg into the batter for a warm spice that elevates the flavors, creating a cozy breakfast feel that feels like a warm hug.
-
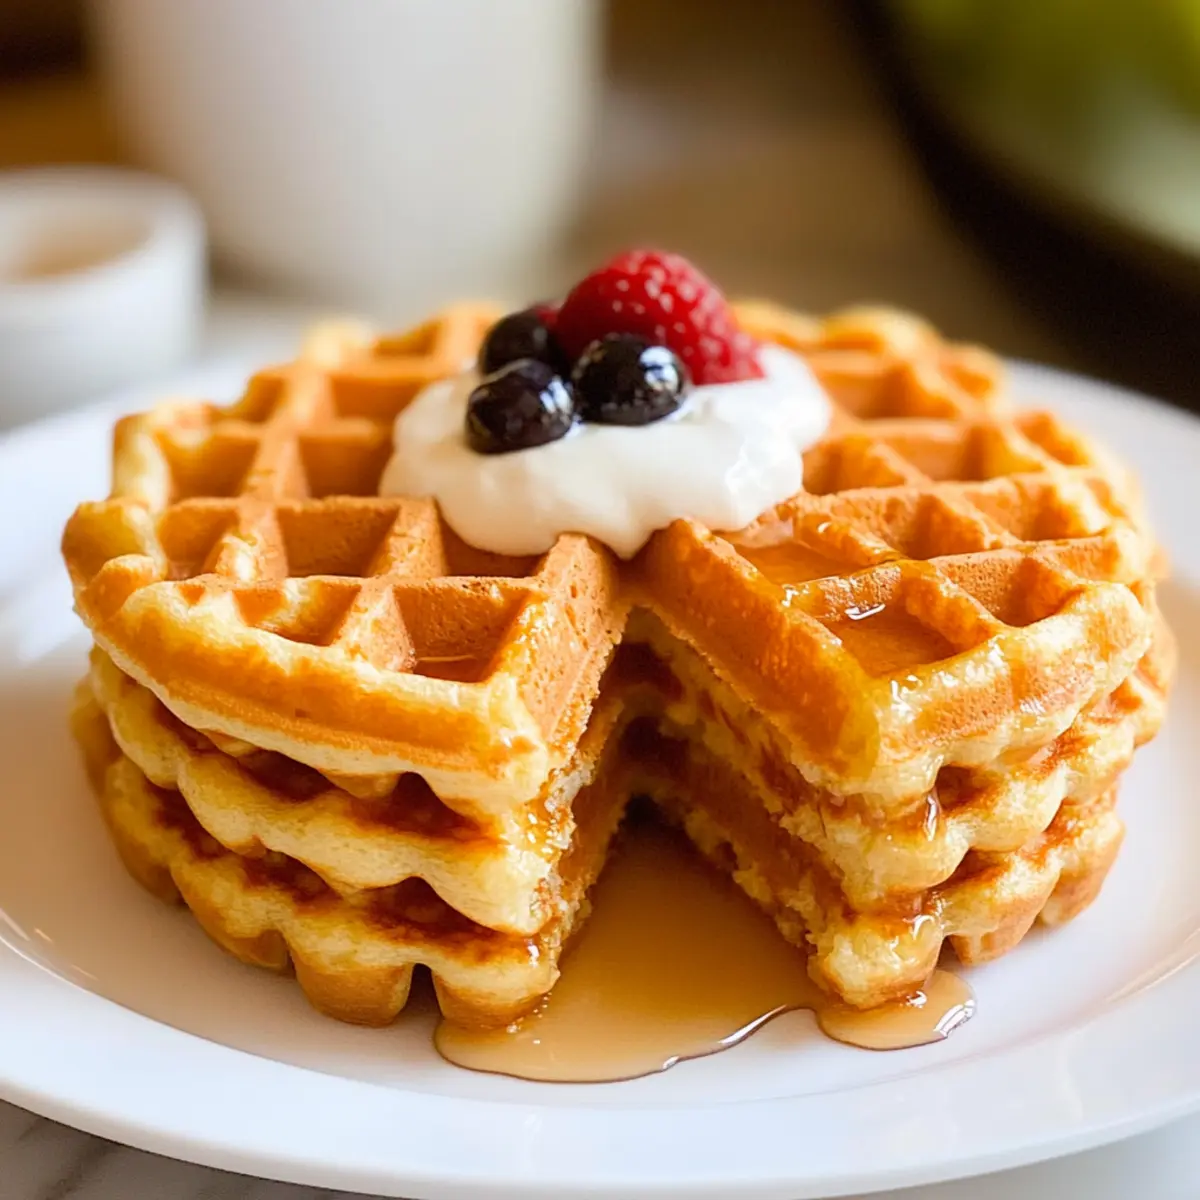
Fruit Fun: Add in fresh or frozen fruits like blueberries or raspberries directly into the batter for bursts of sweetness and moisture, making each bite a fruity delight! Pair them with Cottage Cheese Wraps for a protein-packed breakfast duo!
Every variation invites you to embrace creativity, making these Protein Waffles perfect not just once but again and again!
Storage Tips for Protein Waffles
Fridge: Store cooled protein waffles in an airtight container for up to 3 days. This keeps them fresh and ready to enjoy at a moment’s notice.
Freezer: For longer storage, freeze individual waffles with parchment paper in between to prevent sticking. They can last up to 2 months without losing taste or texture.
Reheating: Reheat in a toaster oven for a crispy finish or microwave for about 30 seconds to 1 minute until heated through. Enjoy them warm, just like fresh from the waffle iron!
Make-Ahead: Preparing a batch of protein waffles in advance means you can have a wholesome breakfast ready during busy mornings, offering both convenience and nutrition.
Expert Tips for Perfect Protein Waffles
• Liquid Adjustment: If your batter is too thick, add a splash of water to achieve the ideal consistency for protein waffles.
• Grease Wisely: Generously apply nonstick spray or oil to the waffle iron to prevent sticking, ensuring a perfect release every time.
• Test Doneness: Look for steam release and a light golden color; undercooked waffles will be soggy, so give them the proper time to crisp up!
• Batch Storage: For make-ahead convenience, store cooled waffles in an airtight container with parchment paper between layers to maintain freshness.
• Topping Variety: Experiment with toppings like fresh fruits, yogurt, or nut butters to enhance the flavor and nutritional value of your protein waffles.
What to Serve with High Protein Waffles
Indulge in a delightful breakfast experience that not only satisfies your cravings but also nourishes your body with wholesome goodness.
-
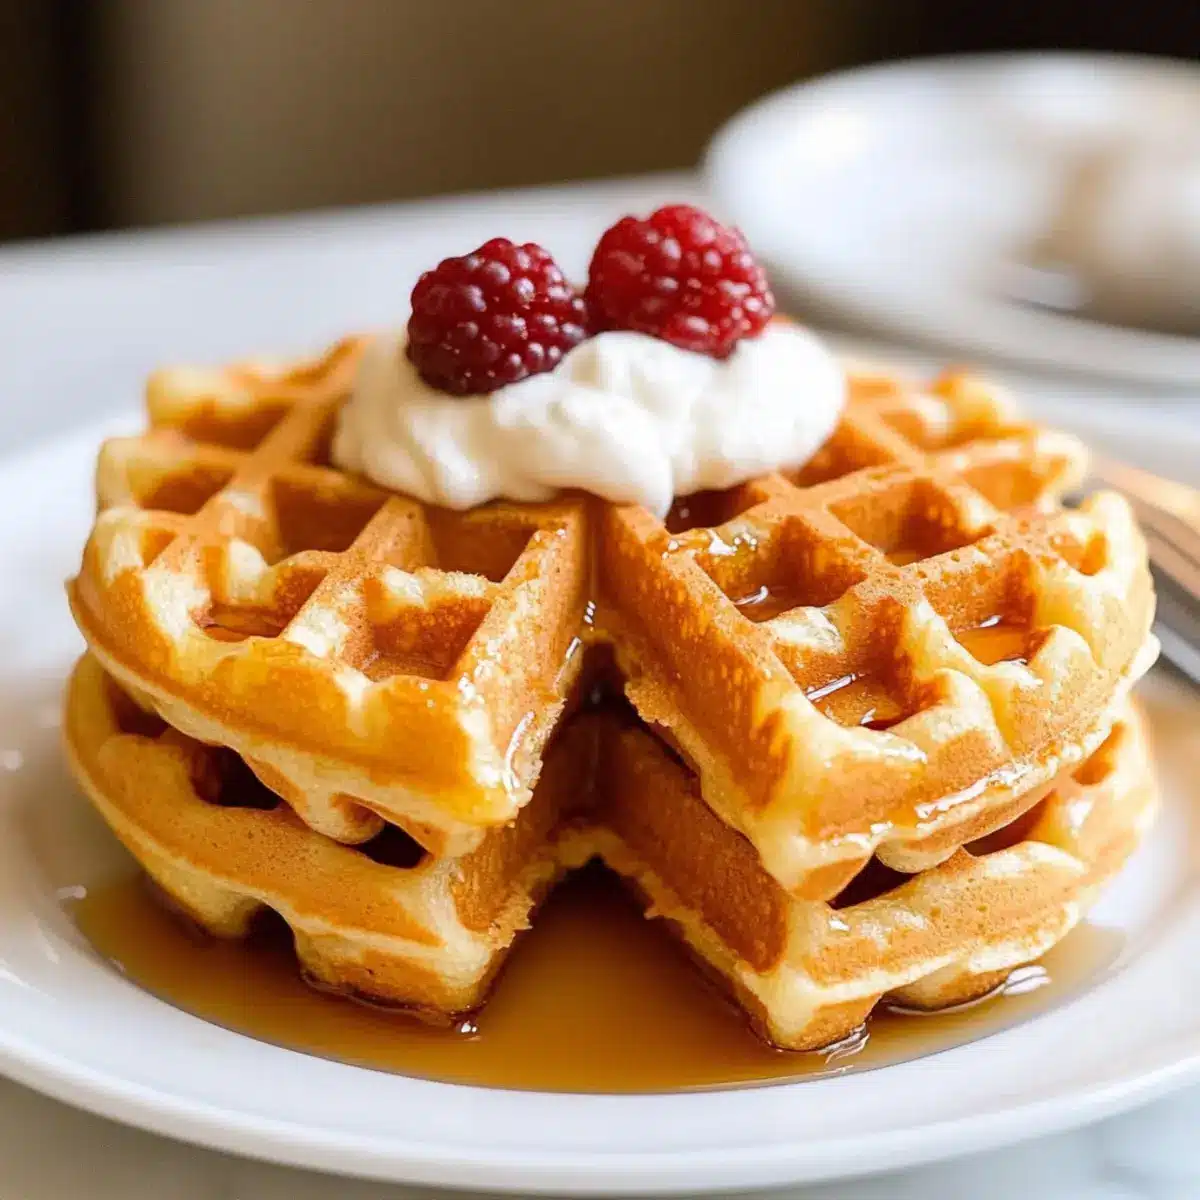
Fresh Berries: These juicy gems add a pop of color and a fresh burst of flavor, perfectly balancing the waffles’ richness.
-
Pure Maple Syrup: Drizzling a touch of this golden elixir brings a classic sweetness to each bite, enhancing the natural flavors beautifully.
-
Greek Yogurt: A dollop of creamy Greek yogurt introduces a tangy contrast while adding even more protein to your meal, making it a power-packed choice.
-
Nut Butter: Spread almond or peanut butter for a deliciously creamy texture and an extra protein boost that’s both satisfying and nutritious.
-
Banana Slices: Sweet slices of banana not only elevate the taste but also contribute potassium and fiber, complementing the perfect protein-packed breakfast.
-
Coconut Flakes: Toasted coconut adds a delightful crunch and unexpected tropical flair, making every bite feel like a mini-vacation.
-
Chia Seed Jam: Homemade jam made from chia seeds and your favorite fruit is a healthy way to add sweetness and fiber, making for an irresistible topping.
-
Coffee or Protein Shake: Pair your waffles with a warm cup of coffee or a protein shake for a complete breakfast that keeps you energized throughout your day!
Protein Waffles Recipe FAQs
What type of protein powder is best for these waffles?
Absolutely! You can use any type of protein powder you prefer. Whey protein works beautifully for a light texture, while plant-based options like pea or soy protein can be perfect for a vegan twist. Always check the packaging for any specific mixing instructions, as some powders may require different liquid ratios.
How should I store leftover waffles?
For optimal freshness, store cooled protein waffles in an airtight container in the fridge for up to 3 days. If you want to keep them longer, they can be frozen! Layer parchment paper between each waffle to prevent sticking and seal them in a freezer-safe bag. They’ll stay delicious for up to 2 months!
Can I freeze the waffles? If so, how?
Of course! To freeze protein waffles, allow them to cool completely before stacking them with parchment paper in between each one. Then, place them in a freezer-safe container or bag. When you’re ready to enjoy, pop them in a toaster oven for a crispy finish or microwave on high for about 30-60 seconds until warm.
What should I do if my waffles are too dense?
Very! If your waffles turn out dense, it might be due to too much liquid or not enough baking powder. Check the ratio of wet to dry ingredients; a good rule is to ensure they balance well. Additionally, make sure to whisk the dry ingredients thoroughly before adding the wet ones to prevent clumps. If it’s already mixed, add a splash of water to adjust the consistency!
Are these waffles suitable for a gluten-free diet?
Definitely! Simply substitute the all-purpose flour with a gluten-free flour blend to keep these protein waffles gluten-free. Many gluten-free flours contain a mix of rice flour, almond flour, and more, which will still give you that delightful, fluffy texture. Always check the labels to ensure they’re fully gluten-free!
Can pets eat these waffles?
It’s best to keep these waffles away from pets. The ingredients like protein powder, yogurt, and sweeteners can be harmful to animals. If you want to share something special with them, consider making a separate batch without any ingredients that could upset their stomach or be toxic.
Protein Waffles That Are Light, Fluffy, and Guilt-Free
Ingredients
Equipment
Method
- Combine all dry ingredients in a bowl and whisk until smooth.
- Incorporate wet ingredients and stir until you have a smooth batter.
- Preheat waffle iron according to instructions and grease well.
- Cook waffles in the iron for about 4-5 minutes.
- Remove and repeat with remaining batter, serving topped as desired.
Leave a Reply