
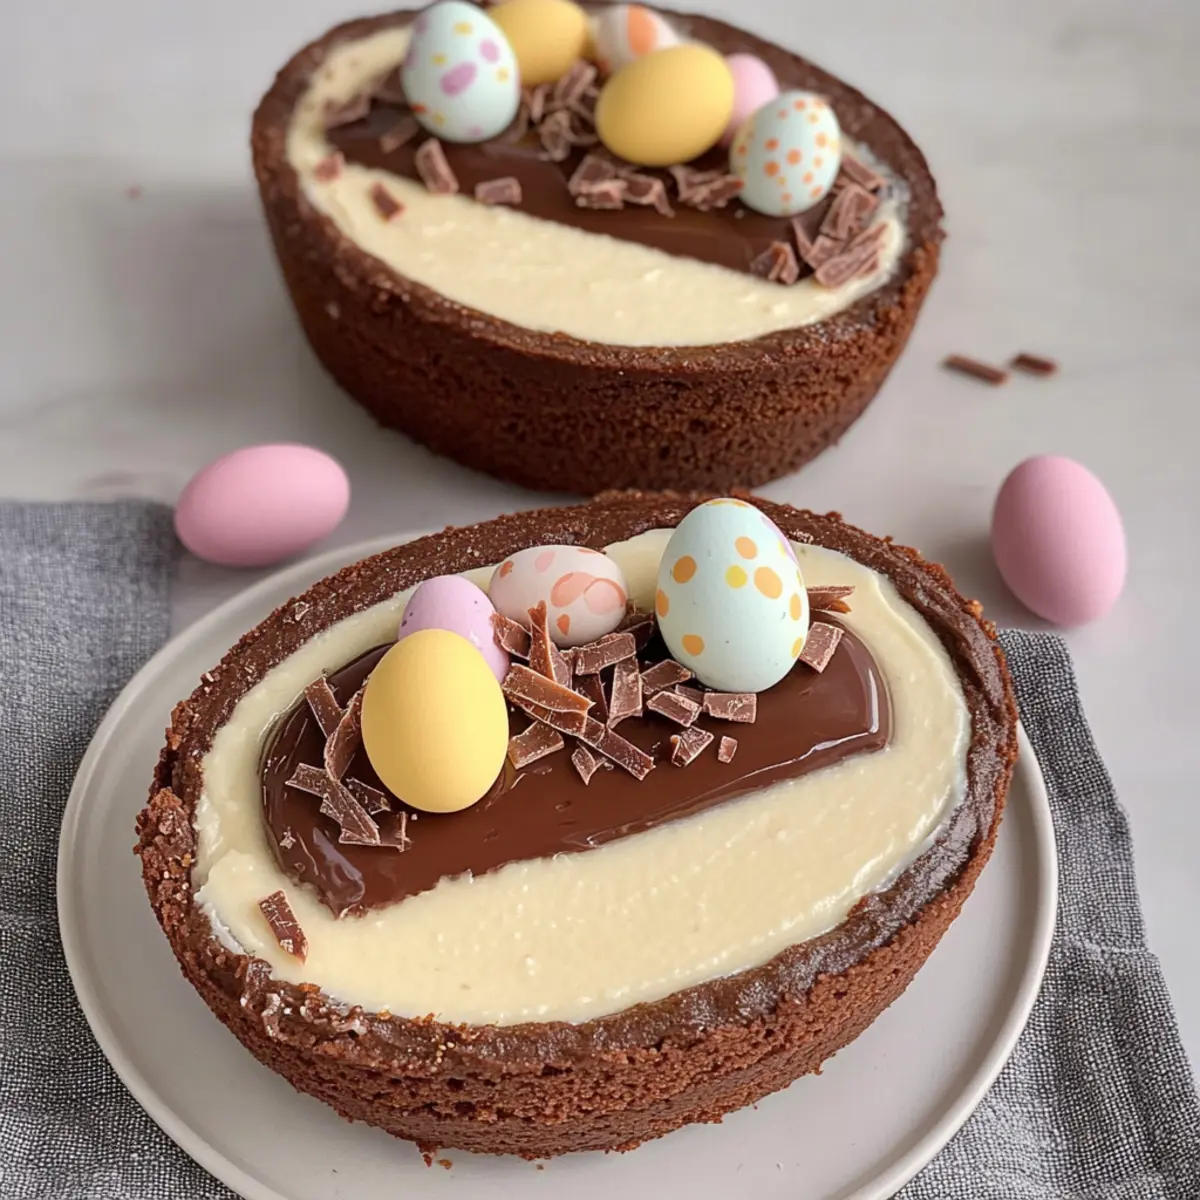
As Easter approaches, I find myself immersed in childhood memories filled with the sweet aroma of baked delights—each one capturing the essence of spring celebrations. This year, I’m excited to share a treat that embodies all those joyous moments: the Easter Egg Cheesecake. This no-bake wonder combines the richness of a creamy cheesecake filling nestled within a delightful chocolate shell, all resting on a buttery biscuit base. Not only is it simple to whip up, making it a perfect addition to your family festivities, but it’s also customizable, allowing you to get creative with your favorite indulgences. Whether you cater to dietary needs or simply want to impress your loved ones, this Easter Egg Cheesecake is sure to be a showstopper. Could there be a more delightful way to celebrate the season than with this creamy, chocolatey masterpiece?
Why is this Easter Egg Cheesecake perfect?
Customization Galore: The Easter Egg Cheesecake is easily tailored to suit any taste. Want it gluten-free? A quick switch of the biscuits does the trick!
No-Bake Convenience: Save time in the kitchen with this no-bake recipe, allowing you to focus on family gatherings and festivities instead of endless baking.
Rich and Creamy: The blend of cream cheese and double cream ensures a smooth, decadent filling that melts in your mouth, making every bite a blissful experience.
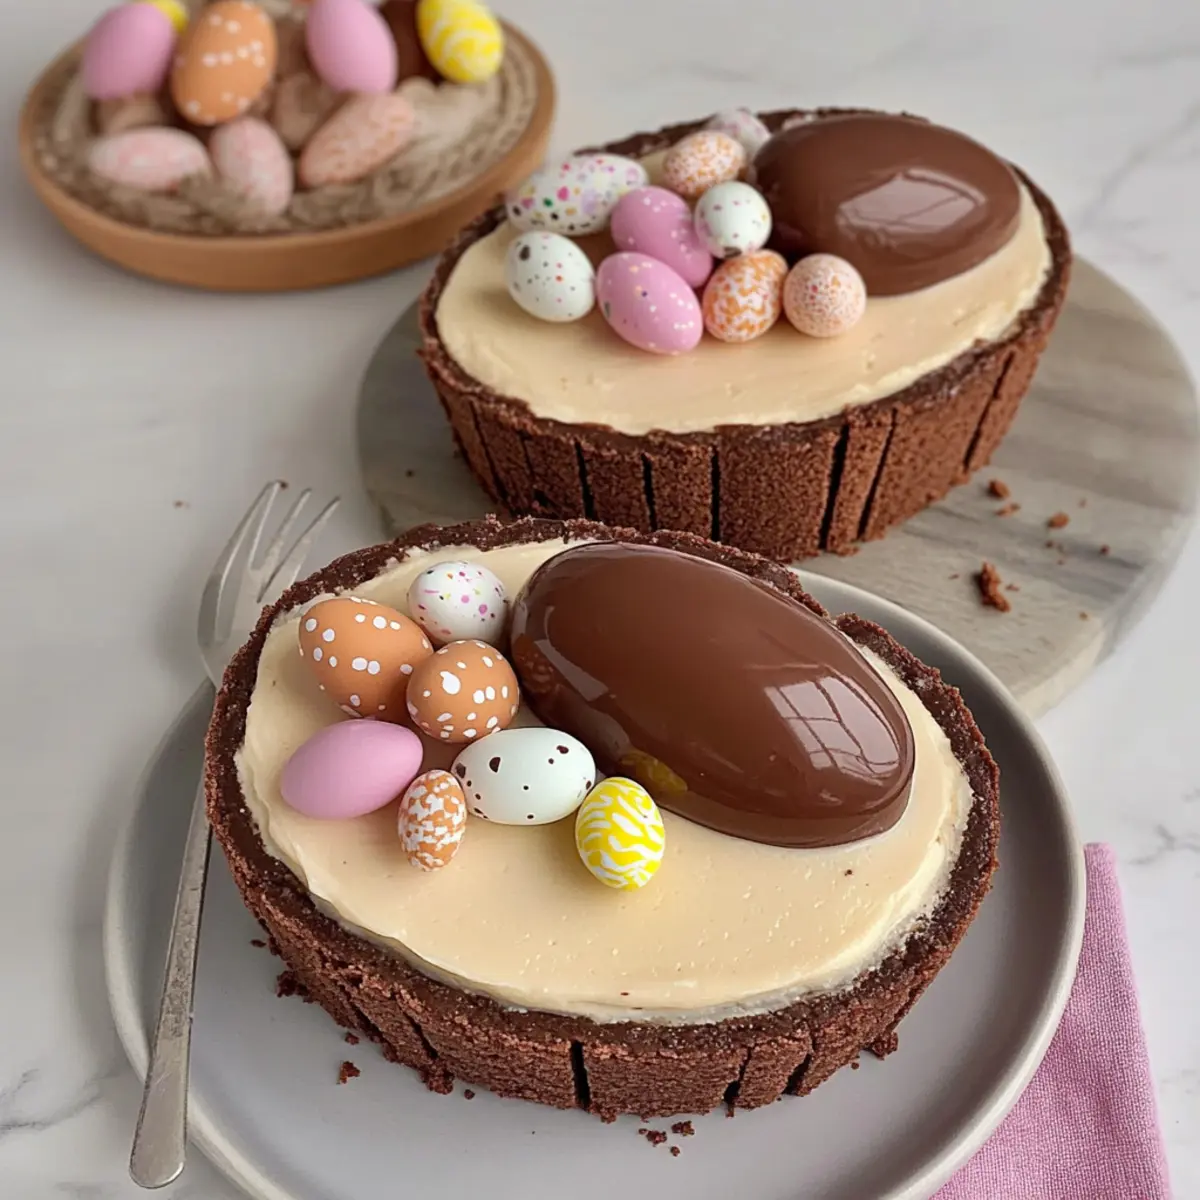
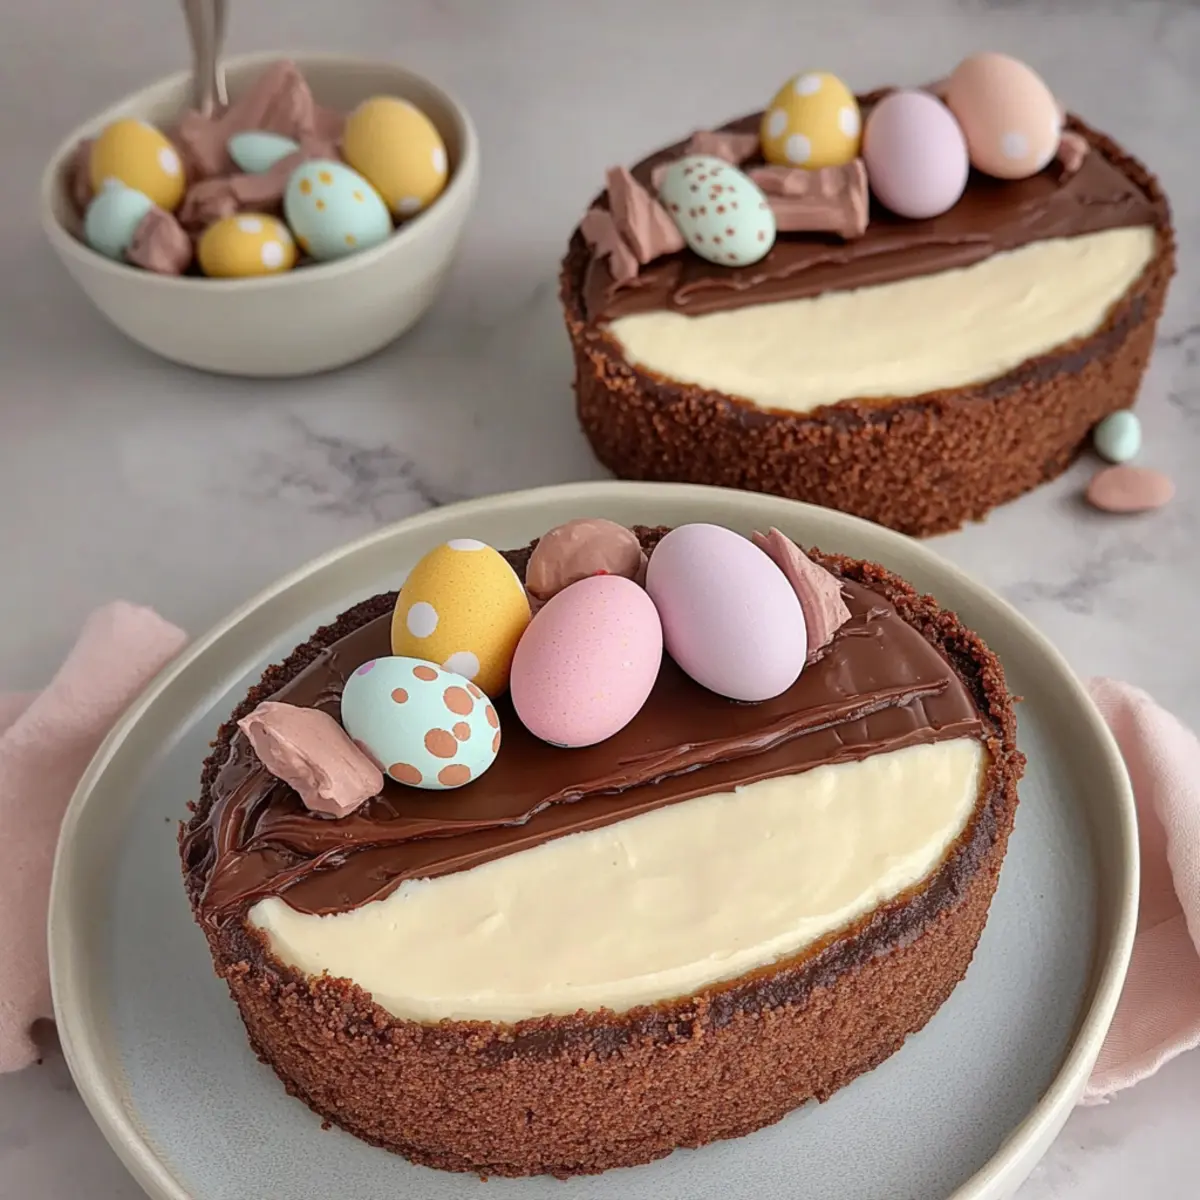
Visual Appeal: With its stunning chocolate shell and vibrant decorations, this cheesecake not only tastes amazing but also makes for an impressive centerpiece at your Easter table.
Healthy Alternatives: Looking for lighter options? You can tweak this recipe to be lower in calories, or whip up a vegan version, ensuring everyone can join in the celebration.
Crowd-Pleasing Delight: This treat is bound to impress guests of all ages, turning dessert into a joyful event and making it the highlight of any spring gathering! You might also enjoy checking out related recipes like the Savory Sausage Egg for a perfect brunch pairing!
Easter Egg Cheesecake Ingredients
• Get ready to make this delightful Easter treat!
For the Cheesecake Filling
- Full Fat Cream Cheese (235g) – Essential for a rich, creamy filling; Philadelphia is recommended for the best texture.
- Icing Sugar (40g) – Sweetens the mixture; adjust according to your sweetness preference.
- Vanilla Extract (1 tsp) – Adds a lovely depth of flavor to your filling.
- Double Cream (95ml) – Thickens the filling and gives it a luxurious mouthfeel; low-fat versions can be used but may alter the texture.
For the Biscuit Base
- Digestive Biscuits (60g) – Provides a crunchy and sturdy base; use gluten-free biscuits for a gluten-free alternative.
- Butter (25g, melted) – Binds the biscuit crumbs together; can substitute with a dairy-free baking spread.
For the Chocolate Shell
- Large Easter Egg (approx 150g) – The foundation of this dessert; choose a good-quality chocolate egg for best results.
For Decoration
- Dark Chocolate (15g, melted) – Offers an elegant finish and enhances the dessert’s chocolatey flavor.
- Mini Eggs (8 or more, optional) – Adds color and sweetness; feel free to use any Easter-themed chocolates.
- Kit Kat Bunnies (2, optional) – Perfect for decoration and playful touch; replace with any seasonal candy of your choice.
Get ready to whip up this stunning Easter Egg Cheesecake that’s not only a feast for the eyes but also a delightful treat for your taste buds!
Step‑by‑Step Instructions for Easter Egg Cheesecake
Step 1: Prepare the Easter Egg
Gently warm a sharp knife under hot water for a few seconds, then carefully dry it. With a steady hand, slice the large Easter egg in half along the seam to create two even halves, ensuring a clean cut for your cheesecake filling.
Step 2: Make the Biscuit Base
In a food processor or using a rolling pin, crush the digestive biscuits into fine crumbs until they resemble a sandy texture. Combine the crumbs with melted butter in a mixing bowl, stirring until the mixture is cohesive and resembles wet sand—this will form a sturdy base for your Easter Egg Cheesecake.
Step 3: Assemble the Base
Divide the biscuit mixture evenly between the two Easter egg halves, pressing it down gently to ensure an even layer. Place the filled halves in the fridge for at least 30 minutes to chill and set while you prepare the cheesecake filling, allowing the base to firm up nicely.
Step 4: Prepare the Cheesecake Filling
In a mixing bowl, add the full-fat cream cheese, icing sugar, and vanilla extract. Using an electric mixer, whip the mixture until it’s smooth and well combined. Gradually pour in the double cream, mixing until the filling thickens and achieves a creamy consistency—this will be the luscious center of your Easter Egg Cheesecake.
Step 5: Fill the Eggs
Carefully spoon the cheesecake filling into the chilled egg halves, smoothing the tops with a spatula or the back of a spoon for an elegant finish. Make sure to fill them generously, allowing the creamy filling to just reach the top and give each half a delightful appearance.
Step 6: Set and Decorate
Refrigerate the filled egg halves for at least 2 hours to allow the cheesecake filling to set and firm up. Once set, melt the dark chocolate in the microwave or over a double boiler, then drizzle it over the tops of the Easter Egg Cheesecake and garnish with mini eggs and Kit Kat bunnies for a festive touch.

Expert Tips for Easter Egg Cheesecake
• Full-Fat Perfection: Using full-fat cream cheese and double cream yields the richest, creamiest filling—avoid low-fat substitutes for the best texture.
• Egg Size Matters: Always choose a large Easter egg (approx. 150g) to ensure there’s enough room for your creamy cheesecake filling.
• Crush Wisely: For the biscuit base, crush the cookies into fine crumbs to avoid a crumbly texture, ensuring a solid and sturdy base for your Easter Egg Cheesecake.
• Chill Time: Don’t skip chilling the filled egg halves for at least 2 hours; this allows the filling to set properly, giving you a beautiful, smooth finish.
• Customization is Key: Feel free to mix in your favorite candies or toppings—using different decorations can add personal flair while keeping this Easter Egg Cheesecake exciting.
• Ingredient Checks: If you’re making gluten-free or vegan versions, always verify ingredient labels to cater to dietary needs and avoid allergens.
How to Store and Freeze Easter Egg Cheesecake
Fridge: Keep your Easter Egg Cheesecake in an airtight container in the fridge for up to 3-4 days to maintain its creamy texture and freshness.
Freezer: If you have leftovers, you can freeze the cheesecake halves without decorations for up to three months. Wrap them tightly in plastic wrap before storing in a freezer bag.
Thawing: When ready to enjoy, transfer the frozen cheesecake to the fridge overnight to thaw gently, preserving its delightful creaminess.
Reheating: This no-bake cheesecake is best served chilled; there’s no need to reheat—just let it sit at room temperature for a few minutes before serving to soften slightly.
Make Ahead Options
These Easter Egg Cheesecakes are perfect for busy home cooks looking to save time during celebrations! You can prepare the biscuit base and cheesecake filling up to 24 hours in advance. Simply crush the digestives and mix them with melted butter, then refrigerate in the egg halves. For the cheesecake filling, whip together the cream cheese, icing sugar, and double cream, then cover tightly and refrigerate. When you’re ready to serve, fill the chilled egg halves with the set mixture and let them firm up in the fridge for at least 2 hours before decorating. This way, you’ll maintain the cheesecake’s creamy texture and have a show-stopping dessert ready with minimal last-minute fuss!
Easter Egg Cheesecake: Variations & Substitutions
Feel free to bring your own touch to this treat with easy adjustments that tantalize the taste buds!
-
Gluten-Free: Substitute digestive biscuits with gluten-free alternatives to keep everyone happy during Easter celebrations.
-
Dairy-Free: Switch out cream cheese and double cream for coconut cream and dairy-free cream cheese for a delicious, creamy flavor.
-
Vegan Twist: Use a vegan chocolate egg and replace cream cheese with blended silken tofu for a lightened-up vegan version.
-
Flavor Boost: Stir in some melted white chocolate or caramel sauce into the cheesecake filling for an indulgent twist.
-
Mini Egg Mix: Swap mini eggs for fresh berries or your favorite seasonal fruit for a refreshing burst of flavor and color.
-
Chocolate Variety: Experiment with milk chocolate eggs instead of dark for a sweeter dessert that will delight chocolate lovers.
-
Spiced Up: Add a pinch of cinnamon or nutmeg to the biscuit base for an aromatic touch perfect for the season.
-
Nutty Crunch: Incorporate crushed nuts or seeds into the biscuit base for added texture and a healthy twist.
Feel inspired? You might also enjoy these delightful recipes like the Savory Sausage Egg to round out your menu this Easter!
What to Serve with Chocolate Easter Egg Cheesecake
Indulge in the delightful experience of an Easter feast by pairing your rich chocolatey dessert with these perfect accompaniments.
-
Fresh Berries: Bright, tart raspberries or strawberries provide a refreshing contrast to the rich cheesecake, enhancing its creaminess beautifully. Their vibrant red color adds an appealing touch to your dessert spread.
-
Whipped Cream: A dollop of lightly sweetened whipped cream tops off the cheesecake perfectly. Its airy texture balances the richness, making each bite feel light and heavenly.
-
Chocolate Sauce: Drizzle some warm chocolate sauce over the cheesecake for an extra indulgent treat. The combination of chocolate enhances the overall flavor while adding a silky texture.
-
Mint Leaf Garnish: A sprig of fresh mint on top of the cheesecake adds a burst of color and a refreshing herbal note that complements the sweetness beautifully. It also invites guests to take a bite with its inviting aroma.
-
Coffee or Espresso: A cup of strong coffee or a shot of espresso pairs wonderfully, cutting through the richness of the cheesecake while bringing out the deep chocolate flavors. It’s a classic and elegant choice for adults.
-
Easter-Themed Cookies: Serve alongside some buttery, pastel-colored Easter cookies for an extra touch of sweetness. Their crisp texture contrasts nicely with the creamy cheesecake, making for a delightful bite.
-
Lemon Sorbet: For a lighter option, a scoop of lemon sorbet adds a hit of citrusy brightness that refreshes the palate. This pairing creates a beautiful harmony of flavors that feels festive and fun.
-
Sparkling Wine: Celebrate Easter with a glass of bubbly! A sweet sparkling wine or champagne enhances the joyful occasion, bringing a lively fizz to the dessert course.
-
Chocolate Truffles: Indulge in some decadent chocolate truffles on the side for the chocolate lovers at your gathering. Their rich flavor complements the cheesecake without overpowering it.
Easter Egg Cheesecake Recipe FAQs
How do I choose the right Easter egg for this recipe?
Absolutely! Look for a large Easter egg, approximately 150g. Use a branded chocolate egg for the best flavor and texture, ensuring it’s sturdy enough to hold the creamy cheesecake filling.
How should I store leftover Easter Egg Cheesecake?
For optimal freshness, keep your Easter Egg Cheesecake in an airtight container in the fridge for up to 3-4 days. This will help maintain its creamy texture and delicious flavor for your next sweet cravings!
Can I freeze the Easter Egg Cheesecake?
Yes, you can freeze the cheesecake halves without the decorations for up to three months. Wrap each half tightly in plastic wrap and store them in a freezer bag to prevent freezer burn.
What’s the best way to thaw a frozen Easter Egg Cheesecake?
To thaw your cheesecake, simply move it from the freezer to the fridge for an overnight thaw—this allows it to regain its creaminess. Once thawed, let it sit at room temperature for a few minutes before serving for the best texture.
Are there any dietary considerations I should be aware of?
Of course! For gluten-free options, substitute the digestive biscuits with gluten-free alternatives. If you’re looking for a vegan version, use dairy-free cream cheese and coconut cream or a similar product in place of the double cream. Always check ingredient labels for potential allergens!
Easter Egg Cheesecake: A Creamy No-Bake Delight for Spring
Ingredients
Equipment
Method
- Gently warm a sharp knife under hot water for a few seconds, then dry it. Cut the large Easter egg in half along the seam.
- Crush the digestive biscuits into fine crumbs. Combine with melted butter until it resembles wet sand.
- Divide the biscuit mixture between the two Easter egg halves, pressing down to ensure an even layer. Refrigerate for 30 minutes.
- In a mixing bowl, combine cream cheese, icing sugar, and vanilla extract. Whip until smooth, then gradually add double cream until thickened.
- Spoon the cheesecake filling into the chilled egg halves, smoothing the tops with a spatula.
- Refrigerate the filled halves for at least 2 hours. Melt dark chocolate, drizzle over the tops, and garnish with mini eggs and Kit Kat bunnies.
Leave a Reply