
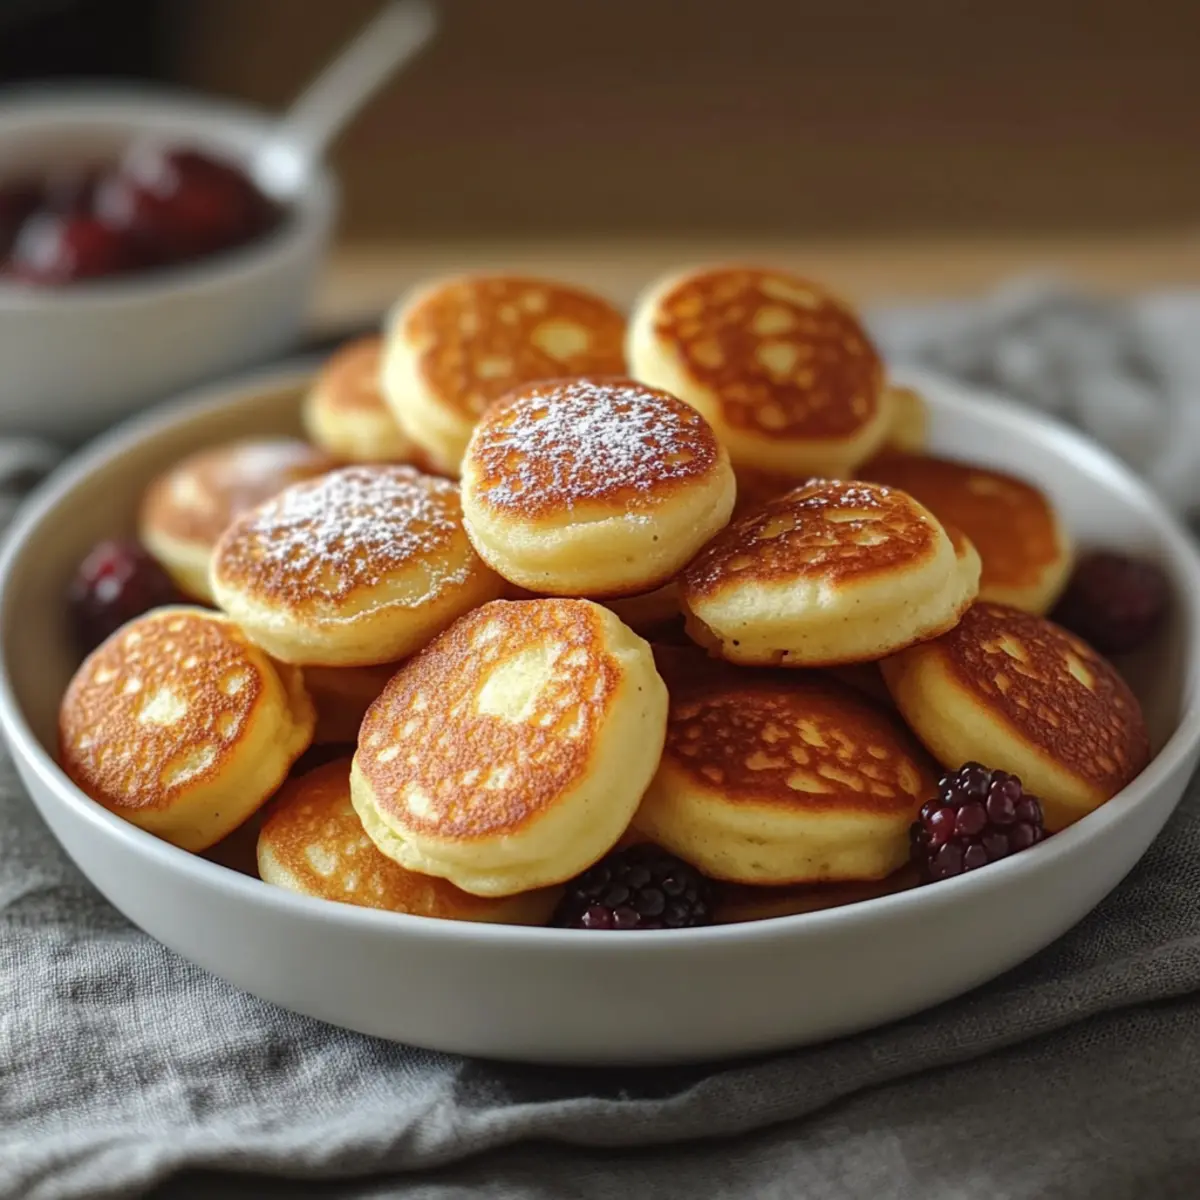
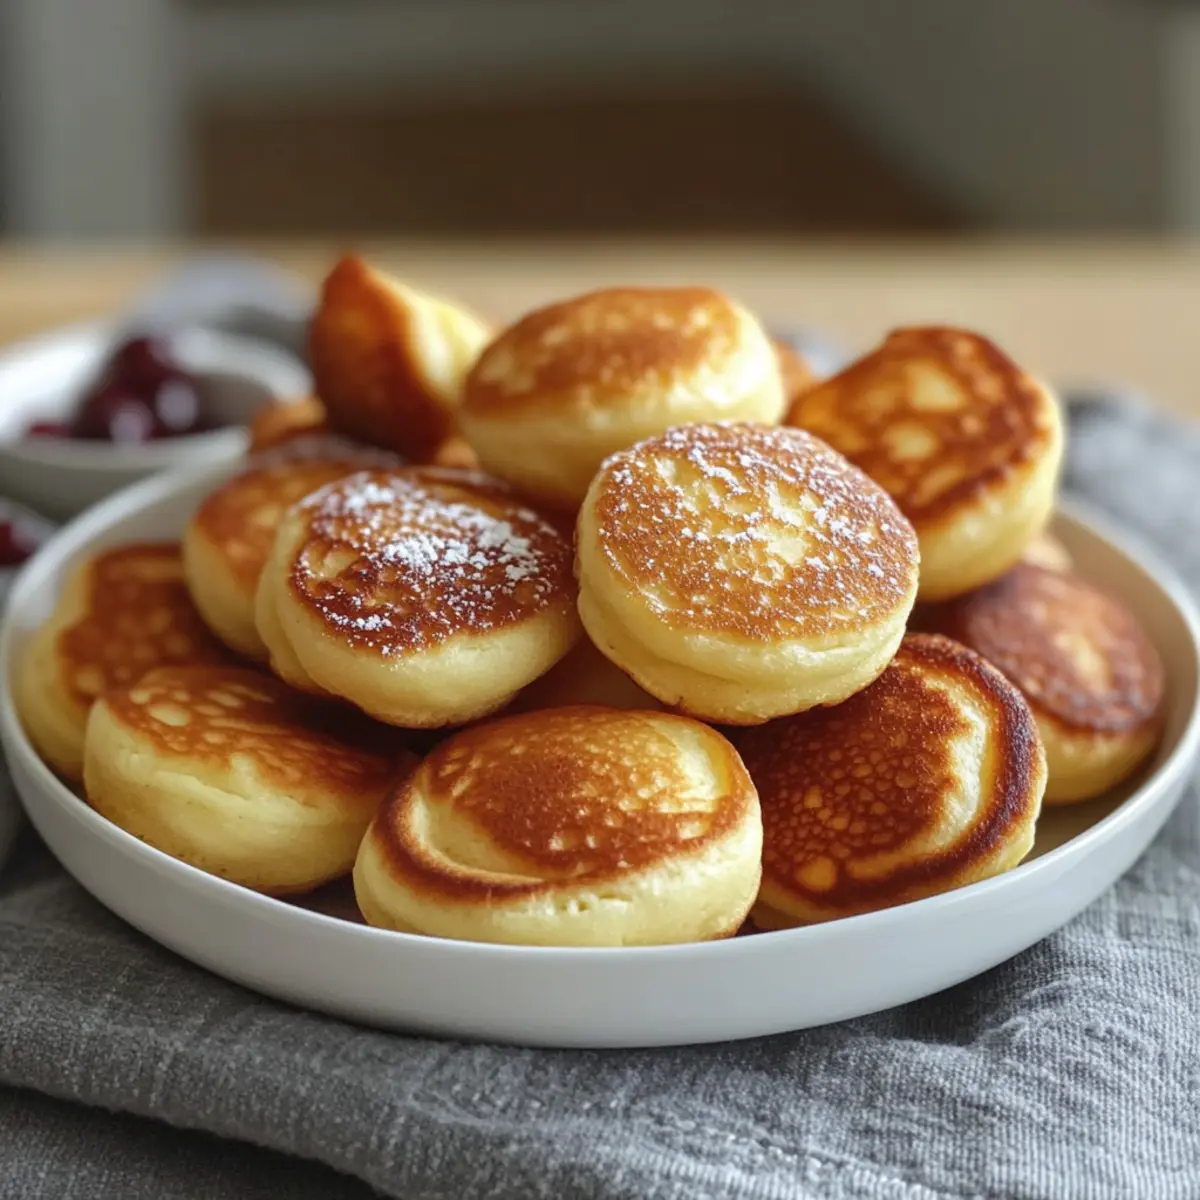
As I whisked the batter together, the warm aroma of vanilla filled the kitchen, instantly creating a cozy atmosphere that promised a delightful breakfast ahead. Let me introduce you to my Breakfast Pancake Poppers, an easy twist on the classic pancake that turns busy mornings into joyful moments of indulgence. These light and fluffy bites fit perfectly in your hands, making them ideal for breakfasts on the go or leisurely family brunches. And the best part? They require no flipping and can be prepped in no time, perfect for any meal prep enthusiast. Plus, with a gluten-free option available, everyone can savor this deliciousness without compromise. Are you ready to transform your mornings with these delightful little poppers?
Why are Breakfast Pancake Poppers a Must-Try?
Easy Preparation: These Breakfast Pancake Poppers come together in just minutes, streamlining your breakfast routine and giving you more time to enjoy your meal.
Versatile Mix-Ins: From chocolate chips to fresh berries, you can customize each batch to suit your family’s taste. It’s a great way to get creative with flavors!
Family-Friendly Fun: Kids love these bite-sized poppers, making them a hit for the whole family. Serve them warm with a drizzle of syrup for a sweet surprise!
Meal Prep Dream: With great storage flexibility, you can whip up a big batch, freeze extras, and have a wholesome breakfast ready in a flash. Perfect for busy mornings!
Low-Calorie Delight: With approximately 50 calories per popper, you can indulge guilt-free. These treats offer a satisfying start to your day without the added calories that typical breakfast items carry.
Now that you know why you’ll adore these poppers, consider pairing them with a light fruit salad or checking out more ideas in our meal prep guide to elevate your breakfast experience!
Breakfast Pancake Poppers Ingredients
• Discover the touches that make these poppers delightful!
For the Batter
- Flour – Provides structure; substitute with a 1:1 gluten-free flour blend for a gluten-free option.
- Sugar – Adds sweetness; use brown sugar for a richer flavor.
- Baking Powder – Leavening agent for fluffiness; make sure it’s fresh for best results.
- Salt – Enhances flavor; coarse salt provides a stronger taste.
- Milk – Adds moisture and richness; replace with almond milk for a dairy-free alternative.
- Egg – Binds ingredients together; a flax egg can serve as a vegan substitute.
- Melted Butter – Adds richness and flavor; coconut oil works as a dairy-free option.
- Vanilla Extract – Provides aroma and depth; swap for maple syrup for a different twist.
Enjoy crafting these delightful Breakfast Pancake Poppers that will surely brighten your mornings!
Step‑by‑Step Instructions for Breakfast Pancake Poppers
Step 1: Preheat the Oven
Begin by preheating your oven to 375°F (190°C). While it’s warming up, take a moment to generously grease a mini muffin tin with butter or cooking spray to ensure your Breakfast Pancake Poppers release easily once baked. This will help the poppers develop a lovely golden edge that’s irresistible.
Step 2: Mix the Dry Ingredients
In a large mixing bowl, combine 1 cup of flour, 1/4 cup of sugar, 2 teaspoons of baking powder, and a pinch of salt. Whisk these dry ingredients together until they are well blended, creating a light and airy mixture. This step is important as it will give your poppers the rise they need to be fluffy!
Step 3: Combine the Wet Ingredients
In another bowl, whisk together 3/4 cup of milk, 1 egg, 2 tablespoons of melted butter, and 1 teaspoon of vanilla extract until fully combined. This mixture should appear smooth and creamy, giving your Breakfast Pancake Poppers moisture and flavor. Be sure to incorporate all the ingredients well for the best results.
Step 4: Fold the Mixtures Together
Gently pour the wet mixture into the dry ingredients, using a spatula to fold them together. Stir until just combined—be careful not to overmix, as this can make your poppers dense instead of light and fluffy. You might see a few lumps, and that’s perfectly fine!
Step 5: Fill the Muffin Tin
Using a small scoop or spoon, fill each cup of the greased mini muffin tin about 2/3 full with batter. Distributing the batter evenly will help ensure that all your Breakfast Pancake Poppers bake uniformly and puff up nicely, achieving that perfect mini muffin appearance.
Step 6: Bake to Perfection
Place the muffin tin in the preheated oven and bake for 10–12 minutes. Keep an eye on them, and look for a golden color on top and a springy texture when gently pressed. This is your signal that the Breakfast Pancake Poppers are ready to come out of the oven!
Step 7: Cool Slightly Before Serving
Once baked, remove the muffin tin from the oven and allow the poppers to cool for about 5 minutes. This slight cooling period helps prevent burns and makes them easier to handle. Use a toothpick or small knife to gently pop them out of the tin and transfer them to a cooling rack or serving plate.
Step 8: Serve and Enjoy!
Serve your delightful Breakfast Pancake Poppers warm, topped with a drizzle of maple syrup, fresh berries, or a dusting of powdered sugar for that added sweetness. They are simply irresistible and perfect for both quick breakfasts and cozy brunch gatherings with family and friends!

Make Ahead Options
These Breakfast Pancake Poppers are not just delicious; they are also perfect for meal prep! You can prepare the batter up to 24 hours in advance by mixing the dry ingredients and storing them in an airtight container. For even quicker options, you can chill the wet ingredients separately in the fridge, then combine them right before baking. Additionally, these poppers can be fully baked and stored in an airtight container for up to 3 days. Simply reheat them in the microwave for 15 seconds before serving to enjoy them just as fresh as when they came out of the oven. By prepping ahead, you save time and ensure a delightful breakfast awaits you!
Breakfast Pancake Poppers Variations
Feel free to unleash your creativity and customize these delightful poppers with some tempting twists!
-
Gluten-Free: Use a 1:1 gluten-free flour blend to keep these poppers inclusive for everyone at the table.
-
Vegan Alternative: Replace the egg with a flax egg (mix 1 tablespoon ground flaxseed with 2.5 tablespoons water) for a plant-based treat.
-
Choco-Lover’s Delight: Add 1/2 cup of mini chocolate chips into the batter for a sweet, melty surprise in every bite.
-
Berry Boost: Incorporate 1 cup of fresh blueberries or strawberries for a burst of fruity flavor and vibrant color.
-
Cinnamon Swirl: Add a teaspoon of cinnamon to the batter, or try a swirl of cinnamon sugar concocted from 1 tablespoon sugar and 1/2 teaspoon cinnamon.
-
Savory Twist: Mix in chopped cooked bacon or sausage for a delightful savory spin on these sweet treats.
-
Nutty Texture: Fold in 1/2 cup of chopped nuts, like walnuts or pecans, to add a delicious crunch to your poppers.
-
Add Some Heat: Consider finely chopped jalapeños or diced green chiles for a spicy kick that will wake up your mornings.
With these variations, your Breakfast Pancake Poppers will be sure to satisfy every craving. Pair them with fresh fruit or check out our meal prep guide for more breakfast ideas you’ll adore!
Expert Tips for Breakfast Pancake Poppers
- Mix Gently: Avoid overmixing the batter to ensure your Breakfast Pancake Poppers stay light and fluffy. Lumps are okay!
- Check Freshness: Use fresh baking powder for an optimal rise. Old baking powder can lead to flat poppers, ruining their fluffy texture.
- Even Distribution: Fill each muffin cup to exactly 2/3 full to allow room for the poppers to rise without overflowing.
- Watch the Time: Keep an eye on the baking time; popping them out too soon can result in undercooked centers, while too long can make them dry.
- Storage Solution: If you double the batch, store extras in a zip-top bag in the freezer for up to 1 month. Quick breakfast ready at your fingertips!
How to Store and Freeze Breakfast Pancake Poppers
Room Temperature: Store leftover poppers in an airtight container at room temperature for up to 3 days to maintain their delightful softness.
Fridge: Keep them in the refrigerator for up to 5 days. Make sure they’re in a sealed container to avoid drying out and losing their fluffy texture.
Freezer: Freeze Breakfast Pancake Poppers individually wrapped in plastic wrap or stored in a zip-top bag for up to 1 month. Simply warm them up when you’re ready to enjoy!
Reheating: Reheat in the microwave for 15 seconds for the best taste and texture. Enjoy them warm, dipped in syrup or topped with fresh fruit!
What to Serve with Breakfast Pancake Poppers
Delight your senses as you create a delectable breakfast experience that brings the whole family together around the table.
- Fresh Fruit Salad: A colorful mix of seasonal fruits adds brightness and a refreshing contrast to the sweet poppers.
- Crispy Bacon: The savory, salty crunch of bacon balances the sweetness of the poppers, making each bite an irresistible combination.
- Greek Yogurt Parfait: Layered with granola and berries, this creamy addition offers a satisfying texture and a protein boost for a well-rounded meal.
- Maple Syrup Dipping Sauce: Serve a warm or spiced syrup on the side to elevate the sweetness and enhance the delightful flavors of pancake poppers.
- Scrambled Eggs: Fluffy eggs provide essential protein and a creamy texture that pairs beautifully with the poppers, ensuring a hearty breakfast.
- Chocolate Hazelnut Spread: For a sweet indulgence, spread some chocolate hazelnut goodness on the warm poppers for a complete treat that feels like dessert.
- Herbal Tea or Coffee: A warm cup of herbal tea or freshly brewed coffee adds a comforting beverage option to accompany your delightful breakfast.
- Cinnamon Sugar Dusting: A simple sprinkle of cinnamon sugar adds a fragrant touch that accentuates the sweetness of the breakfast pancake poppers.
- Whipped Cream Topping: Adding a dollop of whipped cream creates a luxurious finish on your breakfast dish, transforming it into a brunch showstopper!

Breakfast Pancake Poppers Recipe FAQs
What type of flour can I use for Breakfast Pancake Poppers?
You can use all-purpose flour for a classic version, but if you’re looking for a gluten-free option, a 1:1 gluten-free flour blend works beautifully. Just ensure that your gluten-free flour contains xanthan gum, which helps maintain the popper’s structure and fluffiness.
How should I store leftover Breakfast Pancake Poppers?
Store leftover poppers in an airtight container at room temperature for up to 3 days. If you’re keeping them in the fridge, they’ll last up to 5 days, though they may need a quick warm-up in the microwave to regain their fluffiness!
Can I freeze Breakfast Pancake Poppers?
Absolutely! Freeze the poppers individually wrapped in plastic wrap or place them in a zip-top bag for up to 1 month. When you’re ready to enjoy them, just pop them in the microwave for about 15 seconds to warm them through—perfect for a quick breakfast!
What if my pancake poppers don’t rise properly?
If your poppers end up dense or flat, it’s usually due to expired baking powder. Always check the freshness of your baking ingredients. And remember, folding the wet and dry ingredients gently helps avoid overmixing, which can lead to a heavy texture instead of light and fluffy ones.
Can I give Breakfast Pancake Poppers to my pets?
While these poppers are made with safe ingredients for humans, it’s best to restrict them from pets, especially with the use of sugar and butter. If you’d like to share, consider making a pet-friendly version without sugar and dairy.
How can I add variations to my Breakfast Pancake Poppers?
Feel free to get creative! You can mix in mini chocolate chips, blueberries, or even a dash of cinnamon for warmth. For a fun twist, create a half-batch with savory add-ins like cheese or herbs for a delightful breakfast surprise!
Delightful Breakfast Pancake Poppers for Fast Mornings
Ingredients
Equipment
Method
- Preheat your oven to 375°F (190°C) and grease a mini muffin tin.
- In a large bowl, combine flour, sugar, baking powder, and salt.
- In another bowl, whisk milk, egg, melted butter, and vanilla until smooth.
- Gently combine wet ingredients into dry ingredients, being careful not to overmix.
- Fill each muffin cup 2/3 full with batter.
- Bake for 10–12 minutes until golden and springy.
- Allow to cool for about 5 minutes before removing from the tin.
- Serve warm with maple syrup, fresh berries, or powdered sugar.
Leave a Reply