
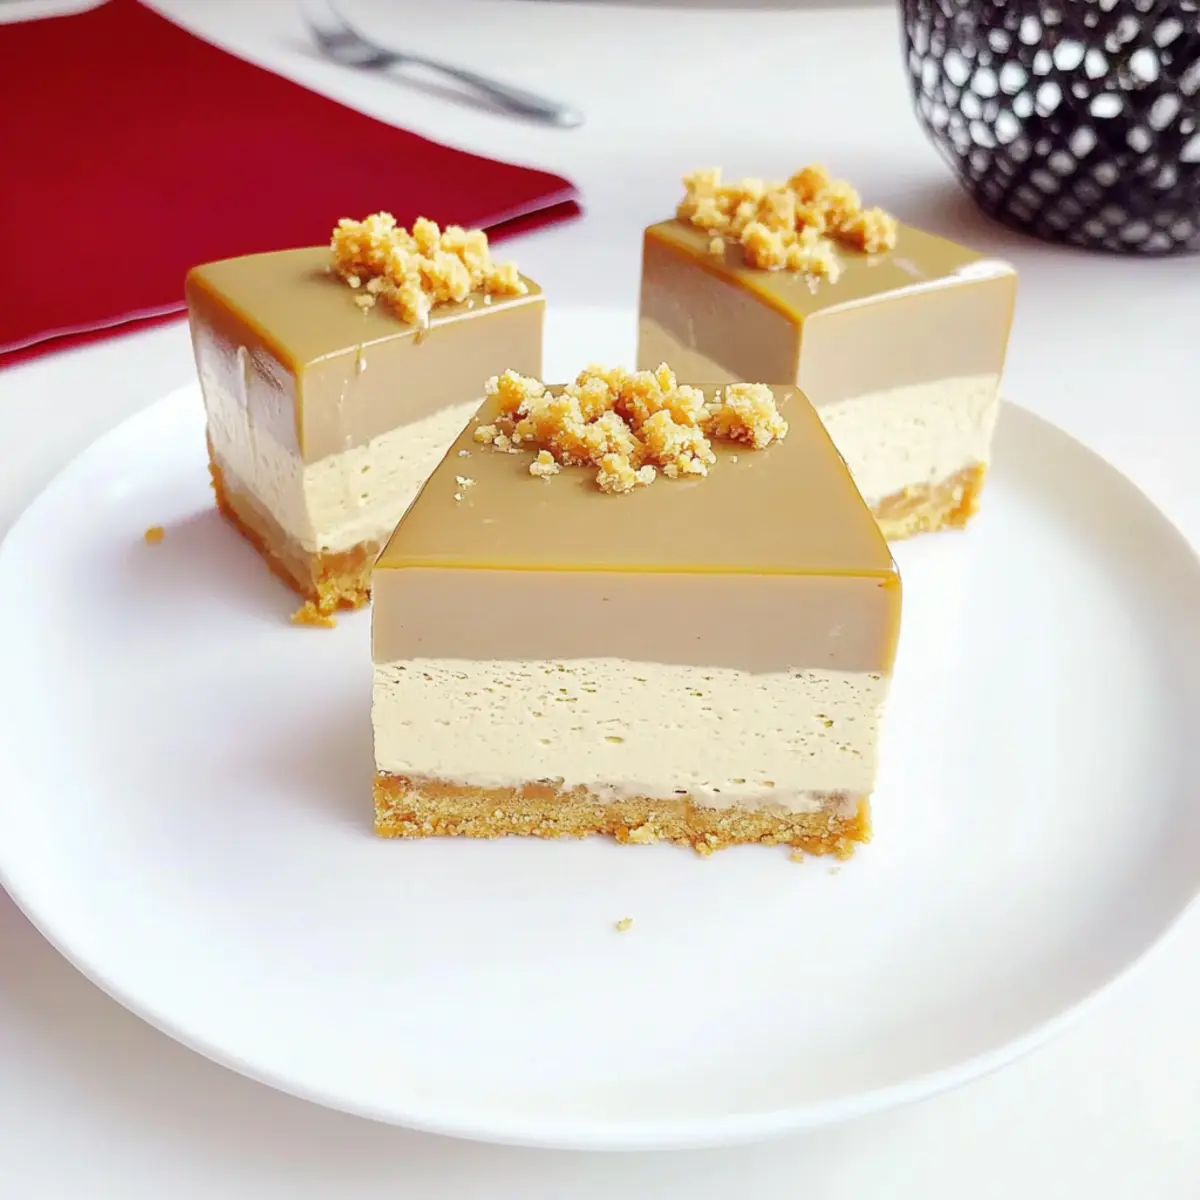
As the kettle whistles softly in the background, there’s something magical about the way a simple cup of Earl Grey tea transforms a gathering into an elegant affair. This No-Bake Earl Grey Mousse Cheesecake is my delightful tribute to British tea traditions, combining creamy indulgence with the fragrant citrus notes of the beloved tea. Not only is it an effortless dessert that requires zero baking, but it also rises to any occasion—perfect for afternoon tea or a chic dinner party. Plus, the glossy mirror glaze adds that special touch, making it not just a treat for the palate, but also a feast for the eyes. Are you ready to impress your guests with this simple yet stunning dessert?
Why is this cheesecake a must-try?
Effortless Elegance: This No-Bake Earl Grey Mousse Cheesecake combines sophistication with simplicity, making it perfect for home cooks of any skill level.
Floral Infusion: The delicate Earl Grey flavor melds with creamy cheese for a unique taste that’ll delight tea lovers.
Zero Baking Required: Forget the oven! This easy recipe saves time and makes for a stress-free dessert.
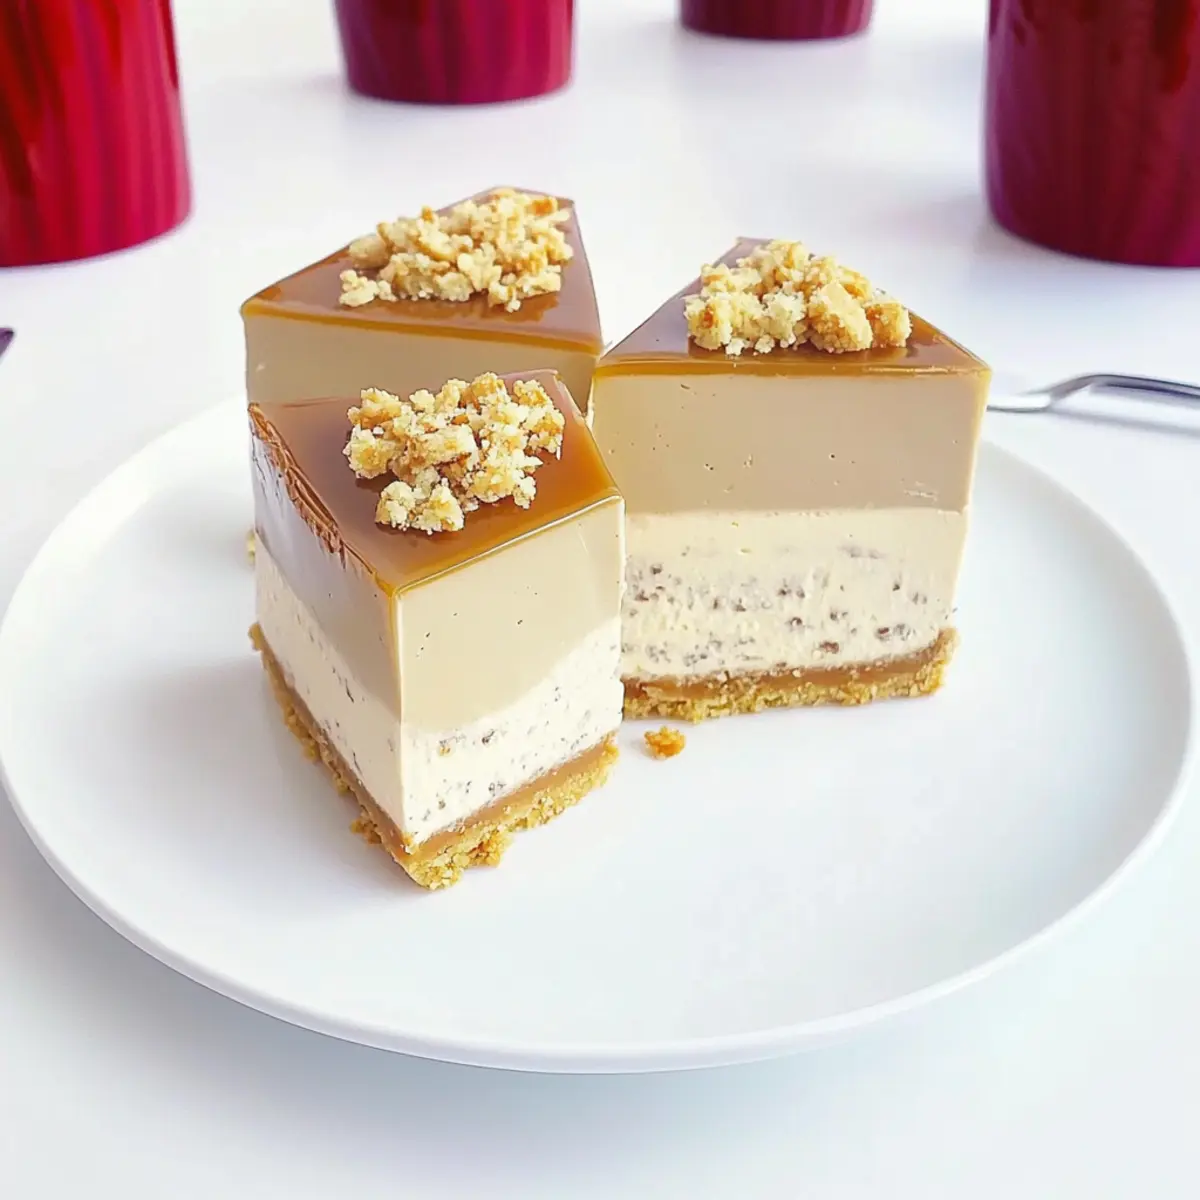
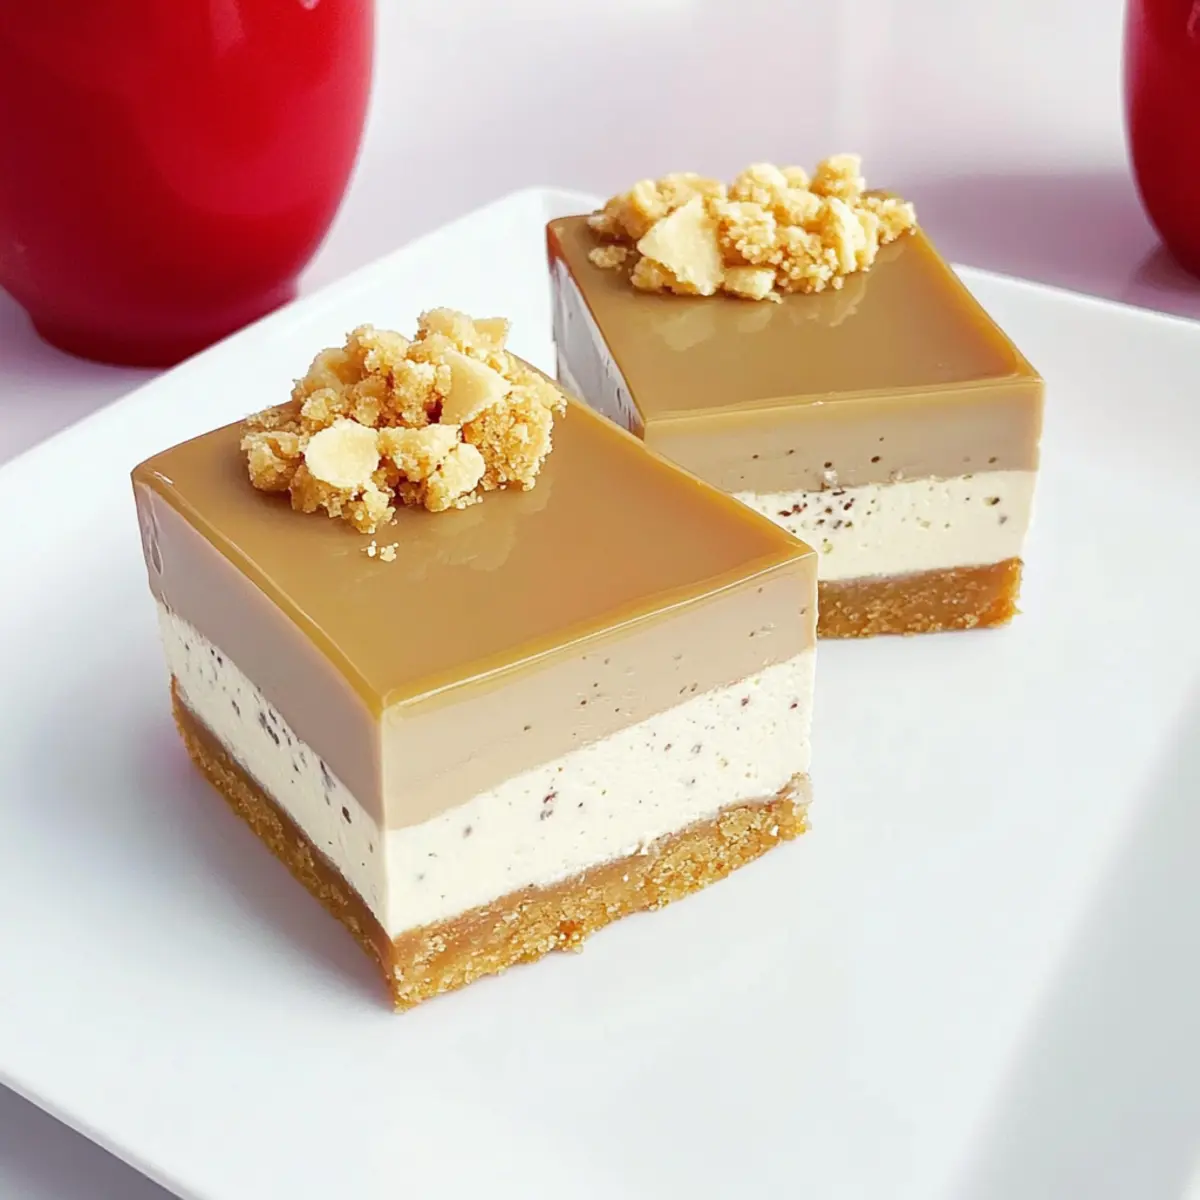
Gorgeous Presentation: The glossy mirror glaze transforms this cheesecake into an eye-catching centerpiece for any occasion.
Make-Ahead Friendly: Prepare it a day in advance and let the flavors deepen, ensuring that you’re stress-free just before serving.
Whether you’re hosting a tea party or simply looking for a sweet treat, this elegant dessert will have everyone talking! If you’re intrigued by creamy delights, check out this Cheese Chocolate Mousse for another indulgent option.
Grey Mousse Cheesecake Ingredients
Prepare for a delightful culinary adventure with these essential ingredients!
For the Biscuit Base
• Caramel Biscuits – These create a crunchy and flavorful base; digestive biscuits are a great substitute if preferred.
• Unsalted Butter – This binds the biscuits together effectively; make sure it’s melted before mixing.
For the Mousse Layer
• Cream Cheese – The star ingredient providing that luscious creaminess; ensure it’s softened for easy blending.
• Caster Sugar – Sweetens the mousse in two portions (10g and 5g); regular sugar works just fine in a pinch.
• Hot Milk (80 ml) – Used to dissolve the gelatin and infuse tea flavors; aim for around 40°C for best results.
• Gelatin Sheets – Provides the structure needed for a perfect mousse; soak in ice water before using. Alternatively, you can use powdered gelatin (1 sheet = about 2g powdered).
• Earl Grey Tea Powder – Infuses the cheesecake with its signature flavor; swapping it with matcha, jasmine, or hojicha gives this dessert a fun twist!
• Whipping Cream – Adds that light, fluffy texture; whip it to soft peaks for the best result.
For Decoration
• Crushed Caramel Biscuits – Use these to enhance the presentation and add a delightful crunch on top!
Step‑by‑Step Instructions for Grey Mousse Cheesecake
Step 1: Prepare Biscuit Base
Start by crushing your caramel biscuits into fine crumbs using a food processor or a rolling pin. Melt unsalted butter and mix it with the biscuit crumbs until fully combined. Press this mixture firmly into the bottom of a 9-inch springform pan to create a solid base. Chill in the refrigerator for about 10 minutes to set while you prepare the mousse layer.
Step 2: Make Cheese Mousse Layer
In a mixing bowl, combine softened cream cheese with 10g of caster sugar, beating until the mixture is smooth and creamy. In a separate bowl, soak gelatin sheets in cold water for about 5 minutes. Heat 80 ml of milk until warm (around 40°C), then dissolve the softened gelatin in it along with Earl Grey tea powder. Gradually mix this into the cream cheese until well blended.
Step 3: Fold in Whipped Cream
In another bowl, whip the cream to soft peaks. Carefully fold the whipped cream into the cheese mixture, ensuring it remains airy and light. Next, add any crushed biscuit pieces for added texture, gently incorporating them into the mixture. Once combined, pour the mousse over the chilled biscuit base and smooth out the top with a spatula. Refrigerate for at least 4 hours or overnight to allow it to set properly.
Step 4: Prepare Mirror Glaze (Optional)
If you’re opting for the mirror glaze, steep 1 Earl Grey tea bag in 100 ml of hot milk for 5 minutes to infuse the flavor. Remove the tea bag, and in the warm tea milk, dissolve gelatin sheets and 5g of sugar. Let this mixture cool slightly. Once your cheesecake is set, carefully pour the glaze over the top, smoothing it out to cover evenly, and refrigerate for another 1-2 hours until the glaze is set.
Step 5: Unmold and Serve
To release your beautiful Grey Mousse Cheesecake from the pan, use a hairdryer on the mold edges for a minute to gently loosen it. Once removed, consider decorating with crushed caramel biscuits for an elegant touch. Slice the cheesecake with a sharp knife, and it’s ready to serve. Enjoy this delightful dessert, perfect for any special occasion!

What to Serve with No-Bake Earl Grey Mousse Cheesecake?
Indulge in the warmth of a delightful gathering with perfectly paired sides to elevate your dessert experience.
-
Fresh Berries: The burst of juicy strawberries or blueberries adds a refreshing contrast to the creamy cheesecake, brightening each bite.
-
Whipped Cream: A dollop of light, fluffy whipped cream offers a rich creamy complement that harmonizes beautifully with the tea-infused flavors.
-
Earl Grey Tea: Enhance the tea experience by serving a warm cup of Earl Grey alongside your cheesecake, echoing its exquisite flavors.
-
Almond Biscotti: The crunchy texture of almond biscotti pairs perfectly for dipping, creating a delightful balance with the smooth mousse.
-
Zesty Lemon Curd: A small scoop of zesty lemon curd provides a tangy contrast that cuts through the sweetness, adding another layer to your dessert.
-
Chocolate Covered Espresso Beans: These provide a surprise crunch with a rich caffeine kick, marrying seamlessly with the subtle tea flavors.
-
Chocolate Ganache Drizzle: A drizzle of homemade chocolate ganache introduces a luscious decadence that accentuates the cheesecake’s floral notes while adding richness.
-
Sparkling Water: For a refreshing palate cleanser, serve sparkling water with a slice of lemon to keep the dining experience light and clean.
-
Lavender Shortbread Cookies: Complement the floral notes of the cheesecake with these buttery cookies that add a delicate crunch and exquisite aroma.
Grey Mousse Cheesecake Variations & Substitutions
Feel free to add your own twist to this delightful dessert and explore new flavor possibilities!
-
Matcha Swap: Replace Earl Grey tea powder with matcha for a vibrant green tea flavor that echoes elegance.
-
Dairy-Free Option: Use vegan cream cheese and almond or coconut milk for a creamy texture that fits a dairy-free diet. It’s a fantastic way to include everyone!
-
Exotic Infusion: Swap in jasmine tea for a floral and fragrant mousse that brings a unique taste twist to the classic.
-
Nutty Addition: Incorporate finely chopped pistachios into the mousse layer for a delightful crunch and a pop of color.
-
Citrus Zing: Add a hint of lemon zest to the mousse for a lively, refreshing uplift that enhances the tea flavors beautifully.
-
Spicy Twist: For a bit of warmth, add a pinch of ground cardamom or cinnamon to the cream cheese mixture, creating an inviting aroma.
-
Simply Decadent: Replace the caramel biscuits with chocolate wafers for a richer base that plays well with the mousse’s creaminess.
-
Serving Suggestions: Pair with fresh berries or a dollop of whipped cream to elevate your dessert experience, and serve alongside a simple, delightful Cheese Chocolate Mousse for even more indulgence!
How to Store and Freeze Grey Mousse Cheesecake
Fridge: Keep the cheesecake covered in the refrigerator for up to 3 days to maintain its velvety texture and flavor.
Freezer: For best results, do not freeze your Grey Mousse Cheesecake, as freezing may compromise its delicate consistency.
Reheating: Enjoy chilled directly from the fridge; there’s no reheating necessary since it’s a no-bake dessert.
Expert Tips for Grey Mousse Cheesecake
• Soften Cream Cheese: Ensure the cream cheese is at room temperature to avoid lumps and guarantee a smooth mousse texture.
• Gelatin Technique: Soak gelatin sheets thoroughly in cold water for the best results. Dissolve them carefully in warm milk to achieve the right consistency without clumps.
• Whipping Cream: Whip the cream just to soft peaks—over-whipping can result in a grainy texture that affects the creaminess of your Grey Mousse Cheesecake.
• Avoid Air Bubbles: When you pour in the mousse layer, tap the mold gently on the counter to release any trapped air bubbles and ensure a creamy finish.
• Mirror Glaze Option: The mirror glaze is optional but adds a stunning touch. If you skip it, consider dusting the top with powdered sugar or fresh herbs for presentation.
• Storage Guidance: Store leftovers covered in the refrigerator for up to three days, but enjoy them soon to savor the fresh flavors at their best!
Make Ahead Options
This No-Bake Earl Grey Mousse Cheesecake is perfect for meal prep, allowing you to impress your guests without the last-minute rush! You can prepare the biscuit base and mousse layer up to 24 hours in advance; just remember to refrigerate the cheesecake promptly to maintain its creamy texture. For best results, wrap the cheesecake tightly in plastic wrap after it has set overnight to prevent any unwanted odors from the fridge. When you’re ready to serve, simply finish with the optional mirror glaze or garnish it with crushed biscuits, adding that beautiful touch right before your guests arrive. This way, you’ll savor the flavors without the stress!
Grey Mousse Cheesecake Recipe FAQs
How do I select the best Earl Grey tea for this recipe?
Absolutely! Look for a high-quality Earl Grey tea that has an enchanting aroma. Loose-leaf teas tend to have richer flavors compared to bagged varieties. Make sure it’s fresh with no signs of dark spots or staleness, and feel free to experiment with different blends that suit your palate!
What’s the best way to store my Grey Mousse Cheesecake?
To keep your cheesecake fresh and delicious, store it covered in the refrigerator for up to 3 days. This preserves its creamy texture and keeps flavors vibrant. I recommend placing it in an airtight container to avoid any exposure to strong odors from the fridge.
Can I freeze the Grey Mousse Cheesecake?
Unfortunately, freezing this cheesecake isn’t recommended as it may alter the delicate mousse texture and cause it to become grainy. If you need to prepare it ahead of time, I suggest making it one day in advance and refrigerating it instead, allowing the flavors to deepen beautifully!
What if my mousse doesn’t set properly?
Very! If you’re finding that your mousse isn’t setting, it might be due to insufficient gelatin. Ensure you’ve soaked the gelatin sheets properly and dissolved them completely in warm milk before adding them to the mixture. If you still encounter issues, give it more time in the refrigerator, ideally overnight.
Can I adapt this recipe for dietary restrictions?
Absolutely! For a dairy-free version, swap in vegan cream cheese and plant-based milk. Also, double-check that your gelatin is vegetarian-friendly, or consider using agar-agar as a substitute. Just remember to adjust the quantities based on the specific product instructions to maintain the right texture.
Is it possible for my pets to enjoy this dessert?
While it’s tempting to share a slice, I wouldn’t advise giving this cheesecake to pets, especially since it contains cream cheese and sugar. If you’d like to treat your furry friends, look for pet-safe recipes specifically designed for their dietary needs to keep them happy and healthy!
Decadent Grey Mousse Cheesecake for Guilt-Free Indulgence
Ingredients
Equipment
Method
- Crush caramel biscuits into fine crumbs. Melt unsalted butter and mix with the biscuit crumbs. Press the mixture into the bottom of a 9-inch springform pan and chill for about 10 minutes.
- Combine softened cream cheese with 10g of caster sugar until smooth. Soak gelatin sheets in cold water for 5 minutes. Heat 80 ml of milk, dissolve gelatin in it with Earl Grey tea powder, and mix into cream cheese.
- Whip the cream to soft peaks and fold into the cheese mixture. Pour the mousse over the chilled biscuit base and refrigerate for at least 4 hours or overnight.
- Steep 1 Earl Grey tea bag in 100 ml of hot milk for 5 minutes. Remove tea bag, dissolve gelatin sheets and 5g of sugar in warm tea milk. Pour glaze over the chilled cheesecake and refrigerate for 1-2 hours.
- Use a hairdryer on the mold edges to loosen the cheesecake. Decorate with crushed caramel biscuits, slice, and serve.
Leave a Reply