
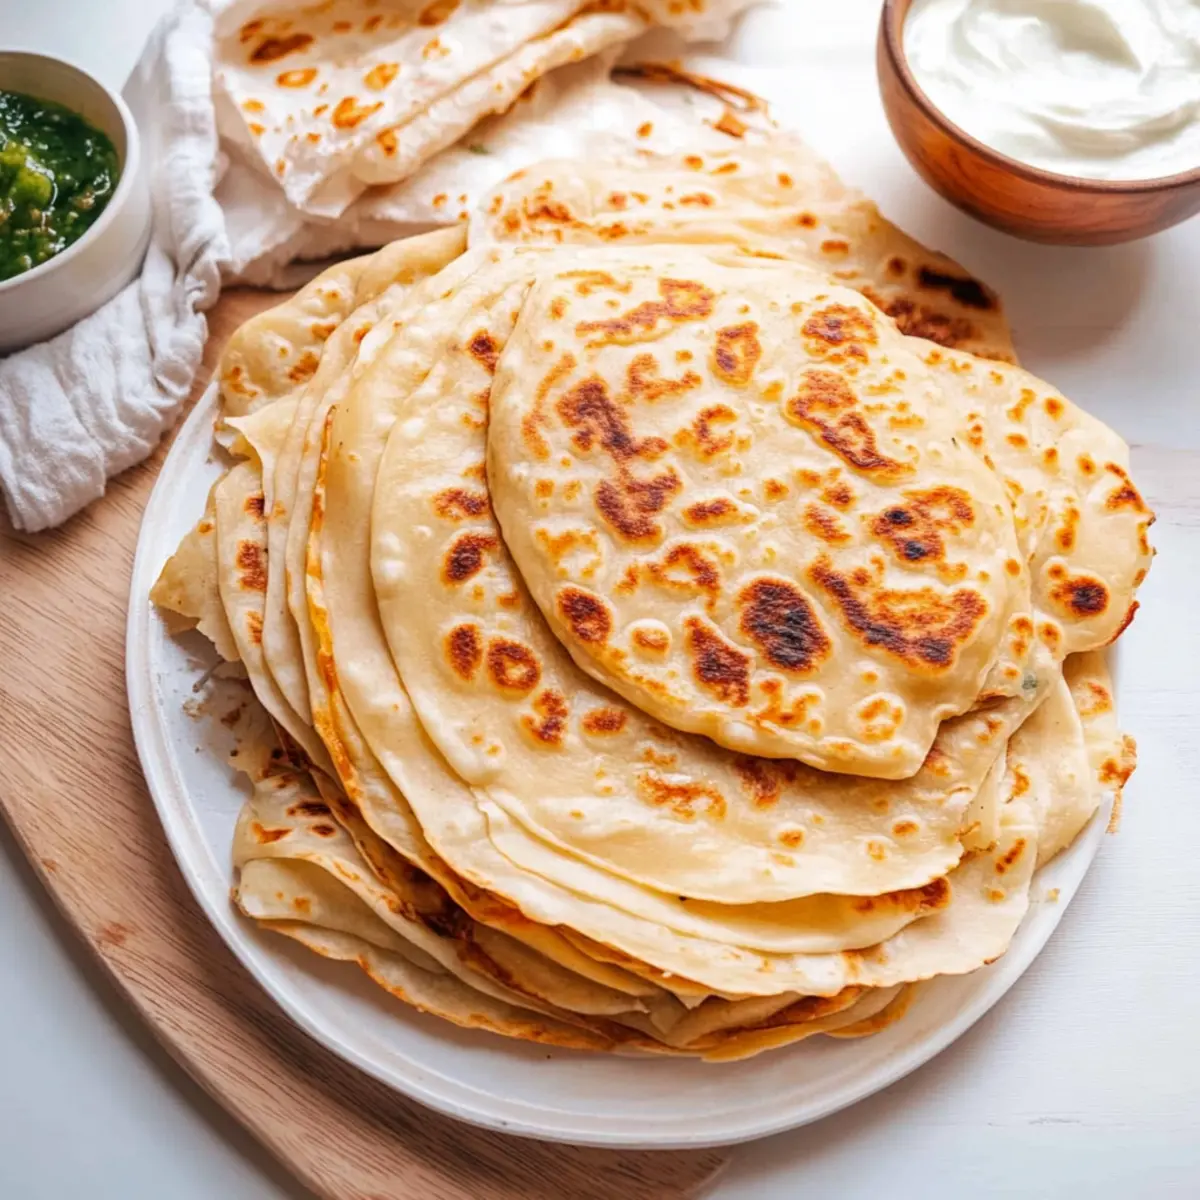
The sound of sizzling dough hitting a hot skillet always fills my kitchen with excitement. Today, I’m thrilled to share my recipe for Soft and Flaky Paratha, a classic Indian flatbread that transforms even the simplest meals into something special. With just a handful of ingredients, this versatile flatbread can be whipped up in no time—perfect for those busy weeknights or impromptu gatherings. Whether you choose to enjoy it with a rich curry or just a dollop of yogurt, its layers promise a delightfully soft texture with every bite. Plus, for those looking for a healthier option, I’ll show you how to create a gluten-free version using whole wheat flour. Are you ready to roll up your sleeves and create this culinary masterpiece? Let’s dive in!
Why is Paratha a Culinary Must-Try?
Versatility: Paratha is the ultimate chameleon, pairing beautifully with anything from curries to chutneys or simply enjoyed on its own.
Layered Delight: Each bite reveals flaky layers that offer a satisfying texture, making it a delight for both kids and adults.
Quick and Easy: With minimal prep time and basic ingredients, you can whip up this flatbread even on the busiest days—perfect for those quick family meals!
Healthy Options: Want a nutritious twist? Substitute all-purpose flour with whole wheat to create a delicious gluten-free variation without sacrificing flavor, as seen in our healthy alternatives.
Culinary Tradition: Making paratha is not just about the taste; it’s an opportunity to embrace a rich cultural heritage that brings families together, whether for festive gatherings or everyday meals.
Paratha Ingredients
• Soft and Flaky Indian Flatbread
For the Dough
- All-Purpose Flour – This is the backbone of your paratha; opt for whole wheat flour if you’d like a fiber-rich alternative.
- Warm Water – Can’t forget this! It helps activate the gluten for a soft, pliable dough.
- Yogurt – Adds a touch of creaminess and softness to the dough; Greek yogurt works great as a substitute.
- Vegetable Oil – This keeps your paratha moist and adds richness; you can use ghee for a more authentic taste.
- Kosher Salt – Enhances the flavor of your paratha; feel free to swap it with sea salt.
For the Layers
- Melted Butter – Adds buttery goodness and keeps your layers separate; clarified butter (ghee) is a traditional choice for even more flavor.
With the right paratha ingredients, you’re just a roll away from creating a delightful staple that brings comfort to your dinner table!
Step‑by‑Step Instructions for Perfect Soft and Flaky Paratha
Step 1: Prepare the Dough
In a stand mixer bowl, combine all-purpose flour and kosher salt, mixing well. In a separate bowl, whisk together warm water, yogurt, and vegetable oil. Gradually pour the wet mixture into the flour mixture and mix until it forms a shaggy dough. This process takes about 2–3 minutes, ensuring all flour is incorporated.
Step 2: Knead the Dough
Attach the dough hook to your stand mixer and knead the dough on low speed for about 3 minutes, or alternatively, knead by hand on a floured surface for 5–7 minutes. The goal is to achieve a smooth, slightly sticky dough that springs back when pressed. Once done, shape it into a ball and set aside.
Step 3: Rest the Dough
Divide the dough into 8 equal pieces, rolling each piece into a smooth ball. Place the dough balls on a floured surface and cover with a damp cloth. Allow the dough to rest for 1 hour; this helps gluten relax, making your paratha soft and elastic.
Step 4: Roll and Shape
Take one dough ball and flatten it gently with your fingers into a small circle on a floured surface. Using a rolling pin, roll it out into a thin circle about 6–8 inches in diameter. Brush the surface with melted butter, then roll it up tightly and twist it into a rope. Finally, coil the rope into a snail shape, tucking the end underneath, and let it rest again for another hour.
Step 5: Cook the Paratha
Heat a cast-iron skillet or tawa over medium-high heat. Roll out one coiled dough piece into a circle, about 6 inches in diameter, ensuring it stays slightly thick for the best texture. Place it onto the hot skillet, cooking for 1–2 minutes until golden spots appear; flip and continue cooking, pressing gently with a spatula for about an additional 20 seconds.
Step 6: Separate the Layers
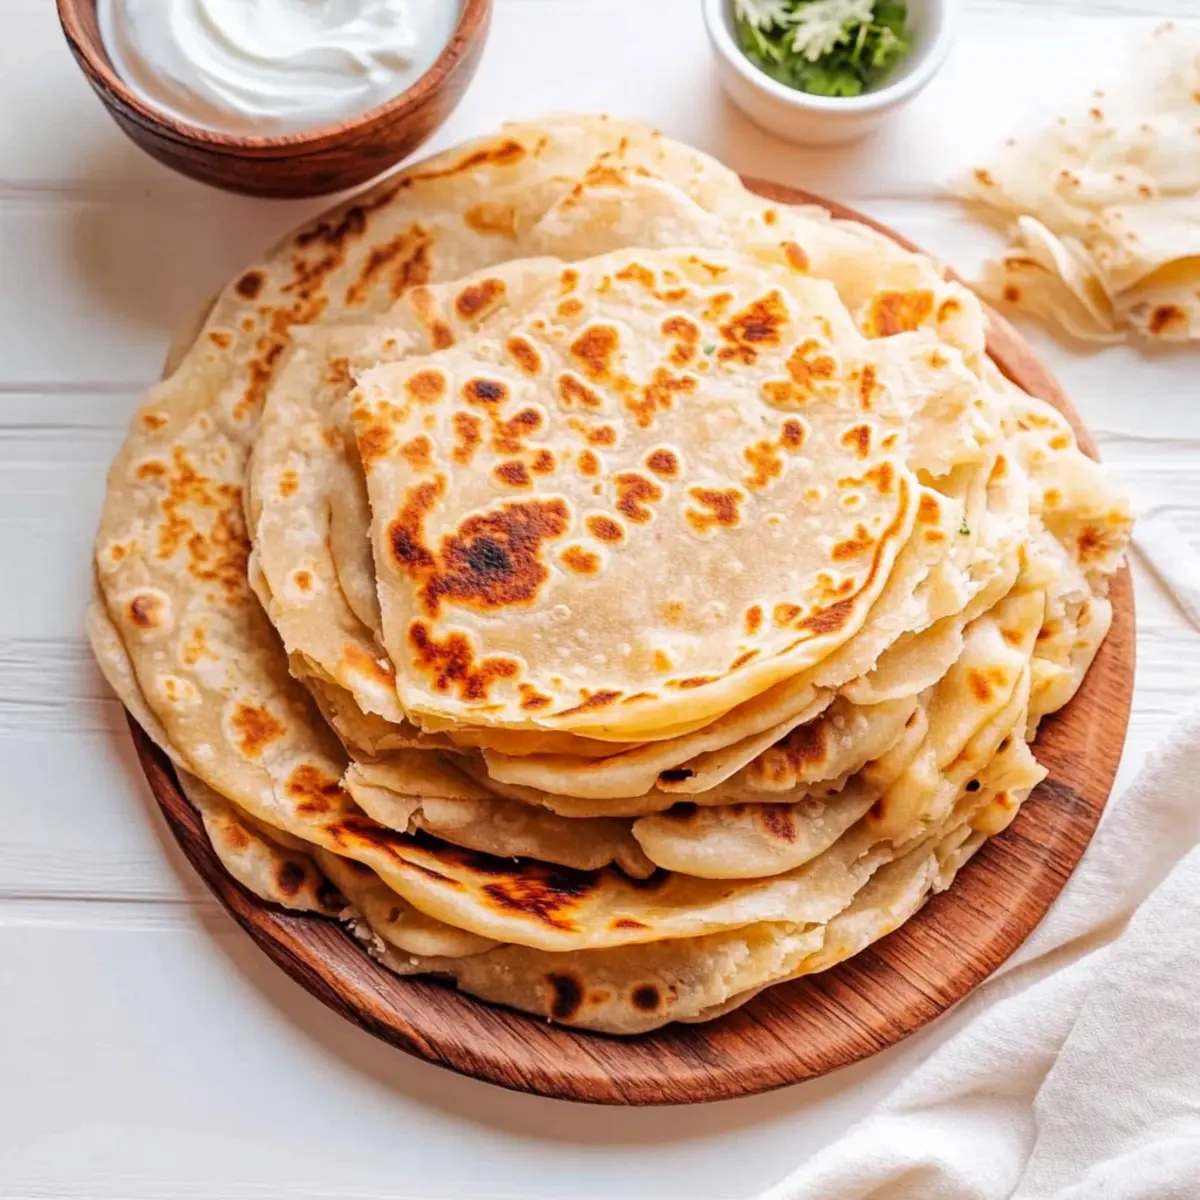
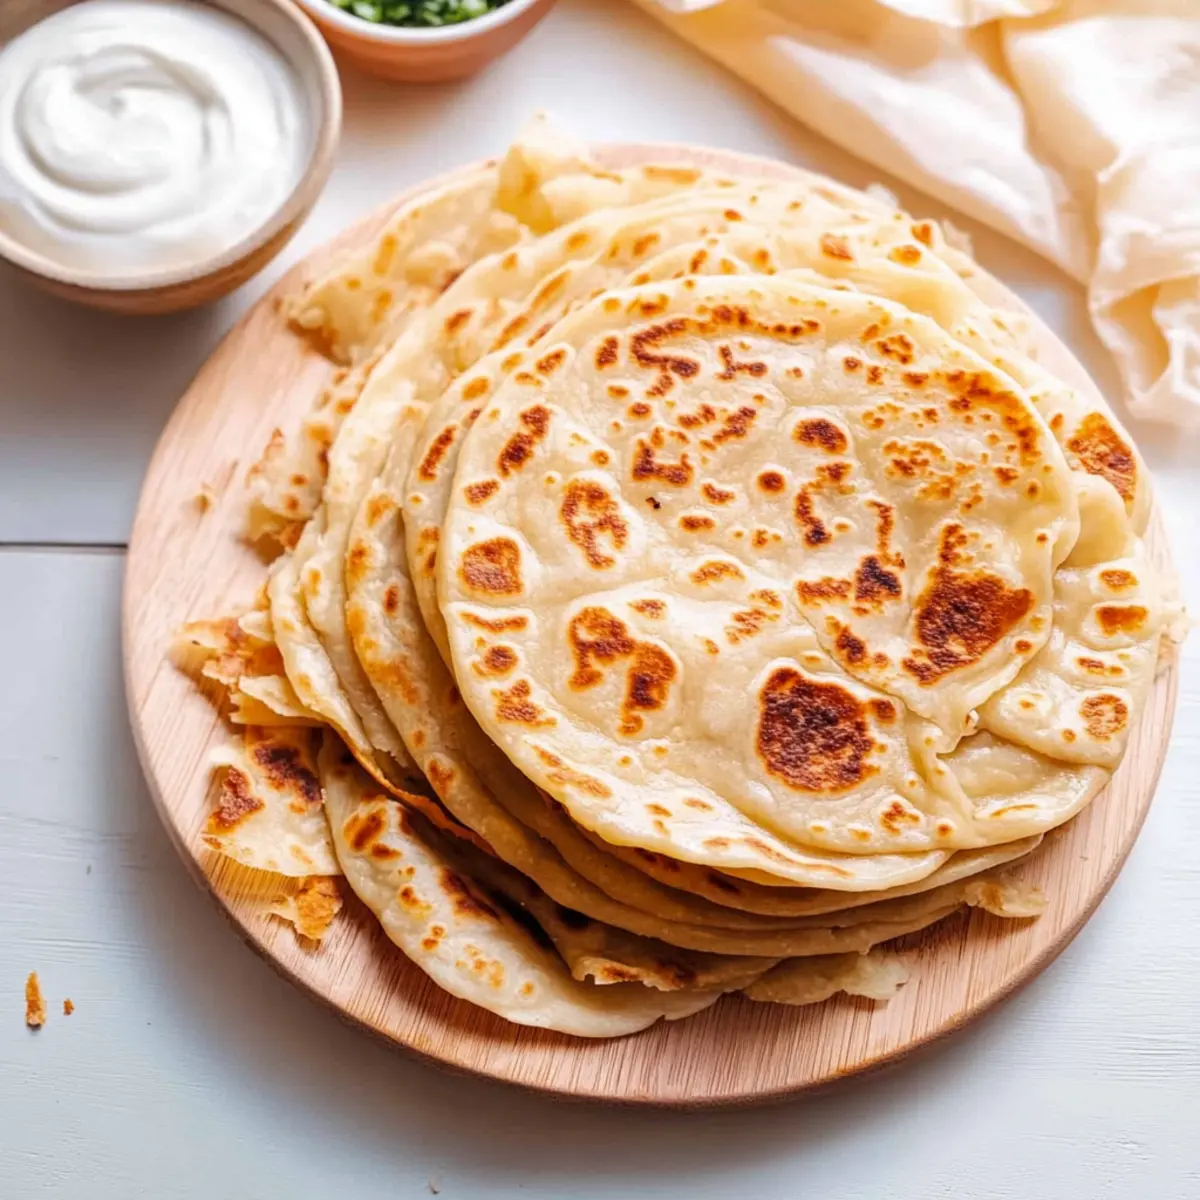
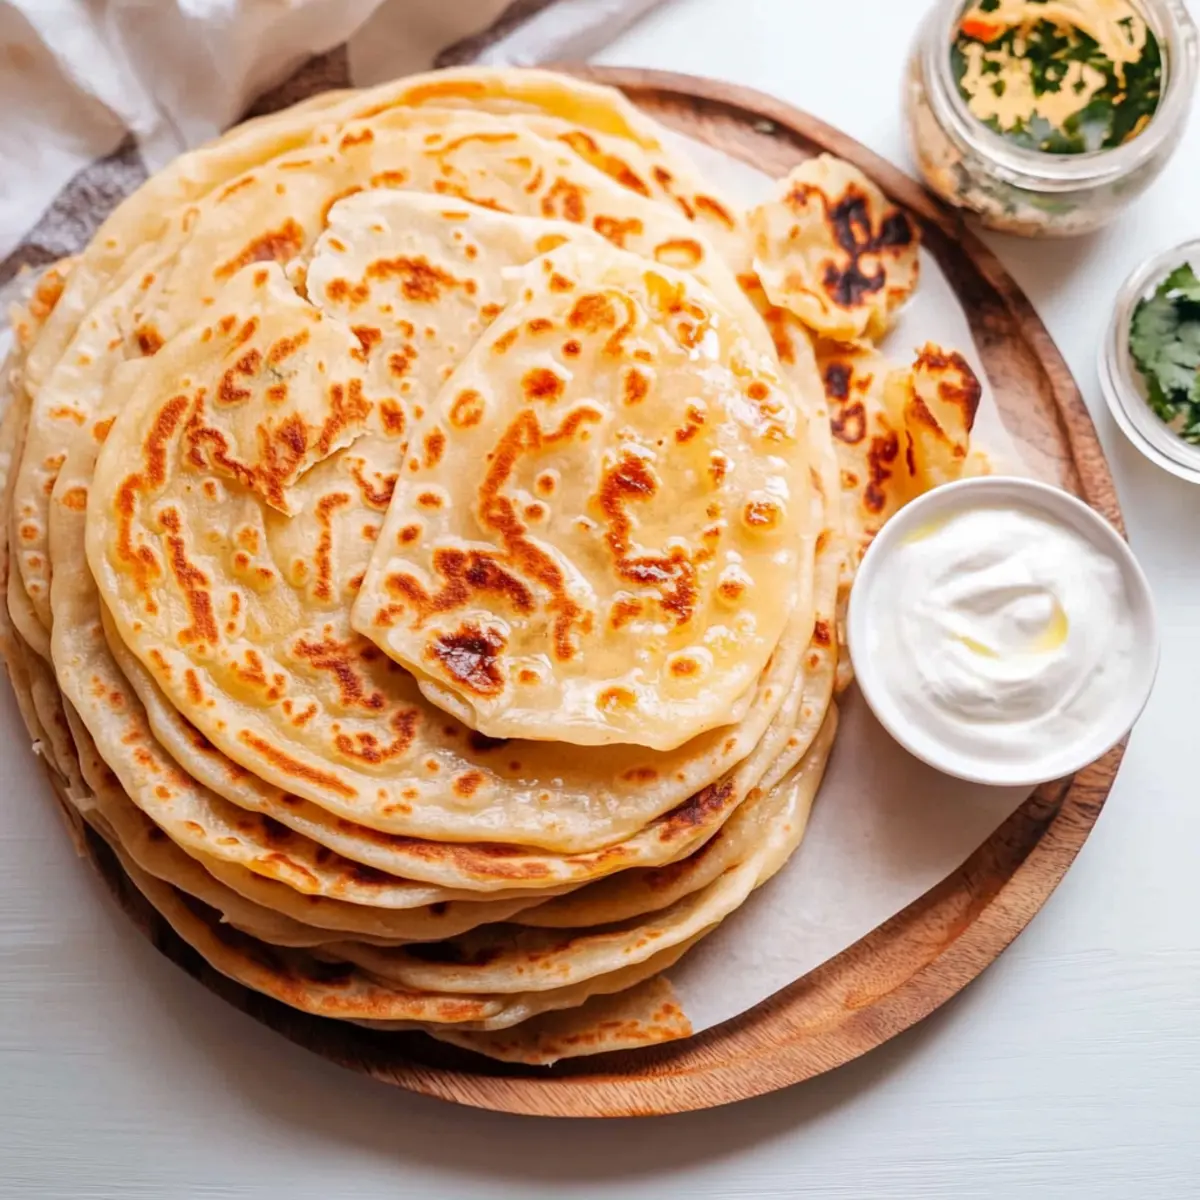
Once cooked, remove the paratha from the skillet and immediately scrunch it gently in your hands to reveal its flaky layers. Ensure you do this while it’s warm, as it helps separate the layers effectively. The final result should be soft, chewy, and layered, perfect for enjoying with your favorite curry or on its own.
Make Ahead Options
These Soft and Flaky Parathas are a dream for meal prep enthusiasts! You can prepare the dough up to 24 hours ahead of time. Simply follow the initial steps—including mixing, kneading, and resting the dough—and then refrigerate it in an airtight container. For best results, make sure to cover the dough with a damp cloth to prevent it from drying out. You can also shape the parathas into coils and store them in the fridge, ready to be rolled out and cooked whenever you need them, ensuring they maintain their flaky texture. When you’re ready to serve, just roll them out, cook on a hot skillet, and enjoy freshly made parathas that are just as delicious as the day you prepared them!
Paratha Variations & Substitutions
Feel free to get creative with your paratha and personalize it to your taste preferences—we all love adding our special touch!
-
Aloo Paratha: Stuff the dough with spiced mashed potatoes before rolling for a deliciously hearty treat. This variant is perfect for a filling meal, bringing a comforting warmth with every bite.
-
Kerala Parotta: Use all-purpose flour but add additional layers of ghee in between while rolling for a flaky, layered delight. This regional twist features amazing texture that elevates your meal experience.
-
Whole Wheat Paratha: Swap all-purpose flour with whole wheat for a denser and healthier flatbread. It’s a great gluten-free option that still offers a fantastic taste, allowing you to indulge without guilt.
-
Herbed Paratha: Add finely chopped herbs like cilantro or green onions to the dough for a fresh flavor boost. This aromatic variation adds a lovely pop of color and health benefits.
-
Spinach Paratha: Incorporate blanched and chopped spinach into the dough for a nutritious twist. Not only does this add great color, but it also packs in vitamins while providing a unique taste.
-
Spiced Paratha: Before cooking, sprinkle the rolled-out dough with spices like cumin or chili powder for an extra flavor kick. This variation can cater to those who crave some spice in their meals.
-
Cheese-Stuffed Paratha: Try adding shredded cheese into the dough to make a cheesy delight! This twist is perfect for kids and cheese lovers, turning your paratha into a satisfying snack.
-
Sweet Paratha: For a delightful breakfast, fill the dough with a mixture of brown sugar and cinnamon before rolling. This sweet treat is perfect when served drizzled with honey or alongside a warm cup of chai.
Each variation allows you to explore diverse flavors and textures while keeping the heart of this beloved Indian flatbread intact. If you want to enhance your culinary adventures further, check out our healthy alternatives for more ideas!
What to Serve with Soft and Flaky Paratha
Spice up your dining experience with delightful accompaniments that elevate the simple elegance of this Indian flatbread.
-
Aromatic Curry: A rich, spiced curry dances beautifully with the paratha, allowing for perfect dipping and savoring every layer.
-
Refreshing Raita: Cool and creamy yogurt sauce invigorates each bite, balancing the warmth of the paratha and adding a refreshing twist.
-
Tangy Chutney: Serve alongside mango or mint chutney for a burst of flavor that cuts through the richness of the flatbread, offering a delightful contrast.
-
Zesty Pickles: Traditional Indian pickles provide a punch of flavor that enhances each bite, perfect for those who enjoy bold tastes.
-
Steamed Vegetables: Lightly seasoned steamed veggies introduce a splash of color and freshness, making the meal well-rounded and nutritious.
-
Herbal Salad: A side of fresh cucumber, tomato, and onion salad with a hint of lemon adds crunch and brightness, complementing the soft paratha texture.
-
Warm Lentil Soup: Velvety dal provides comfort and heartiness, making it an ideal partner for dipping the paratha and enjoying its layers.
-
Masala Chai: A warm cup of spiced tea wraps up your meal perfectly, allowing the flavors to linger and adding a cozy finish to your dining experience.
Expert Tips for Soft and Flaky Paratha
- Dough Degree: Make sure your water is warm, not hot, to prevent killing the yeast’s action. This ensures your paratha comes out perfectly soft.
- Rest is Key: Allowing your dough to rest sufficiently is crucial—this helps relax the gluten, making the paratha easier to roll out and fluffier.
- Layering Technique: For best results, cover the dough with a damp cloth while resting. This prevents it from drying out, ensuring your flaky layers come together beautifully.
- Heat Matters: Medium-high heat is ideal for cooking your paratha. Too low and it won’t puff; too high and it can burn—aim for golden perfection!
- Scrunching Tip: Don’t skip the scrunching step after cooking! It’s essential to reveal beautiful layers, but handle gently to avoid burns. Remember, flakiness is key to a great paratha!
Storage Tips for Paratha
- Room Temperature: Keep cooked parathas in an airtight container for up to 2 days. Ensure they are completely cool before sealing to prevent moisture buildup.
- Fridge: For longer storage, refrigerate parathas in an airtight container for up to 5 days. Reheat in a skillet over medium heat until warmed through for the best texture.
- Freezer: Freeze parathas by placing parchment paper between each flatbread before sealing in a freezer-safe bag. They can be stored for up to 3 months; reheat directly from frozen in a skillet or microwave.
- Reheating: To enjoy parathas at their best, reheat in a dry skillet over medium heat for 1-2 minutes on each side, ensuring the layers remain flaky as you warm them up.
Soft and Flaky Paratha Recipe FAQs
What type of flour should I use for making paratha?
Absolutely! For making paratha, you can use all-purpose flour for a traditional soft texture. If you’re looking for a healthier option, whole wheat flour works well, too—just be aware that the texture may be denser. I often recommend mixing the two for a balanced flavor and nutrition.
How should I store cooked paratha?
To keep your parathas fresh, store them in an airtight container at room temperature for up to 2 days. If you want to extend their life, refrigerate them for up to 5 days. Just make sure they cool completely before sealing to prevent condensation, which can make them soggy.
Can I freeze paratha, and how do I do it?
Yes, definitely! To freeze your parathas, place parchment paper in between each flatbread, and then store them in a freezer-safe bag. This method prevents them from sticking together. They can last up to 3 months. When you’re ready to enjoy them, simply reheat directly from frozen in a skillet or microwave.
What if my paratha dough is too sticky?
Don’t worry! If your dough is too sticky, you can sprinkle a little more flour while kneading to get the right consistency. Aim for a smooth, slightly tacky dough that isn’t overwhelming. If it’s too dry, add tiny splashes of warm water, but be careful not to overdo it!
Can I make paratha for my gluten-free friends?
Absolutely! For a gluten-free paratha, just substitute all-purpose flour with a gluten-free blend or whole wheat flour, but keep in mind that the texture will be slightly different. You may need to experiment with the water content for the perfect dough consistency.
How long should the dough rest for the best results?
Resting is key! Allow your dough to rest for at least 1 hour after kneading. This resting time is crucial as it helps the gluten relax, making the dough easier to roll out and resulting in that lovely flaky texture when cooked.
Flaky Layered Paratha: Your New Favorite Indian Flatbread
Ingredients
Equipment
Method
- In a stand mixer bowl, combine all-purpose flour and kosher salt, mixing well. In a separate bowl, whisk together warm water, yogurt, and vegetable oil. Gradually pour the wet mixture into the flour mixture and mix until it forms a shaggy dough.
- Attach the dough hook to your stand mixer and knead the dough on low speed for about 3 minutes, or alternatively, knead by hand on a floured surface for 5–7 minutes.
- Divide the dough into 8 equal pieces, rolling each piece into a smooth ball. Place the dough balls on a floured surface and cover with a damp cloth. Allow the dough to rest for 1 hour.
- Take one dough ball and flatten it gently with your fingers into a small circle. Using a rolling pin, roll it out into a thin circle about 6–8 inches in diameter. Brush the surface with melted butter, then roll it up tightly and twist it into a rope.
- Heat a cast-iron skillet or tawa over medium-high heat. Roll out one coiled dough piece into a circle, about 6 inches in diameter. Place it onto the hot skillet, cooking for 1–2 minutes until golden spots appear.
- Once cooked, remove the paratha from the skillet and immediately scrunch it gently in your hands to reveal its flaky layers.
Leave a Reply