
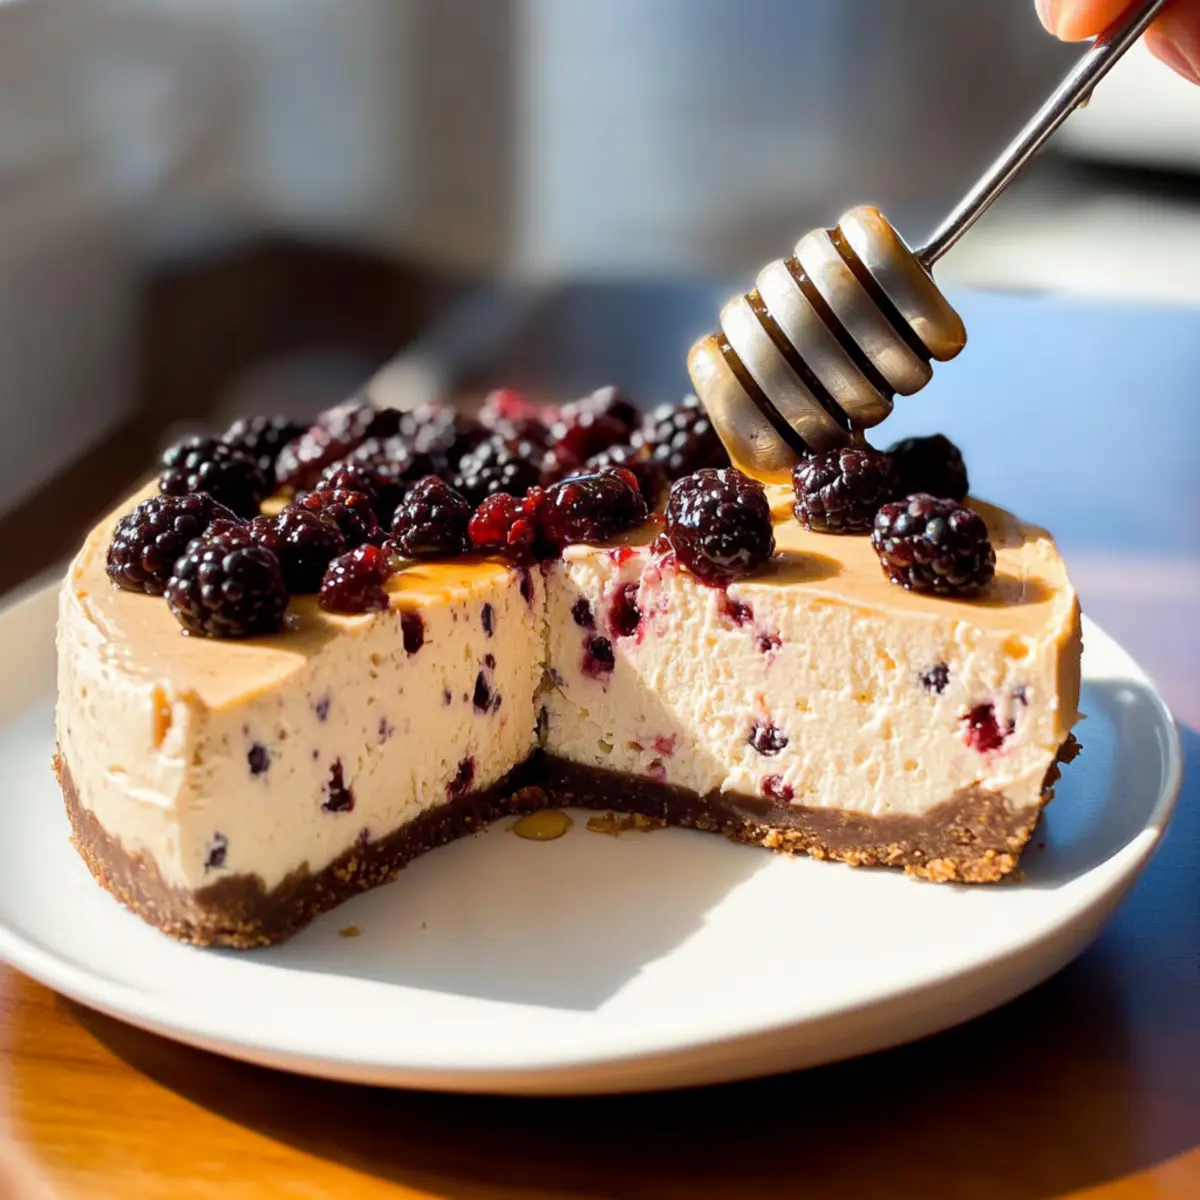
As I perched near the oven, the sweet scent wafting through the kitchen instantly transported me back to my grandmother’s bakery, where desserts never skimped on love—or flavor. That’s the magic behind this Healthy Protein Cheesecake, a creamy delight that packs a protein punch of 25 grams per slice, making it a smart choice for anyone craving a guilt-free dessert. Whether you’re whipping it up for a post-gym treat or dazzling guests at your next gathering, this cheesecake hits all the right notes. Plus, it’s incredibly versatile with options for low-carb, gluten-free, and even vegan diets. Are you ready to uncover a cheesecake that keeps you feeling good while satisfying your sweet tooth?
Why is Protein Cheesecake a Game Changer?
Decadent, Yet Healthy: Indulge in a cheesecake that feels luxurious but is packed with muscle-building protein—each slice offers a guilt-free treat without compromising on taste!
Versatile Options: Tailor your cheesecake with various crusts and flavorings, from classic graham cracker to nut-based or even crustless for quick prep.
Quick & Easy: With simple steps, you’ll have a delightful dessert in no time, making it perfect for dessert lovers tired of fast food.
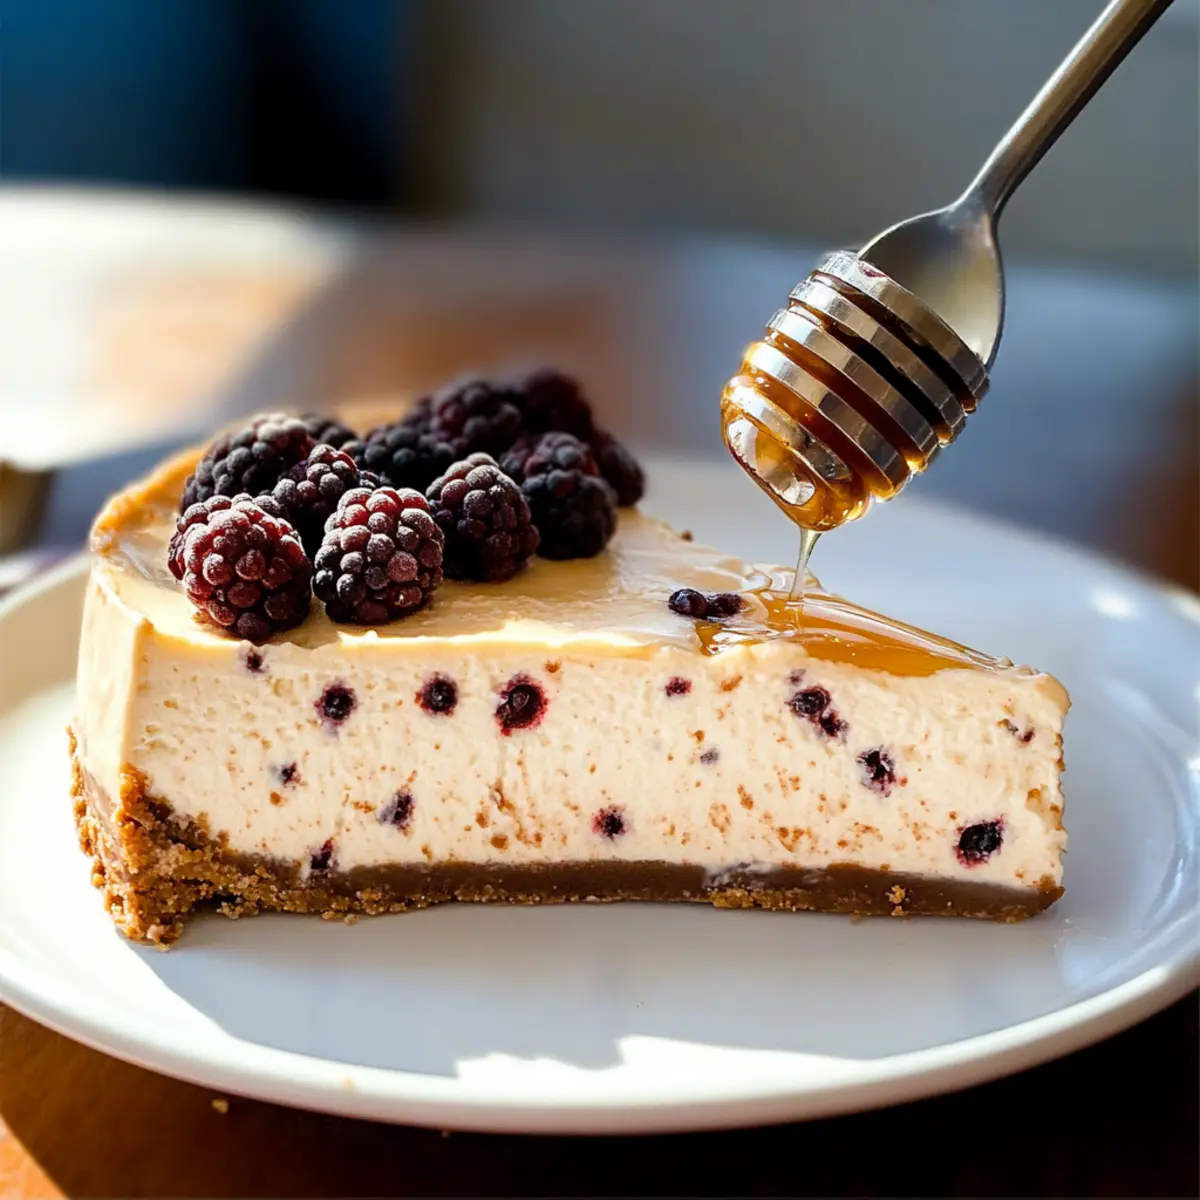
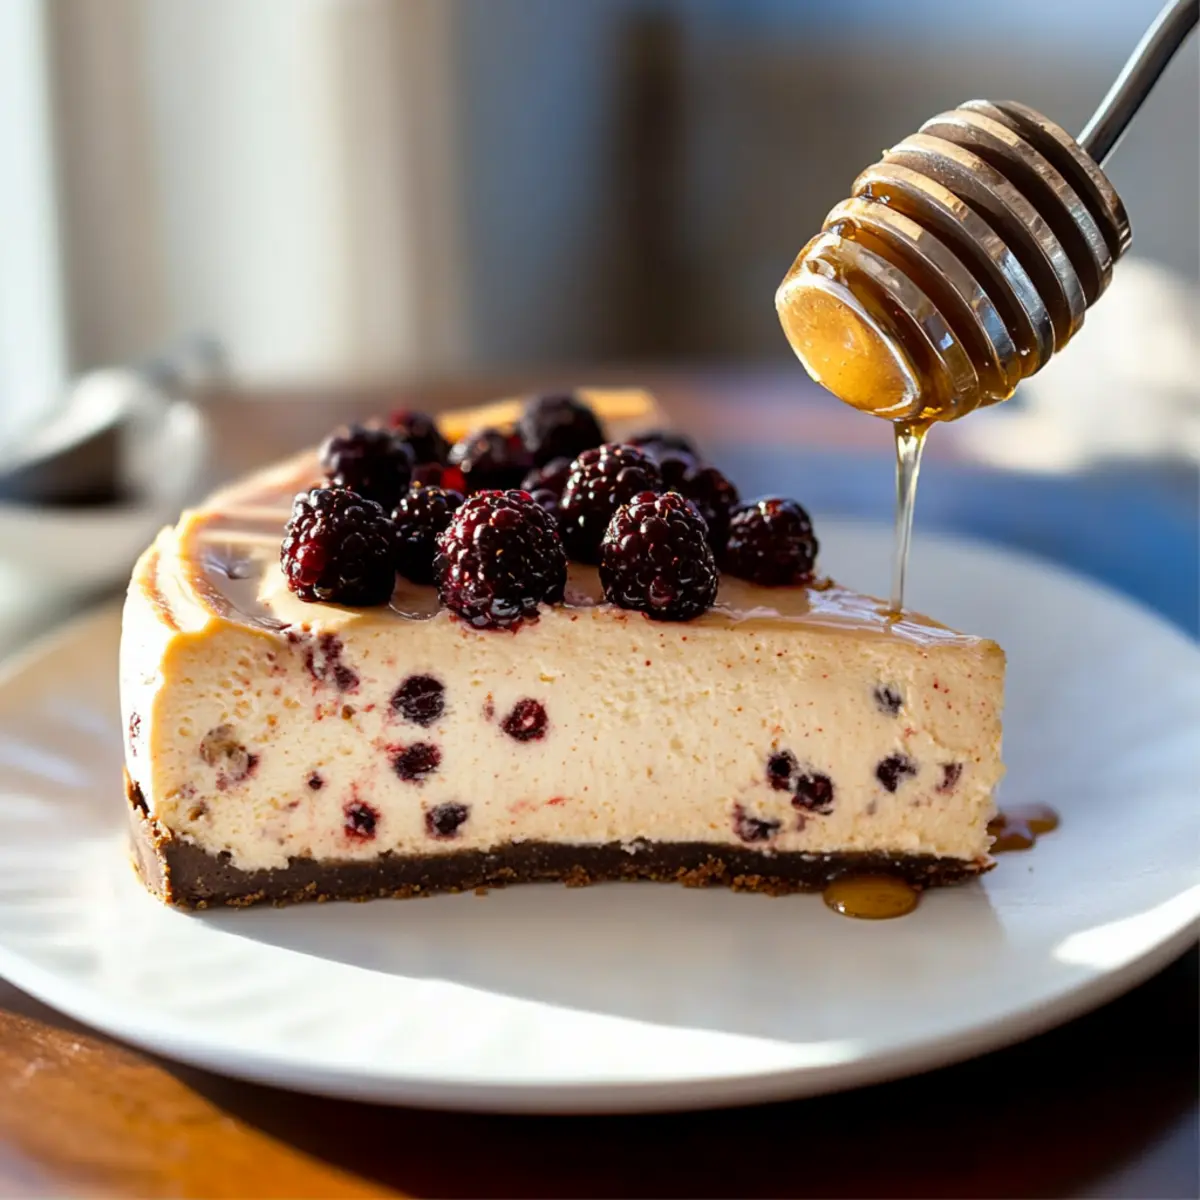
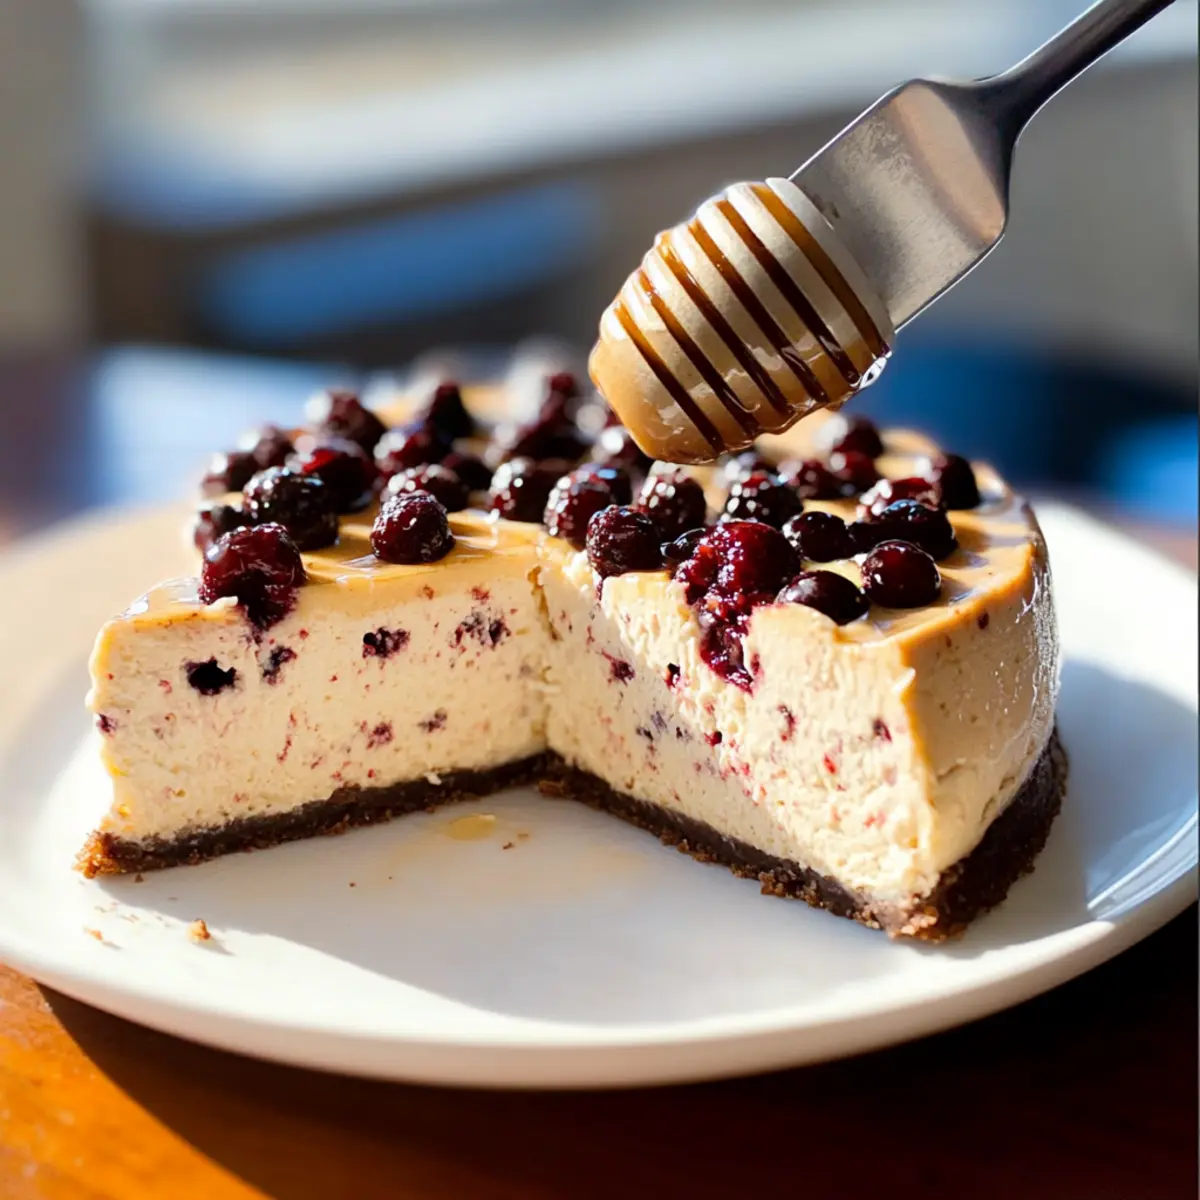
Diet-Friendly: Whether you’re vegan, low-carb, or just focused on health, this recipe adapts to your needs and tastes! Pair it with fresh berries or a drizzle of honey for an extra touch, just like with the Cottage Cheese Wraps you enjoy.
Crowd-Pleaser: Serve it at gatherings, and watch it disappear! This cheesecake is sure to impress friends and family while keeping everyone coming back for seconds.
Protein Cheesecake Ingredients
For the Filling
- Cream Cheese – Provides a rich, creamy base; feel free to use vegan cream cheese for a dairy-free delight.
- Greek Yogurt – Adds creaminess and protein; any dairy or plant-based yogurt works—omit vanilla extract if using flavored options.
- Protein Powder – Boosts the protein content; choose a flavor that complements your cheesecake.
- Sweetener – Balances the flavors; options include coconut sugar, honey, or sugar substitutes like xylitol for sugar-free.
- Pure Vanilla Extract – Enhances the flavor; it’s a key aromatic component in the filling.
For the Crust
- Graham Cracker Crust – The classic choice; crush your favorite graham crackers for that nostalgic taste.
- Almond Flour Crust – A low-carb option; perfect for a keto-friendly twist on your protein cheesecake.
- No-Crust Option – Skip the crust altogether for a quick, hassle-free dessert experience.
This healthy protein cheesecake captures everything you love about traditional cheesecake while keeping your nutritional goals in check—perfect for any dessert craving!
Step‑by‑Step Instructions for Protein Cheesecake
Step 1: Preheat and Prepare
Begin by preheating your oven to 350°F (175°C). While waiting for the oven, let your cream cheese come to room temperature, ensuring it mixes smoothly later. Position a baking pan filled with water on the lower rack of the oven—it helps maintain moisture for a creamy texture in your Protein Cheesecake.
Step 2: Mix the Ingredients
In a food processor, combine the softened cream cheese, Greek yogurt, protein powder, your chosen sweetener, and pure vanilla extract. Blend the ingredients until they achieve a smooth consistency, which should take about 30-45 seconds. Remember not to overbeat, as this can introduce air bubbles, leading to cracks in your finished Protein Cheesecake.
Step 3: Assemble the Cheesecake Filling
Take a prepared 9-inch springform pan and evenly spread the creamy filling mixture from the food processor into it. Smooth the top with a spatula for an even finish and to ensure the filling is well-distributed, which is key for a beautiful Protein Cheesecake that bakes evenly.
Step 4: Bake the Cheesecake
Place the springform pan on the middle rack of the oven, directly above the steaming water bath below. Bake your Protein Cheesecake for 30 minutes without opening the oven door, allowing it to set properly and maintain its moisture. You’ll know it’s ready when the edges are set, while the center remains slightly jiggly.
Step 5: Gradual Cooling
After 30 minutes, turn off the oven but leave the cheesecake inside for an additional 5 minutes. This gradual cooling process prevents drastic temperature changes, allowing the cheesecake to firm up without cracking and ensuring a smooth texture throughout.
Step 6: Chill the Cheesecake
Once cooled slowly in the oven, remove the Protein Cheesecake and allow it to come to room temperature for about 20 minutes. Then, transfer it to the refrigerator and chill for at least 6 hours, or preferably overnight. This chilling time is essential for the cheesecake to set properly, enhancing its delicious texture.
Protein Cheesecake Variations & Substitutions
Unleash your creativity in the kitchen and make this Protein Cheesecake truly your own with these delightful options!
- Vegan Option: Use dairy-free cream cheese and coconut yogurt for a completely plant-based dessert.
- Sugar-Free Twist: Swap regular sweeteners for stevia or erythritol to keep the sweetness without the calories.
- Crustless Wonder: For a quick and easy version, skip the crust entirely and pour the filling directly into the pan for a perfectly smooth cheesecake.
- Flavor Adventure: Infuse your cheesecake with flavors like lemon zest or pumpkin spice for a seasonal touch that awakens the senses.
- Nutty Crust: Replace graham crackers with crushed almonds or walnuts for a delicious nutty base that’s gluten-free.
- Cocoa Delight: Stir in cocoa powder to the filling for a rich chocolate cheesecake experience that satisfies chocolate cravings.
- Fruit-Infused: Add pureed fruit like raspberries or mango to the filling for a fruity twist that enhances both flavor and color.
- Chocolate Chips: Fold in sugar-free dark chocolate chips into the batter for a decadent, sweet surprise in every bite.
Feeling inspired to try these alternatives? Why not mix up some flavors while you’re at it, and check out how to make delicious options like Cinnamon Roll Protein Muffins or a flavorful High Protein Veggie bake to complement your cheesecake!
What to Serve with High Protein Healthy Cheesecake
Indulging in a rich, protein-packed cheesecake opens the door to creating a satisfying and delightful full meal experience.
- Fresh Berries: Juicy strawberries, blueberries, or raspberries add a burst of freshness and a pop of color, perfectly complementing the creamy texture of the cheesecake.
- Coconut Whipped Cream: A light, airy topping that adds a tropical twist, enhancing the cheesecake’s lusciousness while keeping it guilt-free.
- Chocolate Drizzle: A rich dark chocolate sauce provides a decadent touch and contrasts beautifully with the cheesecake’s sweetness. Drizzle it on top or serve it alongside for an elegant presentation.
- Almond Flour Cookies: Crunchy almond cookies deliver satisfying texture and a nutty flavor that enhances the cheesecake’s overall enjoyment. Pair them as a delightful side.
- Herbal Iced Tea: A refreshing herbal iced tea, lightly sweetened, is perfect for cleansing the palate and balancing the dessert’s richness. It’s both invigorating and soothing.
- Low-Carb Fruit Salad: Toss together a rainbow of your favorite low-carb fruits for a light, refreshing accompaniment that elevates the cheesecake without adding excess sugar.
- Sparkling Water with Lemon: This zesty drink refreshes the palate and adds a hint of brightness, making it an ideal pairing with a creamy dessert.
Make Ahead Options
These Healthy Protein Cheesecake are perfect for busy home cooks looking to simplify meal planning! You can prepare the cheesecake filling up to 24 hours in advance by mixing cream cheese, Greek yogurt, protein powder, sweetener, and vanilla, then storing it in an airtight container in the refrigerator to maintain freshness. You can also make the crust ahead, but ensure it’s fully cooled before storing. When you’re ready to bake, simply spread the chilled filling into your prepared crust and bake as directed. This way, you’ll enjoy a delightful, guilt-free dessert with minimal last-minute effort, just as satisfying as day-of preparation!
How to Store and Freeze Protein Cheesecake
-
Fridge: Store leftovers in the refrigerator in an airtight container for up to 4 days to keep your Protein Cheesecake fresh and creamy.
-
Freezer: For longer storage, freeze slices in an airtight container for up to 4 months; wrap each slice in plastic wrap for added protection against freezer burn.
-
Thawing: To enjoy a frozen slice, transfer it to the fridge for several hours or overnight to thaw slowly and retain texture.
-
Reheating: Serve chilled directly from the fridge; if you prefer it slightly warmed, microwave a slice for 10-15 seconds for a cozy treat!
Expert Tips for Protein Cheesecake
- Mixing Wisely: Avoid overmixing the filling; excessive air can lead to cracking during baking, impacting the texture of your protein cheesecake.
- Water Bath Method: Employing a water bath is crucial for retaining moisture and achieving a smooth, creamy texture while baking.
- Cool Gradually: Letting the cheesecake cool slowly in the oven prevents sudden temperature changes that may cause cracks in your delicious creation.
- Flavor Customization: Feel free to get creative—experiment with flavored yogurts or mix-ins like chocolate chips for a unique twist on your protein cheesecake!
- Serving Suggestions: For an extra treat, serve slices topped with fresh berries or a drizzle of honey, making it even more delightful for your guests!
Protein Cheesecake Recipe FAQs
How do I select the best cream cheese for my Protein Cheesecake?
When choosing cream cheese, look for brands labeled as “full-fat” for the best creamy texture in your cheesecake. If you’re going dairy-free, vegan cream cheese works beautifully and can provide a similar taste without sacrificing texture. Always check for freshness—avoid cream cheese with dark spots or an off-smell.
What’s the best way to store leftover Protein Cheesecake?
Store any uneaten slices of your Protein Cheesecake in an airtight container in the refrigerator for up to 4 days. This keeps the cheesecake moist and flavorful, making sure it’s just as delicious when you’re ready for another piece!
Can I freeze Protein Cheesecake? If so, how?
Absolutely! To freeze your Protein Cheesecake, wrap individual slices in plastic wrap and then place them in an airtight container. This method protects them from freezer burn and lets them stay fresh for up to 4 months. When you’re ready to enjoy a slice, simply transfer it to the refrigerator and let it thaw overnight.
What should I do if my cheesecake cracks while baking?
Cracking can occur due to overmixing air into the batter or sudden temperature changes during baking. To prevent this, mix your filling gently and avoid opening the oven door while the cheesecake is baking. If you do experience cracks, don’t worry! You can cover them with a fruit glaze or whipped cream, turning any imperfections into delicious toppings!
Are there any dietary considerations for my Protein Cheesecake?
Yes! This Protein Cheesecake can be made vegan by using plant-based cream cheese and yogurt as well as appropriate sweeteners. Additionally, for those with lactose intolerance or gluten sensitivity, select dairy-free yogurt and gluten-free crust options to cater to these dietary needs without sacrificing flavor.
Can I customize the flavors of my Protein Cheesecake?
Absolutely! Explore various flavor profiles by using fruit-flavored yogurts or mixing in goodies like chocolate chips, peanut butter, or even spices like cinnamon. Your imagination is the limit, so feel free to experiment until you find your perfect match!
Creamy Protein Cheesecake That Guilt-Free Indulgence!
Ingredients
Equipment
Method
- Preheat your oven to 350°F (175°C) and let the cream cheese come to room temperature. Position a baking pan filled with water on the lower rack.
- In a food processor, blend cream cheese, Greek yogurt, protein powder, sweetener, and vanilla extract until smooth for about 30-45 seconds.
- Spread the filling mixture evenly into a 9-inch springform pan and smooth the top with a spatula.
- Bake on the middle rack for 30 minutes without opening the oven door until the edges are set and the center is slightly jiggly.
- Turn off the oven and leave the cheesecake inside for an additional 5 minutes.
- Remove the cheesecake, let it cool for about 20 minutes, then refrigerate for at least 6 hours or overnight.
Leave a Reply