
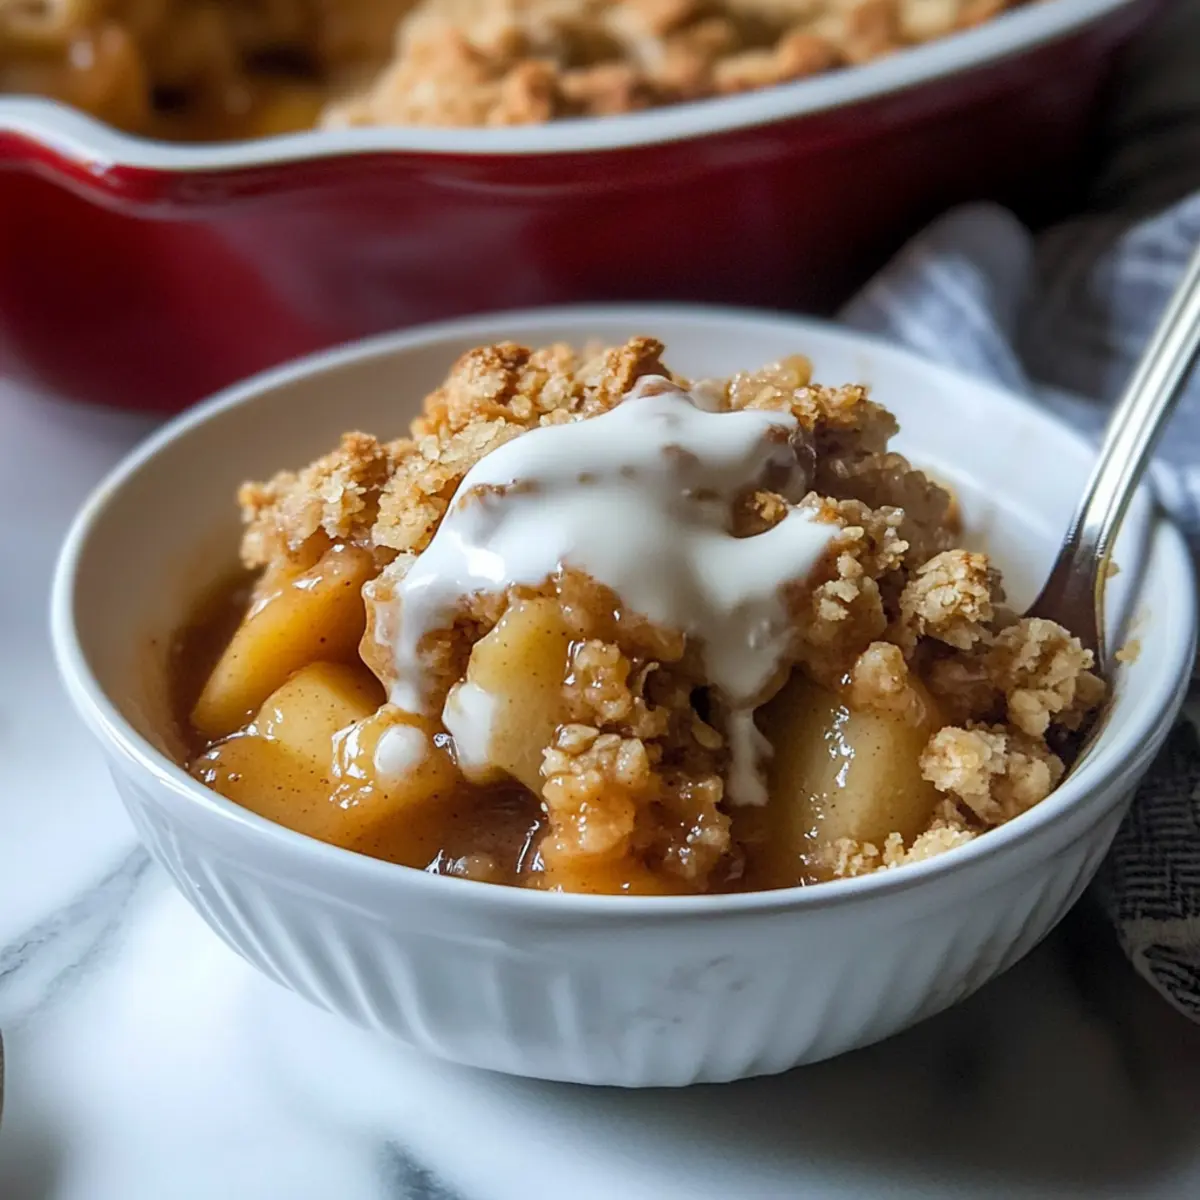
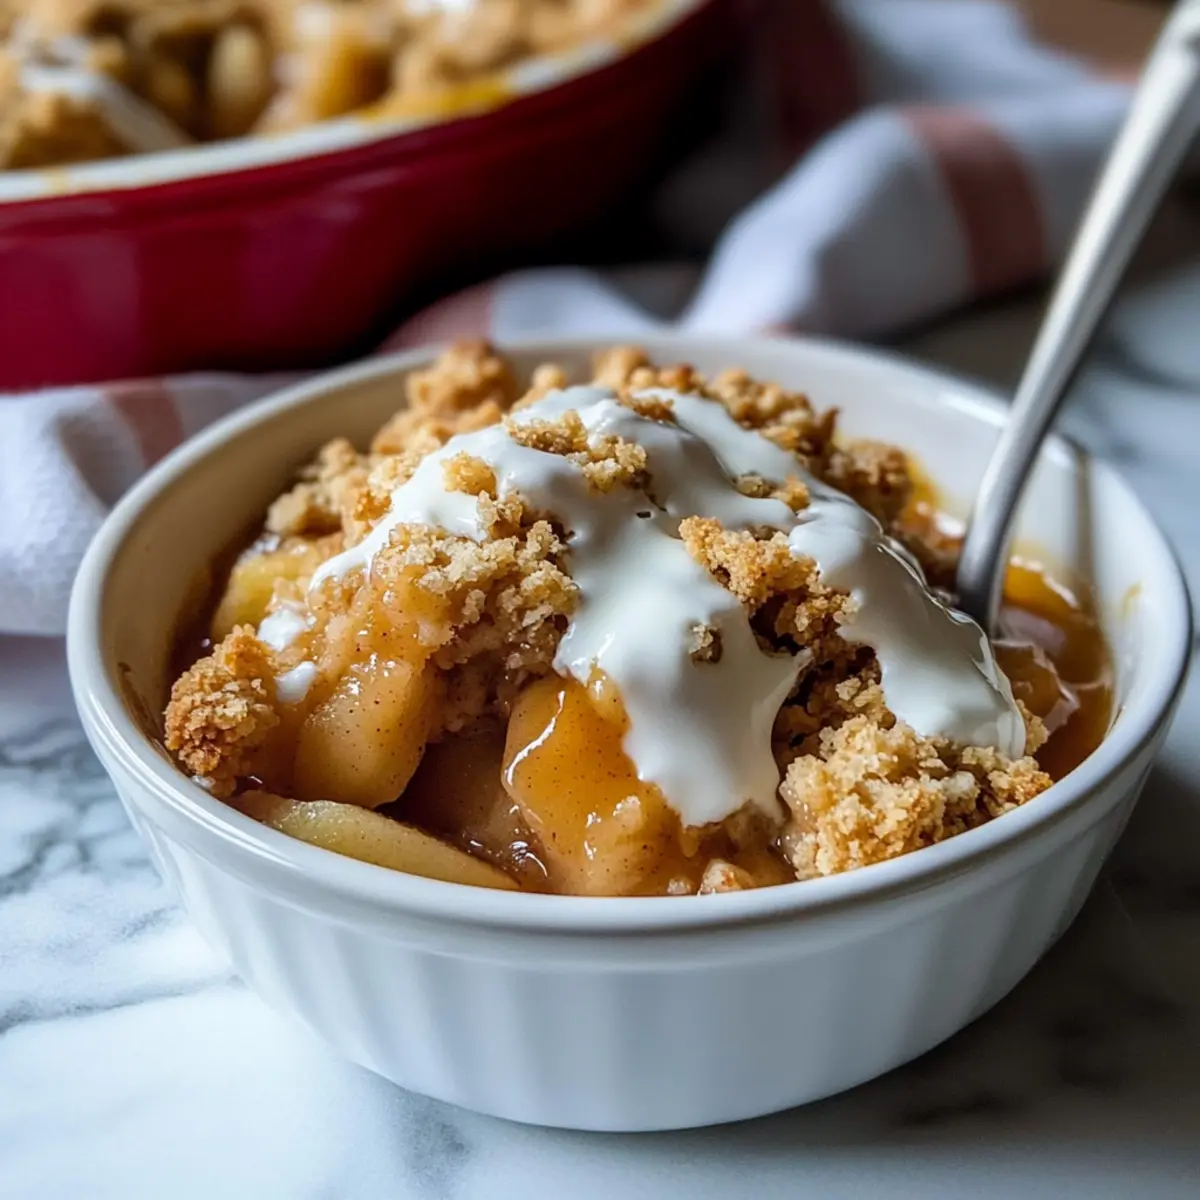
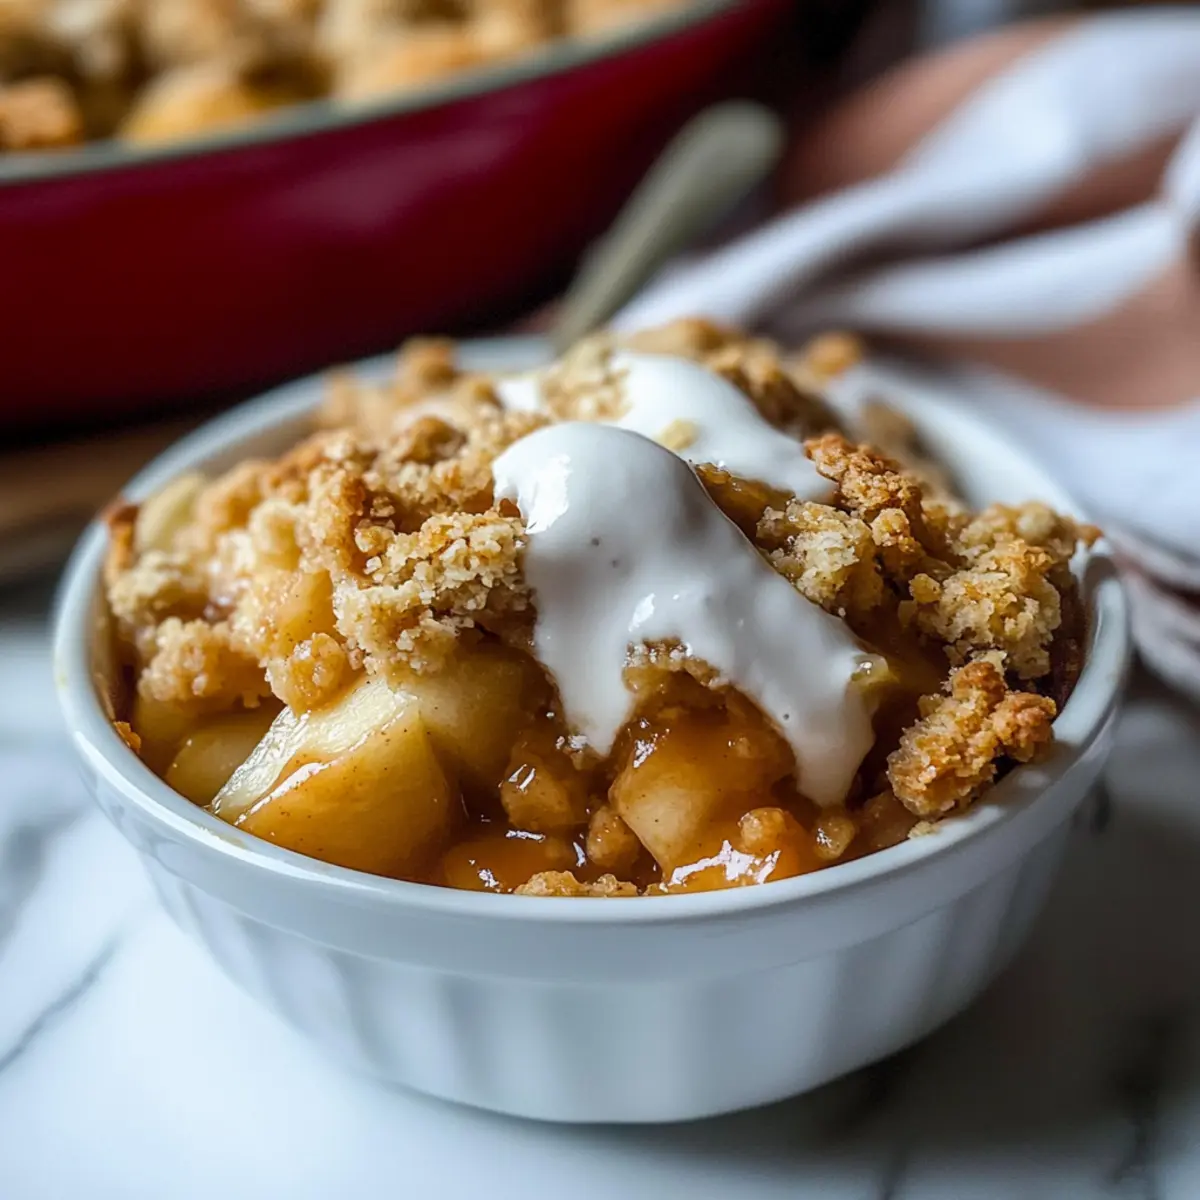
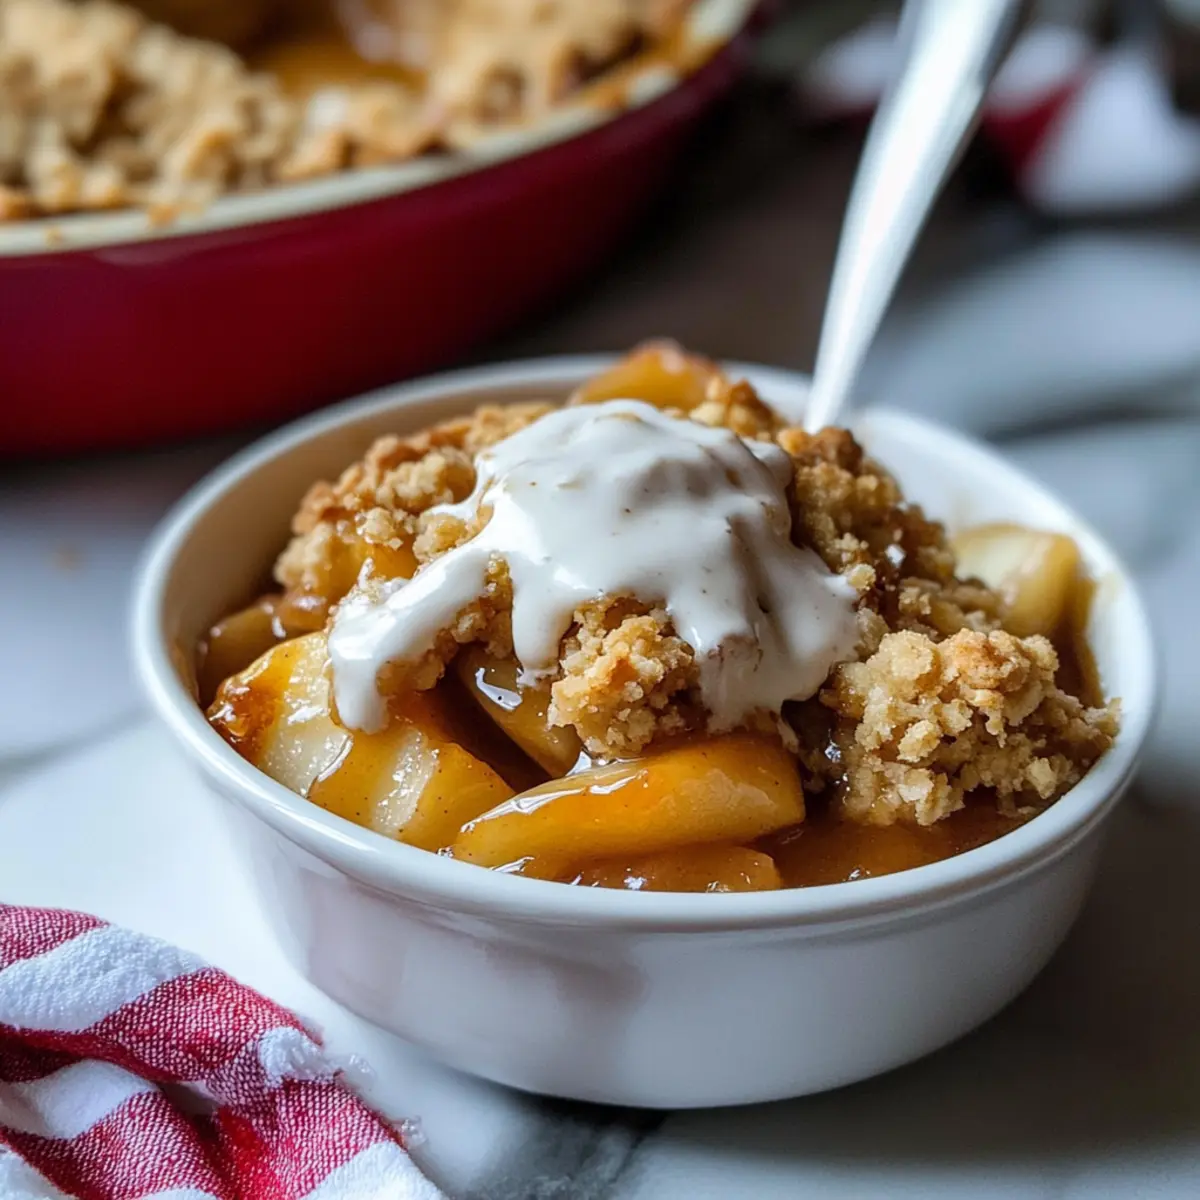
As I walked into my kitchen, the familiar aroma of baked apples and cinnamon enveloped me, whisking me back to sunny afternoons in my grandmother’s home. That’s the magic behind this Easy Vintage Gluten-Free Apple Crisp, a timeless dessert that transforms everyday ingredients into a heartwarming treat. Picture warm, juicy apples topped with a crunchy oat crumble that’s not only delicious but also entirely gluten-free. This recipe is perfect for a cozy family gathering or a delightful end to a casual dinner, striking a balance between nostalgia and modern dietary needs. Plus, it’s a breeze to whip up, making it a go-to for both seasoned chefs and those new to the kitchen. Who could resist that inviting combination of comfort and simplicity? Ready to dive into this tasty classic?
Why Is This Apple Crisp a Must-Try?
Nostalgic Flavors: This Vintage Gluten-Free Apple Crisp combines the taste of childhood memories with modern gluten-free ingredients, allowing everyone to enjoy a slice of happiness.
Easy to Make: With just a few simple steps, you can create a warm dessert that impresses without requiring hours in the kitchen.
Perfectly Gooey: The delightful combination of juicy apples and a crumbly topping ensures a satisfying and comforting bite every time.
Adaptable Ingredients: Feel free to experiment with different apples or nuts, making it versatile for any tastebuds.
Crowd-Pleasing Delight: Serve it warm with a scoop of creamy vanilla ice cream, and watch how it becomes the star of your dessert table. If you’re intrigued by other comforting recipes, check out Caramel Apple Pie for another sweet treat!
Vintage Gluten-Free Apple Crisp Ingredients
For the Filling
• Granulated Sugar – Sweetens the apple filling; substitute with coconut sugar for a lower glycemic option.
• Brown Sugar – Adds depth and moisture; light brown sugar works well as a substitute.
• Water – Helps dissolve the sugars and cornstarch; no substitutes needed.
• Lemon Juice – Brightens the flavors and prevents browning; always opt for fresh lemon juice.
• Cornstarch – Thickens the filling; tapioca starch can be a good alternative.
• Vanilla Extract – Enhances flavor; use pure vanilla for the best taste.
• Ground Cinnamon – Adds warmth to your filling; can be swapped with pumpkin spice for an exciting twist.
• Ground Nutmeg – Provides a hint of spice; omit if it’s not your favorite.
• Salt – Balances the sweetness; use sea salt or kosher salt for best results.
• Golden Delicious Apples (5 large, peeled and cubed) – The main star of the dish; Honey Crisp or Granny Smith can be delicious substitutes.
• Golden Delicious Apple (1, peeled and grated) – Adds moisture and creates the gooey filling; other apple varieties will work, but may affect texture.
• Unsalted Butter (melted) – Richness for the filling; vegan butter is a suitable alternative.
For the Topping
• Old-Fashioned Rolled Oats (1 cup + ⅓ cup) – Creates the desired texture and crunch; use certified gluten-free oats for safety.
• Gluten-Free All-Purpose Flour (⅓ cup) – Provides structure; opt for a blend like Cup4Cup for the best results.
• Brown Sugar (⅓ cup) – Sweetens the topping; coconut sugar can make a healthier choice.
• Vanilla Extract (2 teaspoons) – A flavor enhancer for the topping; keep it pure for optimal taste.
• Water (2 teaspoons) – Aids in achieving the right consistency for the topping.
• Salt (¼ teaspoon) – Enhances the overall flavors beautifully.
• Unsalted Butter (8 tablespoons, softened) – Essential for the structure and richness; vegan butter makes a good alternative.
• Chopped Nuts (optional – pecans, walnuts, or almonds) – Adds a delightful crunch, tailored to your preference.
For Serving (Optional)
• Caramel Ice Cream Topping – Adds an extra layer of decadence when serving this vintage gluten-free apple crisp.
Step‑by‑Step Instructions for Vintage Gluten-Free Apple Crisp
Step 1: Preheat the Oven
Begin by preheating your oven to 400ºF (200ºC). While the oven warms up, take an 11×7 or 2-quart baking dish and generously grease it with unsalted butter or cooking spray. This ensures your Vintage Gluten-Free Apple Crisp will bake evenly and be easy to serve later.
Step 2: Prepare the Apple Filling
In a large mixing bowl, combine granulated sugar, brown sugar, water, lemon juice, cornstarch, vanilla extract, cinnamon, nutmeg, and salt. Stir until well-blended. Next, add the peeled and cubed apples, along with the grated apple, mixing thoroughly. Transfer this luscious filling to your prepared baking dish and drizzle the melted butter on top. Cover with foil and bake for 20 minutes, allowing the flavors to meld.
Step 3: Mix the Topping
While the filling bakes, it’s time to prepare the topping for the Vintage Gluten-Free Apple Crisp. In a food processor, add ¾ cup of rolled oats, gluten-free flour, brown sugar, vanilla, water, and salt. Pulse until the ingredients are well combined and crumbly. This mixture will create a delightful crunch when baked.
Step 4: Combine with Butter
Remove the food processor lid and add the softened unsalted butter to the oat mixture. Pulse again to blend until you have a crumbly texture. Afterward, mix in the remaining ⅓ cup of oats and chopped nuts, if using. This combination will provide that irresistible topping for your apple filling.
Step 5: Assemble and Bake
After 20 minutes, remove the baking dish from the oven and scatter the oat topping evenly over the partially baked apple filling. Reduce the oven temperature to 350ºF (175ºC) and return the dish uncovered to the oven. Bake for another 40 minutes, watching for the juices to bubble and the topping to turn a rich golden brown.
Step 6: Cool Before Serving
Once the Vintage Gluten-Free Apple Crisp is bubbling and beautifully golden, remove it from the oven and let it cool on a wire rack for 30-60 minutes. This cooling time allows the filling to set nicely, making it easier to serve. Enjoy warm or at room temperature, preferably with a scoop of ice cream or whipped cream for a delightful treat!
Vintage Gluten-Free Apple Crisp Variations
Let your creativity shine as you customize this beloved recipe to fit your cravings and dietary needs!
-
Dairy-Free: Use coconut oil or dairy-free butter as a substitute for traditional butter to create a luscious filling and topping.
-
Nut-Free: Leave out the nuts in the topping for a classic apple crisp that safely caters to nut allergies while still being packed with flavor.
-
Spiced Up: Add a pinch of ground ginger or a dash of cayenne pepper to the apple filling for a warming kick that complements the sweetness beautifully.
-
Fruit Medley: Swap a portion of the apples for pears or peaches to introduce delightful new flavor notes to your crisp. This twist can create a delightful seasonal variation!
-
Maple Sweetened: Use pure maple syrup instead of granulated sugar to sweeten the filling – it adds a subtle depth and the warmth of fall to your dessert.
-
Oat-Free: If you’re looking for a grain-free option, substitute rolled oats with a blend of almond flour and coconut flour for a gluten-free crunch.
-
Flavored Extracts: Experiment with different extracts, like almond or hazelnut, in place of vanilla to add a unique twist to the flavor profile.
If you love the flavors of apple in different forms, don’t miss trying my Cranberry Apple Coleslaw for a refreshing dish or indulge in Caramel Apple Pie for another take on this classic!
What to Serve with Easy Vintage Gluten-Free Apple Crisp
Indulge in a cozy dessert experience by pairing this warm delight with these scrumptious accompaniments.
-
Vanilla Ice Cream: The creamy richness complements the warm apple filling, creating a heavenly contrast that elevates each bite.
-
Whipped Cream: Light and airy, whipped cream adds a delightful fluffiness that balances the crisp’s texture perfectly.
-
Caramel Sauce: Drizzle warm caramel over the crisp for an added layer of sweetness that makes this classic dessert utterly decadent.
-
Chopped Nuts: Sprinkle chopped pecans or walnuts on top for an extra crunch that enhances the dish’s rustic charm while adding nutrition.
-
Hot Tea: A steaming cup of chamomile or chai tea pairs beautifully, offering a soothing contrast to the sweet and spicy flavors of the crisp.
-
Cinnamon Sugar Tortilla Chips: Crunchy and slightly sweet, these chips are great for dipping, providing a fun way to indulge in this delicious apple dessert.
-
Fresh Berries: A side of tart raspberries or blueberries can brighten up each bite, adding a burst of freshness that balances the richness of the crisp.
Make Ahead Options
These Vintage Gluten-Free Apple Crisp preparations are perfect for busy cooks who want to enjoy a heartwarming dessert without the last-minute scramble! You can prepare the apple filling up to 24 hours in advance by combining the sugars, water, lemon juice, cornstarch, and vanilla with the diced and grated apples before storing it in the refrigerator. To keep the apples from browning, be sure the lemon juice is well incorporated. Additionally, you can mix the oat topping and refrigerate it separately for up to 3 days. When ready to bake, simply assemble the filling and topping, scatter it all together, and follow the baking instructions as usual. This makes enjoying a delicious Vintage Gluten-Free Apple Crisp easy and convenient on those busy weeknights!
How to Store and Freeze Vintage Gluten-Free Apple Crisp
Room Temperature: Store leftover apple crisp covered for up to 2 days. Ensure it’s placed in a cool, dry area to maintain freshness.
Fridge: For extended freshness, refrigerate the apple crisp for up to a week. Cover it tightly to prevent it from drying out.
Freezer: You can freeze Vintage Gluten-Free Apple Crisp for up to 3 months. Wrap it well in plastic wrap and then in aluminum foil to preserve flavor and texture.
Reheating: To enjoy your crisp again, thaw overnight in the fridge, then reheat in a 350ºF oven until warmed throughout, about 20–25 minutes.
Expert Tips for Vintage Gluten-Free Apple Crisp
-
Uniform Apple Sizes: Ensure your apple pieces are of similar sizes for even cooking, allowing them to meld beautifully in the filling.
-
Grate for Moisture: Grating one apple adds exceptional moisture and makes the filling delightfully gooey. Don’t skip this step!
-
Cover While Baking: Use foil during the initial baking phase to prevent the topping from overbaking and losing its crunchiness.
-
Cooling Is Key: Allow the crisp to cool before serving; this helps the filling thicken and makes for a better slice of your vintage gluten-free apple crisp.
-
Nut Variations: Feel free to experiment with different nuts in the topping. Pecans, walnuts, or even almonds can introduce delightful flavors and textures!
Vintage Gluten-Free Apple Crisp Recipe FAQs
How do I choose the best apples for this apple crisp?
Absolutely! For the best flavor in your Vintage Gluten-Free Apple Crisp, look for apples that are firm and slightly tart. Golden Delicious apples work beautifully, but you can also try Honey Crisp or Granny Smith for a balance of sweetness and tang. Make sure to select fruit that is free of dark spots or blemishes to ensure optimal taste and texture.
What is the best way to store leftover apple crisp?
After enjoying your delicious apple crisp, store any leftovers covered at room temperature for up to 2 days. For longer freshness, transfer it to the fridge where it will keep for up to a week. Just remember to cover it tightly to prevent it from drying out, and it’s best served warmed!
Can I freeze Vintage Gluten-Free Apple Crisp?
Yes, indeed! This delightful dessert can be frozen for up to 3 months. To freeze, wrap the dish tightly in plastic wrap followed by aluminum foil. When you’re ready to enjoy it again, let it thaw overnight in the fridge. Reheat in a 350ºF oven for about 20–25 minutes until heated through and the topping is crispy once more.
What if my apple filling is too runny?
If you find that your filling is too runny, don’t worry! It could be that the apples released too much moisture during baking. To fix this, you can sprinkle a little extra cornstarch (start with about 1 tablespoon) over the apples next time before baking. Ensure to mix it well with the other filling ingredients to help thicken it up as it bakes.
Are there any dietary considerations for this recipe?
Very! This Vintage Gluten-Free Apple Crisp is a fantastic option for those who are gluten intolerant. To account for allergies, be cautious with the nuts in the topping—pecans, walnuts, or almonds are optional. Make sure to use certified gluten-free oats and flour to ensure the whole dish is safe for those with gluten sensitivities.
How can I make this dessert healthier?
You can easily lighten up your Vintage Gluten-Free Apple Crisp by substituting granulated sugar with coconut sugar or using a sugar substitute that aligns with your dietary needs. Additionally, swapping some of the oats with almond or coconut flour not only changes the flavor and texture but also enhances the nutritional profile. Enjoy every bite with peace of mind!
Vintage Gluten-Free Apple Crisp with Irresistible Gooey Filling
Ingredients
Equipment
Method
- Preheat your oven to 400ºF (200ºC). Grease an 11x7 or 2-quart baking dish with unsalted butter.
- In a large mixing bowl, combine granulated sugar, brown sugar, water, lemon juice, cornstarch, vanilla extract, cinnamon, nutmeg, and salt. Mix in the peeled and cubed apples along with the grated apple. Pour the filling into the prepared baking dish and drizzle the melted butter on top. Cover with foil and bake for 20 minutes.
- In a food processor, blend ¾ cup of rolled oats, gluten-free flour, brown sugar, vanilla, water, and salt until crumbly.
- Add softened unsalted butter to the oat mixture and pulse until crumbly again. Mix in the remaining ⅓ cup oats and chopped nuts.
- After 20 minutes, scatter the oat topping over the apple filling. Reduce oven temperature to 350ºF (175ºC) and bake uncovered for another 40 minutes.
- Let the apple crisp cool on a wire rack for 30-60 minutes before serving. Enjoy warm or at room temperature, preferably with ice cream or whipped cream.
Leave a Reply