
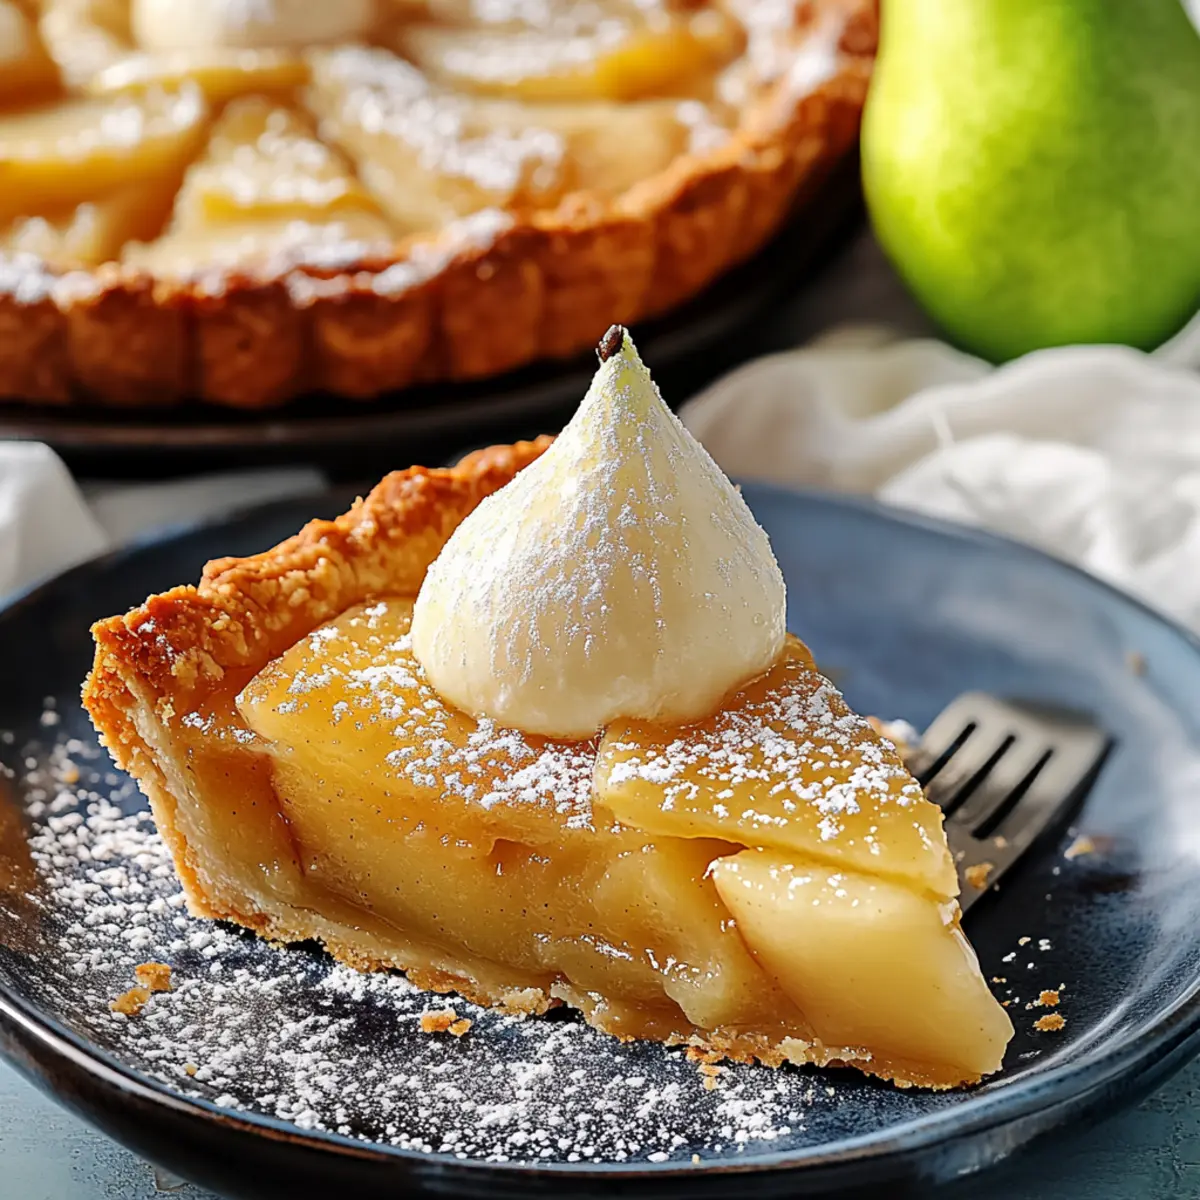
“Just imagine the warmth of your kitchen wrapped in the sweet aroma of baked pears.” As you slice through the golden, flaky crust of this Easy Pear Tart, you’re not just cutting dessert; you’re diving into a delicious fusion of simplicity and elegance. This recipe is a joy to prepare, perfect for those evenings when you want to impress loved ones without the stress of elaborate techniques. With just a few ingredients, including tender pears and a buttery crust, you’ll create a dessert that feels as special as a night out, yet can be made right at home. Plus, it’s a delightful choice for any gathering, sure to become a favorite! Ready to transform your kitchen into a cozy oasis with this delightful Easy Pear Tart Recipe? Let’s get started on this culinary adventure!
Why Make This Easy Pear Tart?
Simplicity at its finest: With just a handful of ingredients, this tart comes together quickly, making it perfect for both novice cooks and seasoned chefs alike. Buttery, flaky crust: The rich texture of the crust will leave everyone asking for seconds. Versatile options: Feel free to swap out pears for apples or peaches for a fun twist! Crowd-pleaser: This dessert is sure to impress family and friends at any gathering. For those cozy evenings, consider serving it warm with a scoop of vanilla ice cream, like I do with my Pancake Muffins Bites. Don’t miss this delightful treat that effortlessly combines ease and elegance!
Easy Pear Tart Ingredients
For the Crust
- All-Purpose Flour – Provides structure and base for the tart crust; substitute with gluten-free flour for a gluten-free option.
- Unsalted Butter – Adds richness and flakiness to the crust; make sure it’s chilled and diced for best texture.
- Sugar – Sweetens the crust, enhancing its flavor; feel free to use coconut sugar for a less refined alternative.
- Ice Water – Binds the crust ingredients without melting the butter; cold milk can also work for added flavor.
For the Filling
- Ripe Pears – The star of the tart, they should be tender and sweet for the best flavor; apples make a great substitute too.
- Lemon Juice – Prevents browning of pears while adding a fresh tang.
- Cinnamon – Enhances the flavor profile beautifully; nutmeg can be used as another aromatic option.
- Brown Sugar – Adds depth of flavor to the filling; swap in maple syrup for a different sweetness.
This Easy Pear Tart recipe is just waiting for you to bring it to life in your kitchen!
Step‑by‑Step Instructions for Easy Pear Tart Recipe
Step 1: Preheat the Oven
Begin by preheating your oven to 375°F (190°C). This ensures a perfectly baked crust for your Easy Pear Tart. While the oven heats up, gather your ingredients and equipment, including a large mixing bowl, a tart pan, and a rolling pin, so you’re all set for successful tart-making.
Step 2: Prepare the Crust
In a large bowl, combine all-purpose flour and sugar, mixing them well. Next, cut in chilled, diced unsalted butter using a pastry cutter or your fingers until the mixture resembles coarse crumbs. This step is crucial for achieving that delightful, flaky texture in your tart crust.
Step 3: Form the Dough
Gradually add ice water to the flour mixture, mixing gently until the dough holds together. Be careful not to over-mix, as this could make your crust tough. Once combined, wrap the dough in plastic wrap and refrigerate for about 30 minutes to rest and firm up.
Step 4: Roll Out the Dough
After chilling, flour your work surface and roll out the dough to about 1/8-inch thickness. Transfer the rolled dough into your tart pan, gently pressing it into the corners. Trim any excess dough, allowing for a slight overhang to ensure a tall crust as your Easy Pear Tart bakes.
Step 5: Prepare the Filling
In another bowl, slice your ripe pears and toss them with lemon juice, brown sugar, cinnamon, and a splash of vanilla extract. This will enhance the sweetness and prevent browning. Make sure the pears are evenly coated, which allows for a delicious flavor meld in your tart.
Step 6: Assemble the Tart
Evenly arrange the pear mixture over the prepared crust, spreading them out so every slice has a delightful portion of fruit. This step not only adds visual appeal but also ensures every bite of your Easy Pear Tart is bursting with flavor.
Step 7: Bake the Tart
Carefully place the tart in your preheated oven and bake for approximately 35 minutes. Keep an eye on it, looking for a golden brown crust and tender pears to know it’s done. The aroma filling your kitchen will be a sure sign that your tart is baking beautifully.
Step 8: Cool and Serve
Once baked, remove the tart from the oven and allow it to cool for a few minutes before slicing. This cooling period helps the filling set, making it easier to cut. Serve your Easy Pear Tart warm, possibly with a scoop of vanilla ice cream or a dollop of whipped cream for an extra delightful treat.
Easy Pear Tart Recipe Variations
Feel free to get creative with this Easy Pear Tart recipe; there are so many ways to add your own personal touch!
-
Gluten-Free: Use gluten-free flour blend in place of all-purpose flour for a deliciously flaky crust that everyone can enjoy.
-
Nutty Flavor: Add roughly chopped walnuts or pecans to the pear filling for a delightful crunch that complements the soft fruit beautifully.
-
Caramel Twist: Drizzle homemade or store-bought caramel over the pears before baking for an extra layer of irresistible sweetness.
-
Spice It Up: Swap cinnamon for a pinch of nutmeg or allspice if you want to explore new flavor dimensions in your sweet tart.
-
Fruit Alternatives: Substitute pears with ripe apples or juicy peaches for a seasonal variation that’s equally tasty and fresh. Each fruit brings its own charm!
-
Dairy-Free: Use coconut oil or a dairy-free butter alternative instead of unsalted butter for a vegan-friendly version without sacrificing flavor.
-
Savory Addition: Sprinkle crumbled blue cheese over the pears before baking for a unique twist that balances sweetness with a savory kick, making it great for upscale gatherings.
-
Citrus Zing: For a vibrant pop of flavor, add orange or lemon zest to the pear filling, imparting fresh brightness that complements the sweetness beautifully.
There you have it! With these variations, you can turn the beloved Easy Pear Tart into something uniquely yours. If you’re in the mood for some cozy comfort food, you might also enjoy my Italian Penicillin Soup or indulge in a rich French Dip Biscuits treat. Enjoy experimenting!
Expert Tips for Easy Pear Tart
-
Chill Your Butter: Make sure your unsalted butter is very cold when mixing with flour; this is key to achieving that desired flaky pastry.
-
Don’t Overmix: When forming your dough, mix just until it holds together. Overmixing can lead to a tough crust—nobody wants that in their Easy Pear Tart!
-
Use Fresh Pears: Opt for ripe, tender pears as your main filling ingredient. Underripe pears may not caramelize well, affecting the tart’s flavor and texture.
-
Watch the Bake Time: Ovens vary, so keep an eye on your tart in the last minutes of baking. It should be a beautiful golden brown when ready.
-
Experiment with Flavors: Feel free to swap in different spices like nutmeg or try pairing your pears with different fruits for a unique twist to the classic Easy Pear Tart recipe!
Storage Tips for Easy Pear Tart
Fridge: Store your Easy Pear Tart in the refrigerator, wrapped in plastic wrap or foil, for up to 2 days. This helps maintain its delicious flavor and texture.
Freezer: If you wish to enjoy it later, slice the tart and freeze individual pieces in airtight containers for up to 1 month. Just thaw and reheat for a cozy treat!
Reheating: To reheat, simply place the slices in a preheated oven at 350°F (175°C) for about 10 minutes. This revives that buttery goodness and warms up the tender pears beautifully.
Serving Note: The tart can also be enjoyed cold directly from the fridge, making it a versatile dessert option for any occasion.
What to Serve with Easy Pear Tart
Indulging in a slice of this delightful tart often makes you want to elevate the entire dining experience.
-
Vanilla Ice Cream: A scoop of creamy vanilla ice cream perfectly complements the warm, buttery tart, balancing its sweetness with rich creaminess. The cold and warm contrast creates a delightful harmony in every bite.
-
Fresh Whipped Cream: Light, airy whipped cream adds a luscious texture that enhances the flavors of the pears, allowing them to shine. It’s a simple yet elegant addition that feels indulgent.
-
Coffee: A cup of freshly brewed coffee offers a bitter note that beautifully contrasts with the sweetness of the tart. Consider pairing it with a dash of cinnamon to echo the flavors of the dessert.
-
Caramel Sauce: Drizzling warm caramel sauce over your slice transforms the tart into a comforting, decadent treat. It adds a rich, buttery flavor that pairs exceptionally well with the pears.
-
Mixed Berry Compote: A sweet-tart berry compote evokes freshness and brightness, lending a tangy touch that cuts through the tart’s richness. The vibrant colors and flavors offer a stunning visual and culinary contrast.
-
Cheese Platter: A small selection of mild cheeses, such as brie or goat cheese, complements the earthy tones of the pears while adding creaminess. This combination elevates your dessert into a sophisticated affair.
-
Lemonade or Iced Tea: A refreshing glass of lemonade or iced tea offers a crisp, zesty counterpoint to the warm dessert, making for a perfect summer pairing. The light citrus notes elevate the overall flavor experience.
Make Ahead Options
These Easy Pear Tarts are perfect for busy home cooks looking to save time! You can prepare the tart crust up to 3 days in advance. Just mix the ingredients, form the dough, wrap it tightly in plastic wrap, and refrigerate until you’re ready to roll it out. The pear filling can also be made up to 24 hours ahead; simply slice and toss your pears with lemon juice, sugar, and spices, then store in an airtight container in the fridge to keep them fresh. When you’re ready to bake, assemble your tart using the prepped components and pop it in the oven for a delightful dessert that’s just as delicious as if made fresh!
Easy Pear Tart Recipe FAQs
How do I choose the right pears for this tart?
Absolutely! Look for ripe pears that are tender to the touch but not overly soft. Varieties like Bartlett or Bosc work wonderfully. Avoid pears with dark spots all over, as they may be overripe. If you’re ever in doubt, just give them a gentle squeeze—if they yield slightly, they are perfect for your Easy Pear Tart!
How should I store the Easy Pear Tart?
To maintain its delightful texture and flavor, wrap your Easy Pear Tart in plastic wrap or foil and store it in the refrigerator for up to 2 days. If you prefer to keep it longer, you can slice it and freeze individual pieces in airtight containers for up to 1 month. Just thaw and reheat for a cozy treat!
Can I freeze the Easy Pear Tart?
Absolutely! Follow these simple steps:
- Allow the tart to cool completely after baking.
- Slice it into individual portions.
- Wrap each slice tightly in plastic wrap and place them in an airtight container or freezer bag.
- Label with the date and freeze for up to one month. When you’re ready to enjoy, thaw in the fridge and reheat in a preheated oven at 350°F (175°C) for about 10 minutes.
What should I do if my tart crust is too tough?
Very! If your crust turns out tough, it’s often due to overmixing the dough. For next time, mix the dough just enough for it to hold together without leaving a dry flour residue. Also, remember to keep your butter chilled and handle the dough as little as possible to ensure a flaky result.
Can I eat the Easy Pear Tart if I have a fruit allergy?
Great question! Since it primarily features pears, this tart wouldn’t be suitable for someone with a pear or stone fruit allergy. However, consider using other fruits you can enjoy, such as apples or berries, as substitutes to create a delicious variation that fits within your dietary needs.
What are some common mistakes to avoid when making this tart?
Some mistakes to watch for include skipping the chilling step for the dough, which is crucial for flaky pastry, and not properly slicing the pears. Aim for even thickness to ensure consistent cooking. Watching the bake time is important too—every oven is unique, so keep an eye on it towards the end of baking!
Delicious Easy Pear Tart Recipe That Impresses Effortlessly
Ingredients
Equipment
Method
- Preheat your oven to 375°F (190°C).
- In a large bowl, combine all-purpose flour and sugar. Cut in chilled unsalted butter until the mixture resembles coarse crumbs.
- Gradually add ice water until the dough holds together. Wrap in plastic wrap and refrigerate for about 30 minutes.
- Flour your work surface and roll out the dough to about 1/8-inch thickness. Transfer it into your tart pan, pressing it into the corners.
- Slice ripe pears and toss with lemon juice, brown sugar, cinnamon, and vanilla extract.
- Evenly arrange the pear mixture over the prepared crust.
- Bake for approximately 35 minutes until golden brown.
- Allow to cool for a few minutes before slicing and serve warm.
Leave a Reply