
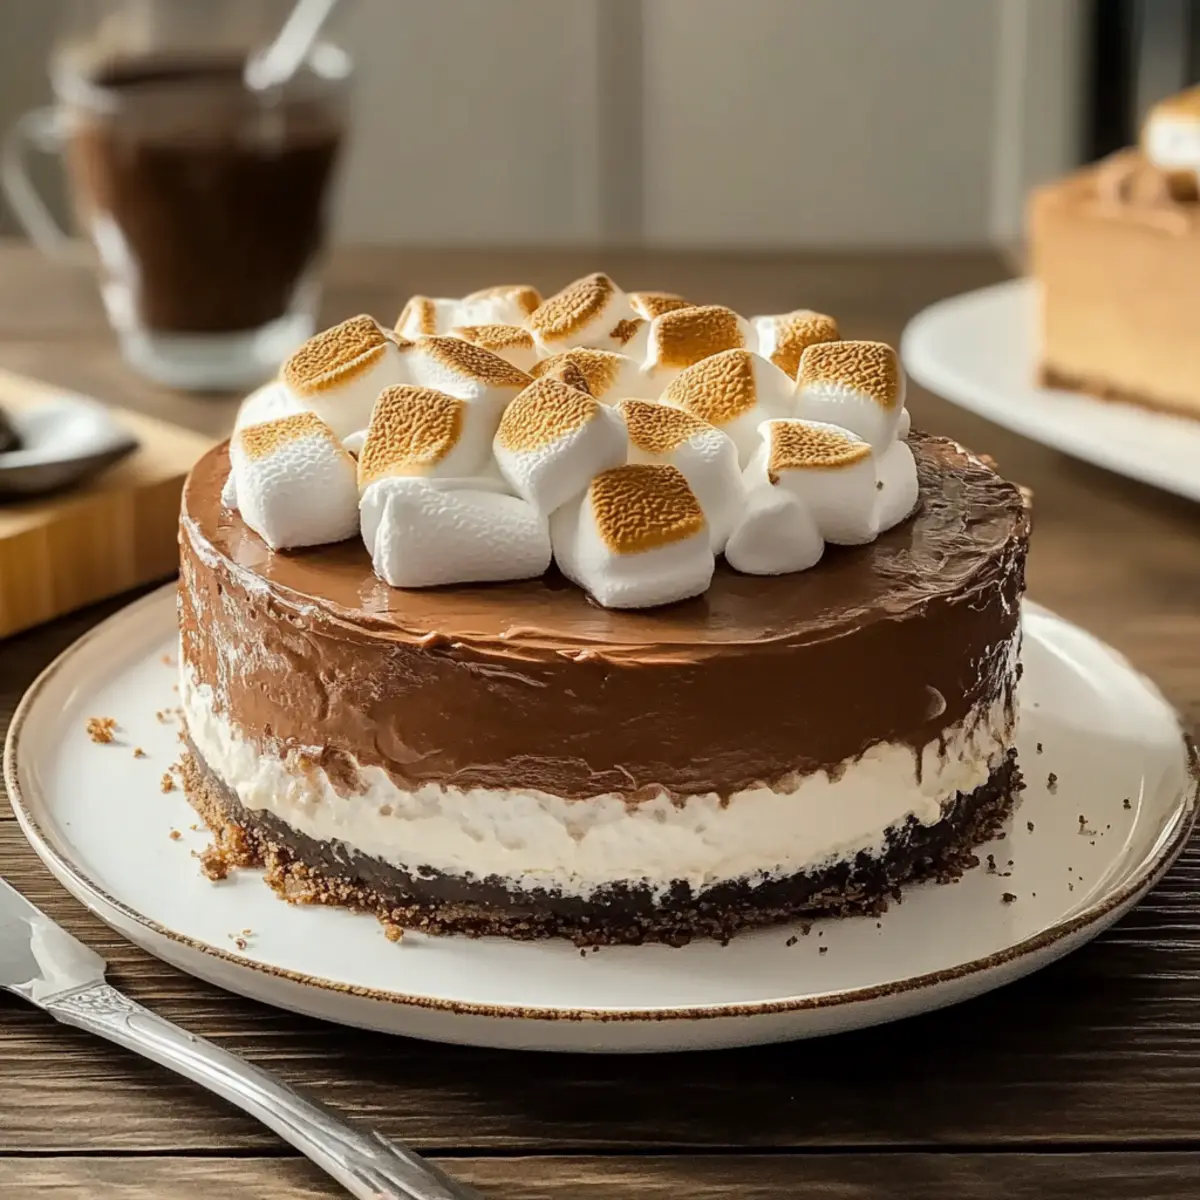
As I pulled my Hot Cocoa Cheesecake from the oven, the sweet, chocolatey aroma wrapped around me like a warm blanket on a chilly winter night. This fabulous creation perfectly marries the creamy goodness of cheesecake with the nostalgic flavors of hot cocoa, making it an irresistible comfort food treat. Built on a rich chocolate cookie crust and topped with a fluffy marshmallow whipped cream, this dessert is not only a crowd-pleaser but also a fun baking project for anyone, regardless of skill level. Whether you’re hosting a holiday gathering or simply looking to indulge in a little homemade bliss, this Hot Cocoa Cheesecake delivers on both flavor and joyful memories. Are you ready to dive into a dessert that warms both the heart and the taste buds?
Why Choose Hot Cocoa Cheesecake?
Irresistible Comfort Food: This Hot Cocoa Cheesecake wraps you in warmth, making it perfect for cozy winter nights. Crowd-Pleasing Delight: Whether it’s a holiday gathering or a casual dessert night, everyone will rave about this sweet treat. Versatile Variations: From peppermint twists to salted caramel, customize it to suit your style. Easy Baking: Even beginners can create this delightful masterpiece with simple steps, just like my Hot Honey BBQ recipe. Memorable Experience: The combination of creamy cheesecake and fluffy marshmallow topping delivers an unforgettable taste sensation. Embrace the joy of homemade desserts!
Hot Cocoa Cheesecake Ingredients
For the Crust
• Chocolate Cookie Crumbs – A rich base that brings chocolatey goodness; you can use store-bought or make your own by crushing chocolate cookies.
• Unsalted Butter – This binds the crust together; using unsalted allows you to control the overall saltiness of your dessert.
For the Cheesecake Filling
• Cream Cheese – The creamy base; be sure to use full-fat for the best texture.
• Granulated Sugar – Sweetens up your filling; adjust the amount for a less sweet profile if desired.
• Sour Cream – Adds moisture and a bit of tang; Greek yogurt can be a great alternative if you’re looking for a healthier swap.
• Heavy Cream – Whipped to create the fluffiness in the topping; consider using non-dairy options if needed.
• Cocoa Powder – Essential for that hot cocoa flavor; choose unsweetened for an accurate taste.
• Eggs – Acts as a binder for the cheesecake; let them come to room temperature for better incorporation.
For the Marshmallow Topping
• Marshmallow Fluff – Creates that irresistible fluffy topping; it mimics the classic taste of hot cocoa and can be found in bulk bins for savings.
• Heavy Cream – When whipped, this adds lightness to the topping; use fresh for the best results.
Feel free to customize your Hot Cocoa Cheesecake by incorporating variations like peppermint or salted caramel to create a unique experience!
Step‑by‑Step Instructions for Hot Cocoa Cheesecake
Step 1: Preheat the Oven
Begin by preheating your oven to 325°F (163°C). This temperature ensures even baking, allowing your Hot Cocoa Cheesecake to rise and set beautifully. While the oven warms up, gather your ingredients and prepare your springform pan by wrapping the outside with aluminum foil to prevent water from seeping in during the water bath.
Step 2: Prepare the Crust
In a mixing bowl, combine crushed chocolate cookies with melted unsalted butter, mixing until the crumbs are thoroughly coated. Press this mixture firmly into the bottom of your prepared springform pan to create an even layer. Ensure the crust is compact and smooth to support the decadent filling. Once done, set it aside while you prepare the filling.
Step 3: Mix the Cheesecake Filling
In a large bowl, beat the cream cheese and granulated sugar until creamy and smooth, about 2-3 minutes. Gradually add in the eggs, mixing one at a time until fully incorporated. Then, blend in the sour cream and cocoa powder, stirring until there are no lumps—your Hot Cocoa Cheesecake filling should be velvety smooth and rich in chocolate flavor.
Step 4: Add the Water Bath
Prepare a larger baking pan and fill it with hot water halfway. Place your filled springform pan into this water bath, ensuring that the water does not touch the cheesecake batter. This steamy environment helps bake your Hot Cocoa Cheesecake gently, producing a creamy texture while preventing cracks.
Step 5: Bake the Cheesecake
Carefully transfer the pan to the preheated oven and bake for 50-60 minutes. The edges should be set while the center may still jiggle slightly when finished. This indicates a perfect baking stage. Once it’s done, turn off the oven but leave the cheesecake inside with the door slightly ajar to cool gradually for about an hour.
Step 6: Chill the Cheesecake
After cooling in the oven, transfer your Hot Cocoa Cheesecake to the refrigerator. Allow it to chill for at least 4 hours, preferably overnight, to enhance the flavors and ensure a firm texture. This step is crucial for the cheesecake to slice beautifully when served.
Step 7: Prepare the Marshmallow Topping
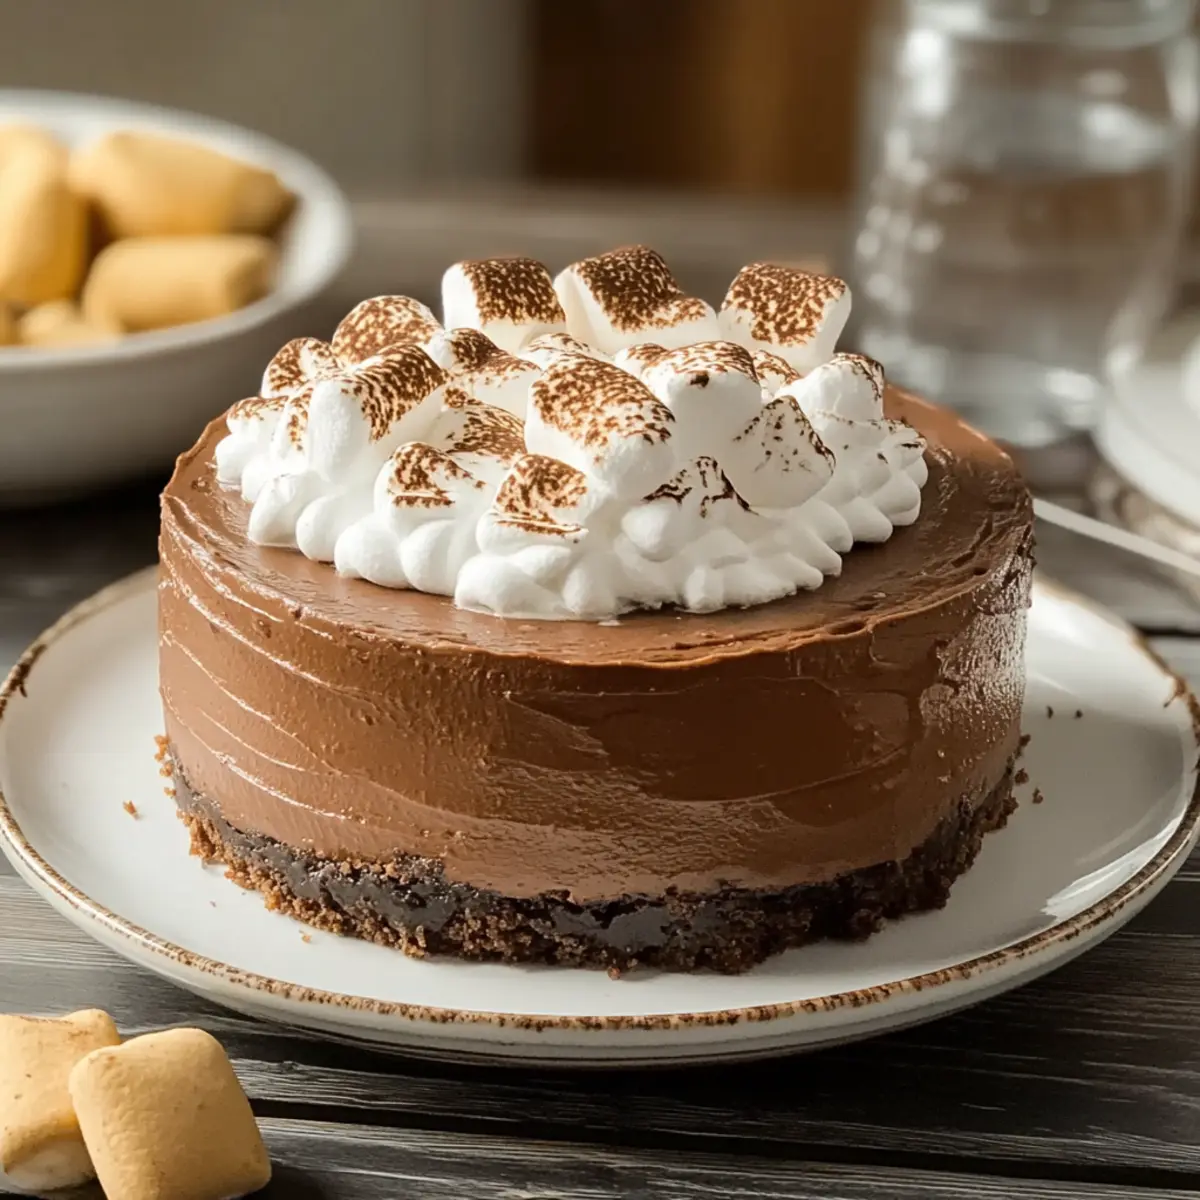
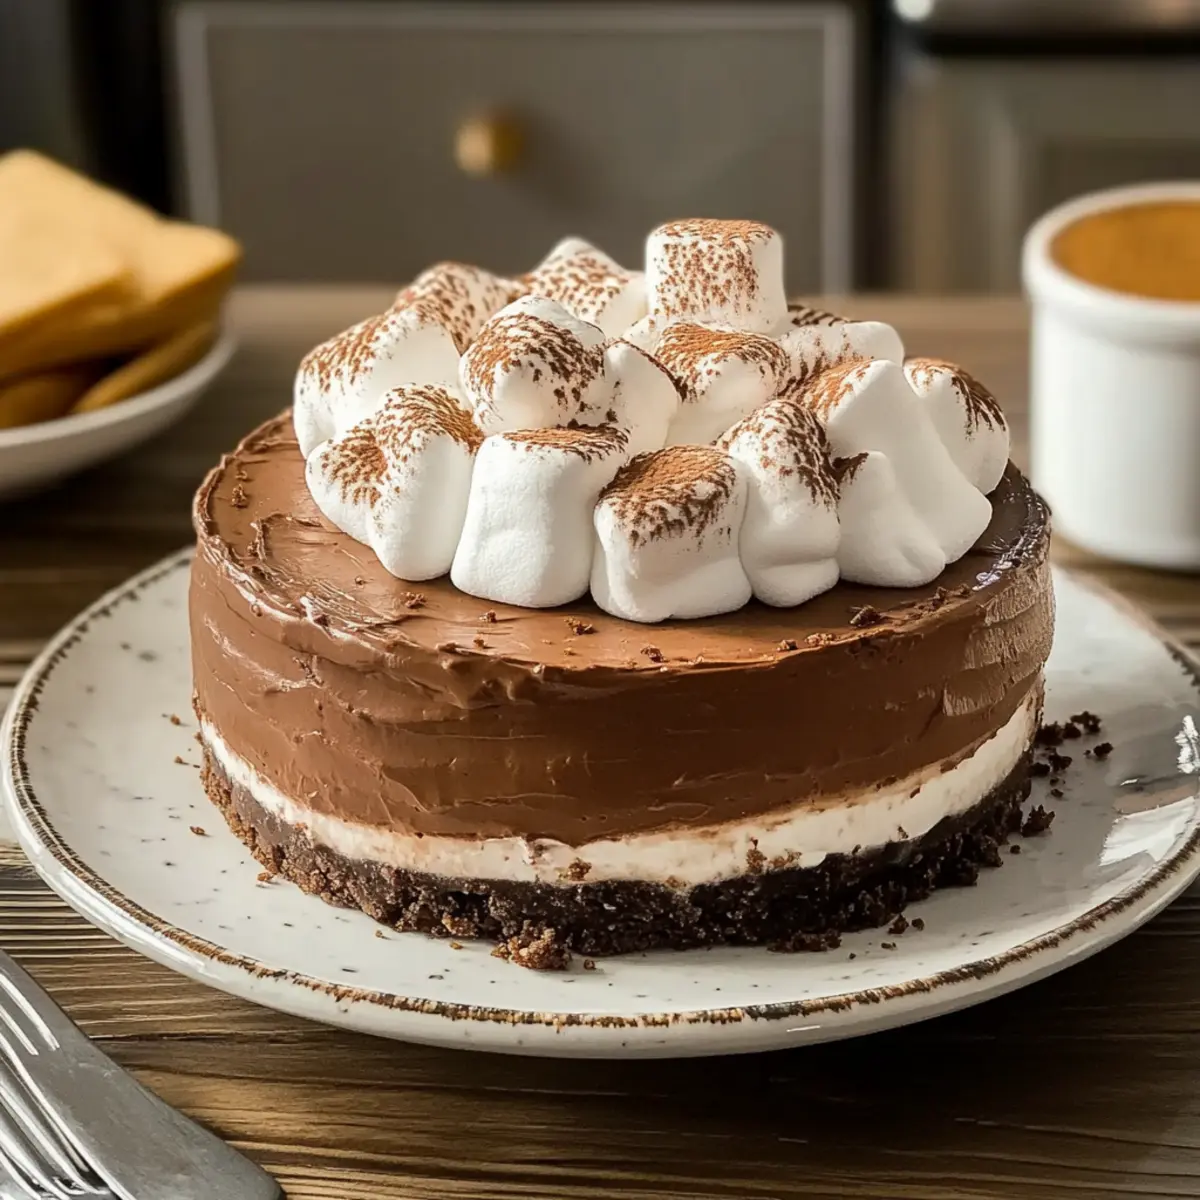
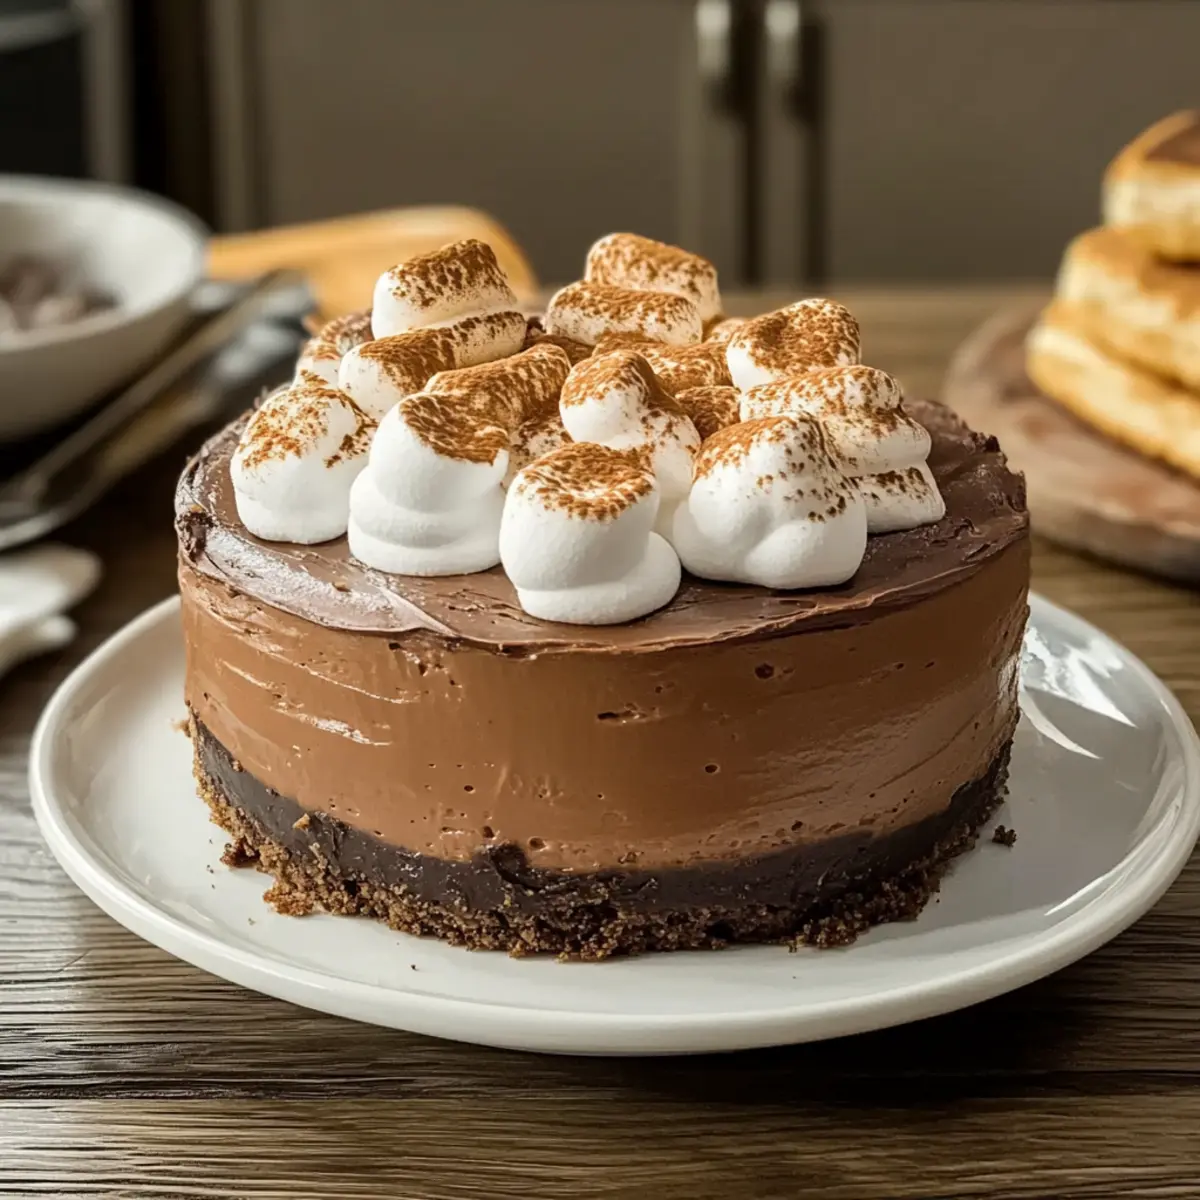
To make the fluffy marshmallow topping, whip the heavy cream with marshmallow fluff in a medium bowl until soft peaks form, usually about 3-4 minutes. This light, airy mixture will perfectly complement the dense cheesecake. Spread this delightful topping evenly over the chilled cheesecake, creating a luxurious finish.
Step 8: Serve and Enjoy
When ready to serve your Hot Cocoa Cheesecake, carefully remove it from the springform pan. Slice into generous pieces and consider garnishing with mini marshmallows, chocolate shavings, or a drizzle of caramel for a festive touch. This dessert will surely impress at any gathering or cozy night in!
Storage Tips for Hot Cocoa Cheesecake
Fridge: Store any leftover Hot Cocoa Cheesecake tightly wrapped in plastic or in an airtight container for up to 5 days to keep it fresh and delicious.
Freezer: For longer storage, freeze the cheesecake for up to 2 months. Wrap it securely in plastic wrap and then place it in a freezer-safe container.
Thawing: To enjoy frozen cheesecake, thaw it overnight in the refrigerator before serving. This gentle defrosting keeps the texture smooth and creamy.
Topping Note: Add the marshmallow whipped cream fresh, just before serving, to maintain its fluffy texture and delightful appearance.
What to Serve with Hot Cocoa Cheesecake
Indulging in a slice of this dreamy dessert? Let’s explore delightful pairings that elevate your dining experience!
-
Rich Hot Chocolate: Perfectly mirrors the cheesecake’s flavor, creating a warm, cozy vibe that envelops the senses.
-
Fresh Berries: Juicy strawberries or raspberries add a refreshing contrast, cutting through the richness of the cheesecake beautifully.
-
Whipped Cream: A dollop of plain whipped cream enhances the marshmallow topping’s fluffiness, making every bite a creamy delight.
-
Chocolate-Covered Pretzels: These provide a sweet and salty crunch, adding texture and an exciting flavor contrast to your indulgence.
-
Espresso or Coffee: A bold brew complements the dessert’s sweetness, enriching the cocoa experience and making it irresistible.
-
Ice Cream: Vanilla or a scoop of peppermint ice cream can balance the richness with chilled creaminess, enhancing the dessert experience.
-
Toasted Nuts: Chopped pecans or almonds can sprinkle on top for an added crunch and nutty flavor that deepens the overall taste.
-
Caramel Sauce: Drizzling warm caramel will amplify sweetness and introduce a luxurious finish to your dessert presentation, inviting everyone to enjoy!
Make Ahead Options
These Hot Cocoa Cheesecake treats are perfect for meal prep enthusiasts! You can prepare the cheesecake filling and crust up to 24 hours in advance. Simply mix the crust and press it into the springform pan, then make the filling and pour it over the crust. Cover and refrigerate to maintain freshness. The cooked cheesecake can chill for up to 3 days before serving, allowing the flavors to meld beautifully. Just remember to whip the marshmallow topping fresh right before serving, as it retains its fluffy texture best that way. When ready to impress your guests, simply top the cheesecake, slice, and enjoy a slice of delightful comfort!
Helpful Tricks for Hot Cocoa Cheesecake
-
Room Temperature Ingredients: Ensure cream cheese and eggs are at room temperature to create a smooth filling without lumps.
-
Avoid Cracking: Always bake in a water bath; this gentle heat prevents cracks in your cheesecake, ensuring a beautiful presentation.
-
Gentle Cooling: Cool the cheesecake slowly with the oven door ajar after baking; this helps avoid sudden temperature shifts that can cause cracks.
-
Chill for Perfection: Let the Hot Cocoa Cheesecake chill overnight if possible; this allows the flavors to deepen and improves the texture for slicing.
-
Topping Enhancements: For added charm, top with mini marshmallows, chocolate shavings, or caramel drizzle just before serving—this elevates the dessert experience!
Hot Cocoa Cheesecake Variations
Feel free to get creative with this delightful dessert and make it your own! Each twist offers a unique flavor journey that will engage your senses.
-
Peppermint Twist:
Add ½ teaspoon of peppermint extract and garnish with crushed candy canes for a holiday-inspired fresh flavor. This refreshing touch is perfect for winter gatherings! -
Salted Caramel Delight:
Swirl in ½ cup of caramel sauce before baking and drizzle more on top when serving. The salty-sweet combination will elevate your cheesecake experience! -
Nutty Crust:
Incorporate chopped toasted pecans into the crust for a delightful crunch and nutty flavor. They bring a heartiness that complements the chocolate richness beautifully. -
Spicy Kick:
Mix in ½ teaspoon of cinnamon and a pinch of cayenne pepper for a warm spice twist. This hint of heat will surprise and delight your taste buds! -
Fruity Flavor:
Top your cheesecake with a layer of raspberry or cherry compote. This addition adds tartness that balances the sweetness and makes for a gorgeous presentation. -
Vegan Variation:
Substitute cream cheese with a vegan alternative, and use coconut cream for the topping. This creates a sumptuous dessert that everyone can enjoy, including your vegan friends. -
Chocolate Overload:
Add chocolate chips to the filling or sprinkle them over the marshmallow topping for a serious chocolate lover’s treat. This rich indulgence takes the cheesecake to a whole new level! -
Coffee Infusion:
Blend in a tablespoon of espresso powder for a mocha twist. This coffee essence pairs beautifully with the chocolate, creating a rich flavor profile that has everyone coming back for more.
Explore these variations to make every slice of your Hot Cocoa Cheesecake uniquely yours, and don’t forget to check out my Hot Honey BBQ for more delicious ideas!
Hot Cocoa Cheesecake Recipe FAQs
What should I look for when selecting cream cheese?
Absolutely! When choosing cream cheese, opt for full-fat varieties for the richest texture. Ensure the packaging is intact, and check the expiration date. Fresh cream cheese will be smooth and heavy without any signs of separation or discoloration.
How should I store leftover Hot Cocoa Cheesecake?
I recommend storing your leftover Hot Cocoa Cheesecake tightly wrapped in plastic wrap or in an airtight container. It will stay fresh in the refrigerator for up to 5 days. If you want to save it for later, freeze for up to 2 months, wrapping it securely to prevent freezer burn.
Can I freeze Hot Cocoa Cheesecake? How should I do it?
Yes, you can freeze Hot Cocoa Cheesecake! To do so, wrap the cheesecake tightly in plastic wrap, followed by a layer of aluminum foil to shield it from freezer air. Store in a freezer-safe container. When you’re ready to enjoy, thaw it overnight in the refrigerator. Be sure to add the marshmallow topping just before serving for the best texture!
What if my cheesecake cracks while baking?
The more the merrier! To avoid cracks, always use a water bath during baking, as this creates a gentle cooking environment. If you find your cheesecake has cracked, don’t worry! You can gently cover it with the marshmallow topping, which adds a lovely presentation and flavor while hiding any imperfections.
Is this cheesecake safe for people with allergies?
If you or your guests have dietary considerations, this Hot Cocoa Cheesecake contains dairy and eggs. For a suitable alternative, you can use non-dairy cream cheese and whipped coconut cream for the topping. Always check labels to ensure that products are allergen-free when cooking for others, especially pets like dogs, who should not consume chocolate.
Can I customize the flavor of the Hot Cocoa Cheesecake?
Very! This recipe is extremely versatile. For a peppermint twist, add ½ teaspoon of peppermint extract to the filling and garnish with crushed candy canes. If you prefer salted caramel, swirl in some caramel sauce before baking and drizzle more on top before serving. Feel free to explore and make it your own!
Hot Cocoa Cheesecake: The Ultimate Cozy Winter Dessert
Ingredients
Equipment
Method
- Preheat your oven to 325°F (163°C). Prepare your springform pan with aluminum foil.
- Combine crushed chocolate cookies with melted unsalted butter. Press into the bottom of the springform pan.
- Beat cream cheese and granulated sugar until smooth. Add eggs one at a time, then mix in sour cream and cocoa powder.
- Prepare a water bath by placing a larger baking pan filled with hot water in the oven while baking.
- Bake the cheesecake for 50-60 minutes until edges are set and center jiggles slightly. Cool in the oven with the door ajar.
- Transfer to the refrigerator and chill for at least 4 hours or overnight.
- Whip heavy cream with marshmallow fluff until soft peaks form. Spread over the cheesecake.
- Remove from the springform pan, slice, and serve with optional garnishes.
Leave a Reply