
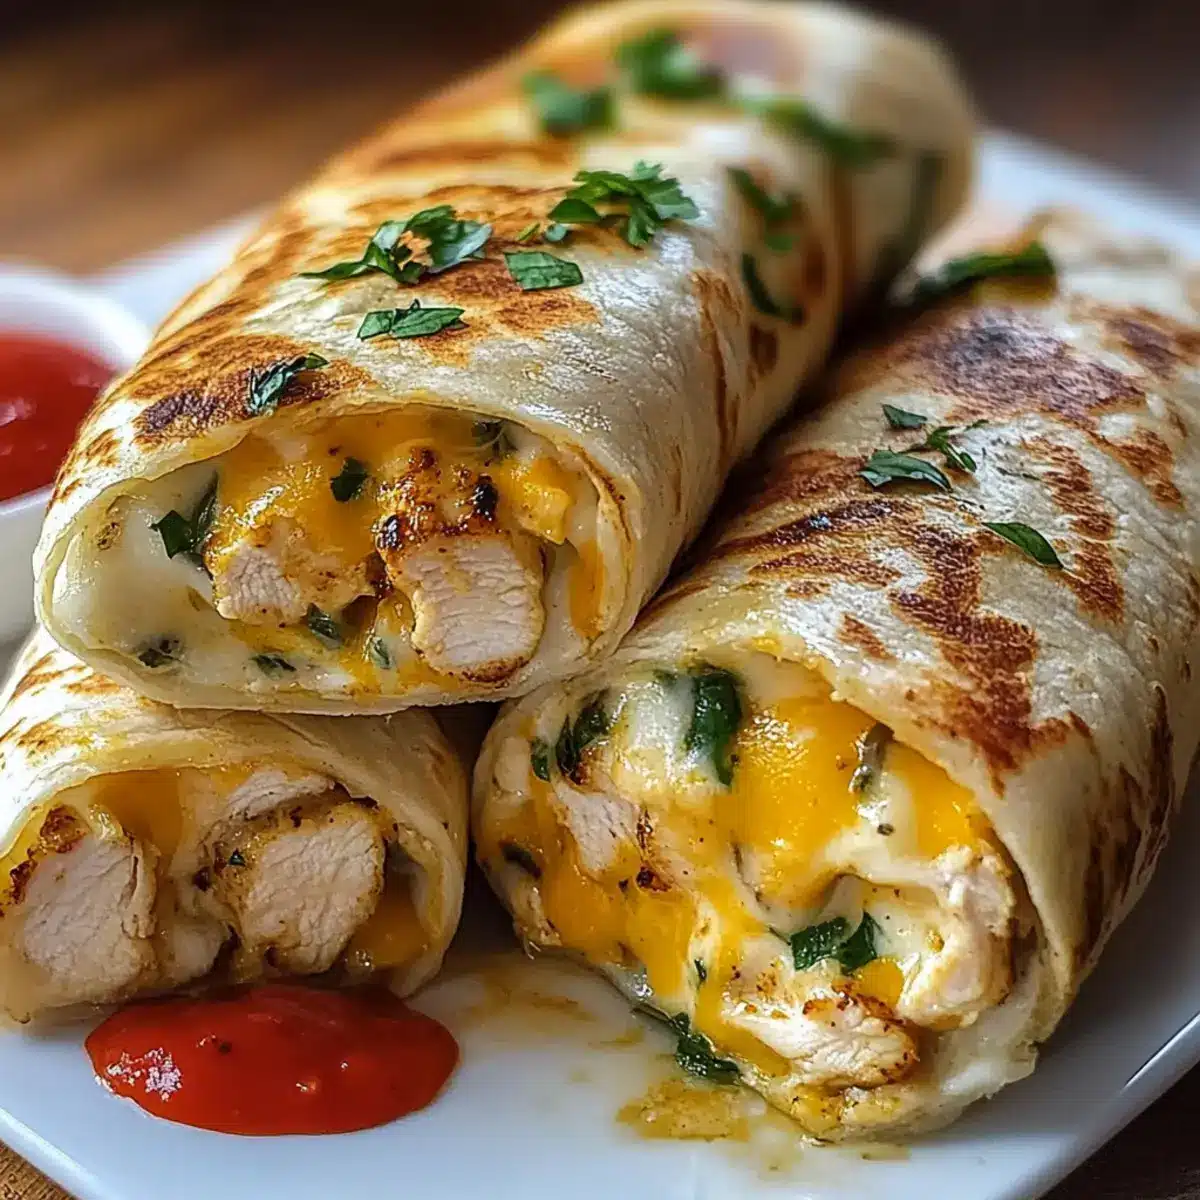
The other night, as the aroma of garlic and melted cheese filled my kitchen, I realized I was about to indulge in one of my all-time favorites—Cheesy Garlic Chicken Wraps. This dish perfectly marries juicy chicken with rich cheese and fragrant garlic, all snuggled into a soft tortilla that’s crispy on the outside and gooey within. What I love most is its versatility; you can easily customize the wraps based on what you have on hand or your personal preferences, making it a great choice for any night of the week. Plus, they come together in no time, making your dinner prep quick and stress-free. Are you ready to roll up some deliciousness? Let’s dive into the recipe!
Why Are Cheesy Garlic Chicken Wraps So Irresistible?
Simplicity at Its Best: Whip up these wraps quickly, making them perfect for busy weeknights. Customizable Fillings: Whether you prefer ground turkey, sautéed mushrooms, or fresh veggies, adjust the ingredients to fit your cravings. Crowd-Pleasing Delight: Ideal for family dinners or casual gatherings, everyone will love these cheesy bites! Comfort Food Awesomeness: Melty cheese and garlic create that ultimate cozy flavor experience. Enjoy these wraps with a side of fresh greens or paired with Tomato Soup for dipping!
Cheesy Garlic Chicken Wraps Ingredients
• Indulge in the flavors of homemade comfort food with this easy ingredient list!
For the Filling
- Chicken – Use cooked, diced chicken breast or rotisserie chicken for a quick and delicious protein source.
- Garlic – Fresh minced garlic adds a bold flavor, but garlic powder works as a handy substitute if needed.
- Cheese (e.g., cheddar, mozzarella) – Choose your favorite cheese for a creamy, flavorful filling; pepper jack adds a spicy kick!
For the Tortillas
- Tortillas – Use soft tortillas to encase the filling; consider gluten-free options if dietary needs arise.
For Cooking
- Olive Oil – Ideal for sautéing garlic and chicken; feel free to swap with any cooking oil you prefer.
- Butter – Gives the wraps a golden, crispy exterior; optional for those looking for a lighter dish.
For Garnish
- Parsley (optional) – Add a fresh touch with chopped parsley for extra color and flavor.
These Cheesy Garlic Chicken Wraps are bound to become your new go-to comfort food!
Step‑by‑Step Instructions for Cheesy Garlic Chicken Wraps
Step 1: Prepare Chicken
If you’re using raw chicken, start by cooking it in the oven at 375°F for 20-25 minutes or until the internal temperature reaches 165°F. Alternatively, sauté diced chicken in a skillet over medium heat for about 7-10 minutes until golden. Once fully cooked, let it cool slightly before dicing into bite-sized pieces, ready to be mixed with the garlic and cheese.
Step 2: Sauté Garlic
In a large skillet, heat 2 tablespoons of olive oil over medium heat and add 3 cloves of minced garlic. Sauté the garlic for about 30 seconds until it becomes fragrant and lightly golden, being careful not to burn it. This step is crucial as it infuses the oil with rich garlic flavor, which will complement your Cheesy Garlic Chicken Wraps beautifully.
Step 3: Combine Mixture
Add the diced chicken to the skillet with the sautéed garlic, stirring well to coat the chicken evenly in the oil. Off the heat, mix in your choice of cheese—like shredded cheddar or mozzarella—allowing the residual heat to melt it slightly and create a creamy filling. Make sure all the ingredients are combined for the perfect cheesy experience in your wraps.
Step 4: Assemble Wraps
Take a tortilla and lay it flat on a clean surface. Spoon about a quarter of the cheesy chicken mixture into the center of the tortilla. Fold in the sides and roll it tightly from the bottom to the top, ensuring no filling escapes. Repeat this process for each tortilla, preparing to cook your delicious Cheesy Garlic Chicken Wraps.
Step 5: Cook Wraps
In the same skillet, melt 1 tablespoon of butter over medium heat. Place the assembled wraps seam-side down in the skillet, pressing gently with a spatula. Cook for about 2-3 minutes until the bottom is golden brown and crispy. Carefully flip the wraps and cook the other side for an additional 2-3 minutes, ensuring both sides are perfectly crisp and the cheese is melty.
Step 6: Rest and Serve
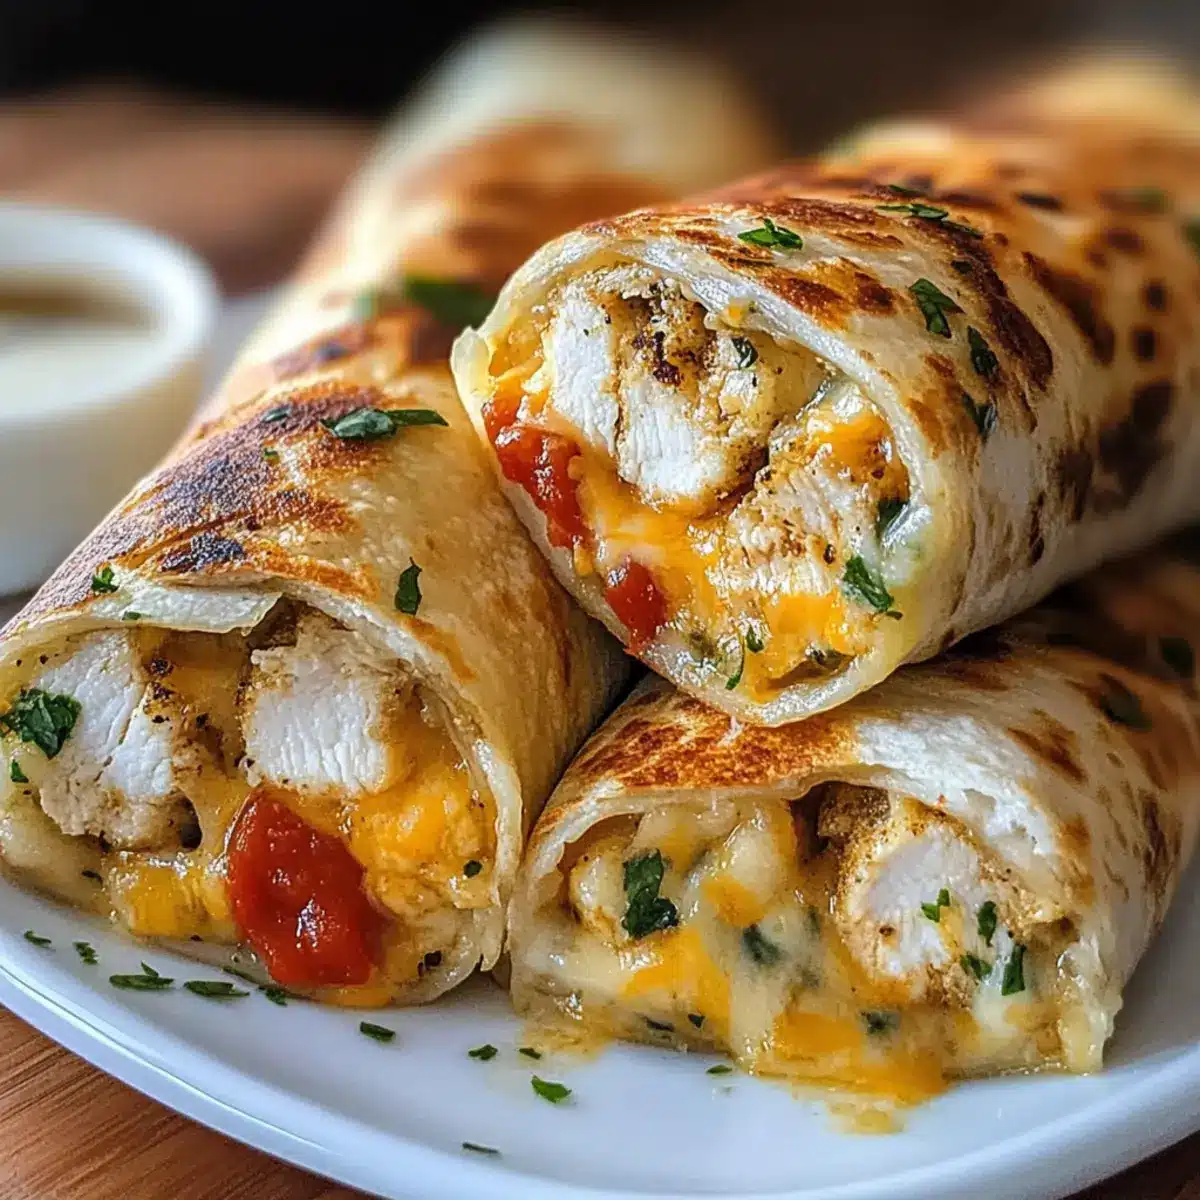
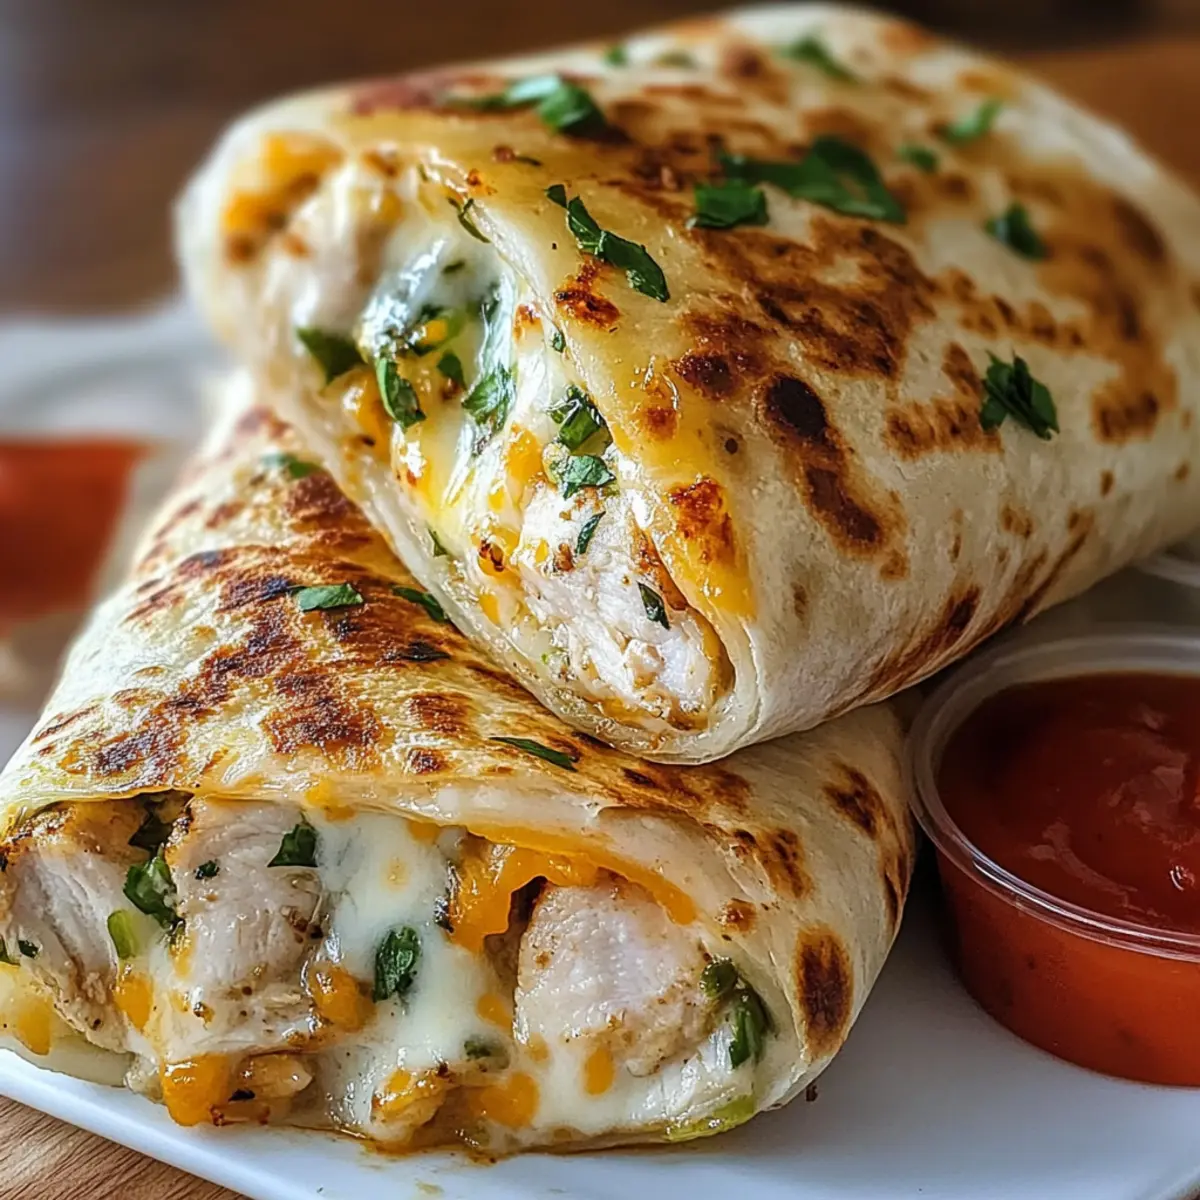
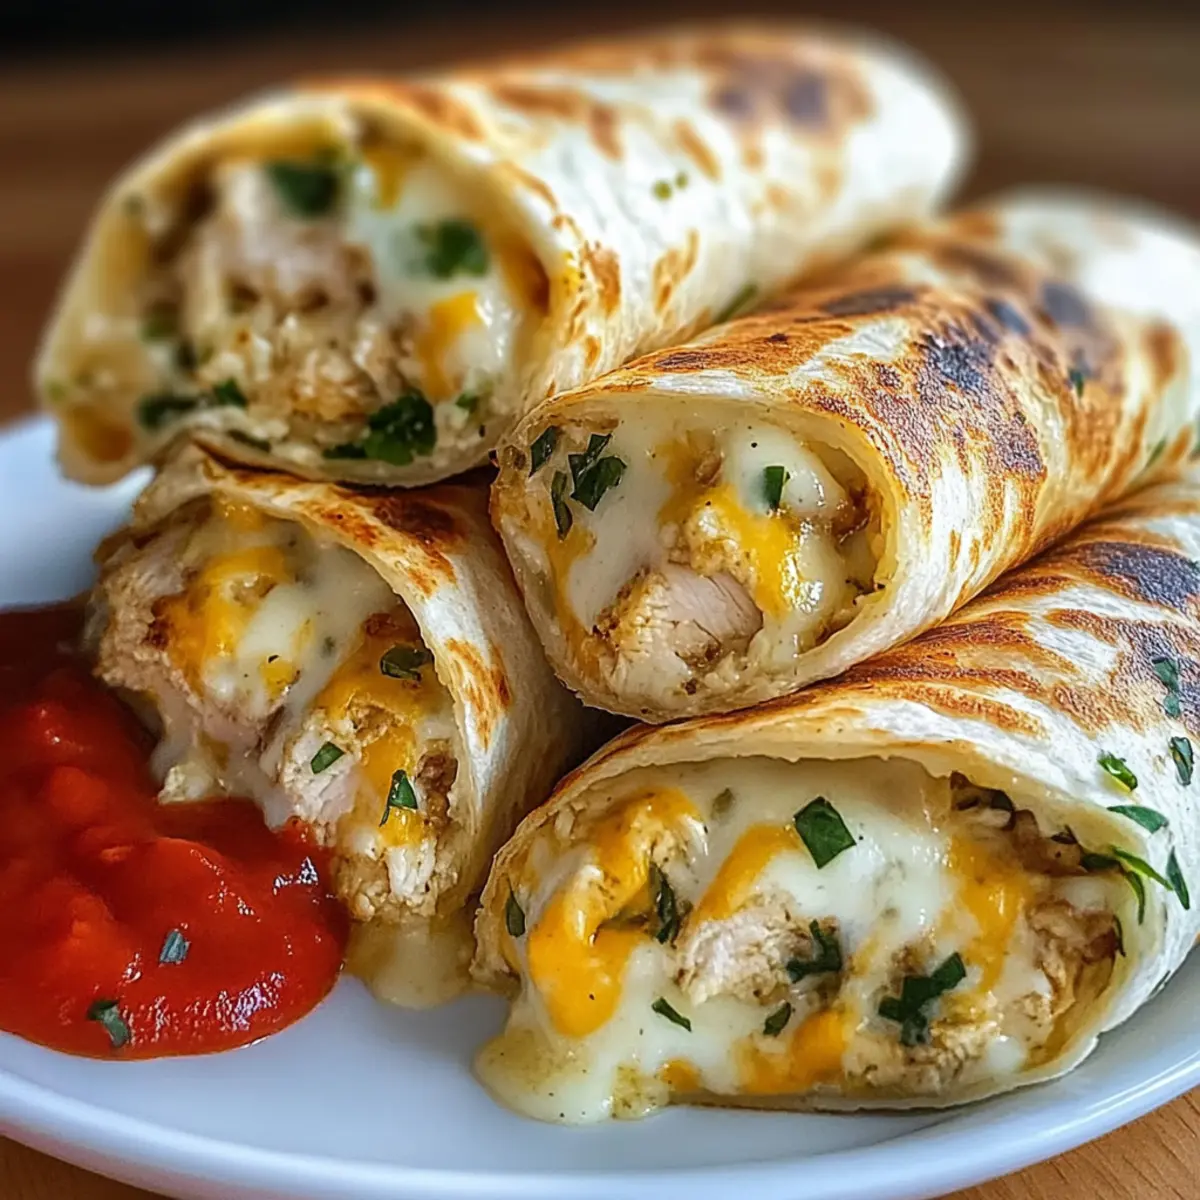
Once golden and crispy, carefully remove the wraps from the skillet and let them rest on a cutting board for 1-2 minutes. This resting period helps the inside settle. After resting, slice the wraps in half, garnish with chopped parsley if desired, and serve warm with your choice of dipping sauce or salad on the side for an irresistible Cheesy Garlic Chicken Wrap experience.
Expert Tips for Cheesy Garlic Chicken Wraps
- Choose Efficient Chicken: Opt for rotisserie chicken to save cooking time while adding delicious flavor to your wraps.
- Season Well: Balance flavors by adjusting seasoning to taste; don’t shy away from adding spices like cumin or paprika for an extra punch!
- Perfect Tortilla Handling: Be gentle when flipping the wraps in the skillet to avoid any tearing and spilling of your cheesy garlic chicken goodness.
- Extra Garlic Love: For an even stronger garlic kick, consider brushing the outside of the tortilla with garlic butter before frying for added flavor.
- Diverse Fillings: Make each wrap unique! Mix in favorite veggies or different cheeses to create your perfect customized Cheesy Garlic Chicken Wrap.
Make Ahead Options
These Cheesy Garlic Chicken Wraps are a fantastic option for meal prep enthusiasts! You can prepare the chicken mixture up to 3 days in advance by cooking and combining the diced chicken, sautéed garlic, and cheese, then storing it in an airtight container in the refrigerator. This not only saves time but also ensures that you’ll have a delicious filling ready to roll. When you’re ready to enjoy, simply fill the tortillas with the mixture, roll, and cook as instructed. To maintain quality, make sure to tightly wrap the filled tortillas with plastic wrap or aluminum foil if you’re preparing them ahead of time, and refrigerate them for up to 24 hours before cooking. You’ll be rewarded with warm, cheesy goodness with minimal fuss on busy weeknights!
How to Store and Freeze Cheesy Garlic Chicken Wraps
- Room Temperature: Keep wraps at room temperature for up to 2 hours if serving immediately. Avoid letting them sit out longer to ensure food safety.
- Fridge: Store any leftover Cheesy Garlic Chicken Wraps in an airtight container in the fridge for up to 3 days to maintain freshness.
- Freezer: For longer storage, tightly wrap each wrapped tortilla in plastic wrap, then place them in a freezer-safe bag. They can be frozen for up to 3 months.
- Reheating: When ready to enjoy, reheat in a skillet over medium heat for optimal crispness, or microwave wrapped in a damp paper towel for 1-2 minutes until heated through.
Cheesy Garlic Chicken Wraps Variations
Feel free to tailor these cheesy garlic chicken wraps to suit your taste buds, transforming them into your perfect comfort food.
- Vegetarian Delight: Substitute chicken with sautéed mushrooms or chickpeas for a satisfying meatless option. You won’t miss the chicken with these hearty flavors!
- Spicy Twist: Add jalapeños or a dash of hot sauce to the mix for some fiery excitement. Spice lovers will rejoice in this kick of heat!
- Cheesy Extravaganza: Swap in gouda or pepper jack cheese for a richer, creamier filling that brings a delightful twist. The melted varieties take each bite to another level!
- Extra Veggies: Toss in some freshly sautéed spinach or bell peppers for added nutrition and color, creating a more wholesome wrap that feels indulgent yet healthy.
- Gluten-Free Friendly: Opt for gluten-free tortillas so everyone can join in the cheesy fun. Everyone deserves a chance to savor these delicious wraps!
- Herb Infusion: Mix in fresh herbs like basil or cilantro into the chicken mixture for an aromatic twist that brightens the flavors. A sprinkle of freshness makes all the difference!
- Mediterranean Flair: Incorporate feta cheese and black olives for a Mediterranean-inspired wrap. This variation bursts with flavor and offers a delightful change of pace!
- Crunchy Additions: Serve your wraps with a side of crispy potato wedges or homemade chips for a fun crunch that complements the cheesy goodness perfectly.
Looking for more delicious chicken recipes? Check out my Baked Chicken Chimichangas or Chicken Pitas with Herby Ranch for more inspirations that are sure to satisfy!
What to Serve with Cheesy Garlic Chicken Wraps
Looking to elevate your dining experience and create a complete meal? These tempting wraps pair beautifully with various sides and drinks.
- Fresh Green Salad: A crisp salad with mixed greens and a vinaigrette adds a refreshing contrast to the warm, cheesy wraps.
- Seasoned Potato Wedges: Crispy and flavorful potato wedges deliver a satisfying crunch, making them a delightful accompaniment.
- Garlic Bread: More garlic goodness! Soft and buttery garlic bread enhances the comforting flavors of the wraps for a delightful feast.
- Tomato Soup: This classic pairing offers a warm, savory dip that complements the cheesy goodness and creates a comforting combo.
- Roasted Vegetables: Sweet and slightly caramelized veggies provide a healthy balance and delightful texture, enhancing your meal’s visual appeal.
- Sweet Tea: A chilled glass of sweet tea refreshes the palate and rounds out a perfect comfort food experience, perfect for gatherings or family dinners.
Cheesy Garlic Chicken Wraps Recipe FAQs
How do I choose the right chicken for my wraps?
Absolutely! When selecting chicken for your Cheesy Garlic Chicken Wraps, you can use cooked, diced chicken breast for convenience and freshness. A time-saving tip is to pick up a rotisserie chicken from your local grocery store; it adds delicious flavor without any extra effort!
What’s the best way to store leftovers?
Very! Store any leftover wraps in an airtight container in the fridge for up to 3 days. Make sure they are fully cooled before sealing to prevent sogginess. To enjoy them again, simply reheat in a skillet for that crispy texture or use the microwave for a quicker option—just wrap them in a damp paper towel to keep them moist.
Can I freeze Cheesy Garlic Chicken Wraps?
Definitely! For freezing, wrap each individual Cheesy Garlic Chicken Wrap in plastic wrap and then place them in a freezer-safe bag. They can be kept in the freezer for up to 3 months. When you’re ready to eat, let them thaw overnight in the fridge. To reheat, simply warm them in a skillet or toaster oven until heated through and crispy again.
What if my wraps are falling apart when I flip them?
Oh no, that can happen! To avoid this, ensure that you’re using enough butter to create a nice golden crust that holds the wrap together. Also, be gentle when flipping; using a spatula to support the whole wrap can prevent any tearing. If the cheese is melting nicely, it should help bind everything together as well.
Are there any dietary considerations I should be aware of?
Absolutely! For those following a gluten-free diet, choose gluten-free tortillas to make your wraps suitable for everyone. Additionally, avoid using cheeses that may trigger lactose intolerance; opting for lactose-free varieties can make these wraps more inclusive if necessary. Always double-check ingredient labels for any allergies!
Quick & Cheesy Garlic Chicken Wraps You'll Crave All Week
Ingredients
Equipment
Method
- If using raw chicken, cook it in the oven at 375°F for 20-25 minutes or sauté diced chicken in a skillet over medium heat for 7-10 minutes until cooked.
- In a skillet, heat olive oil and sauté garlic for 30 seconds until fragrant.
- Add diced chicken to the skillet and mix in your choice of cheese.
- Take a tortilla and spoon the chicken mixture into the center, fold and roll tightly.
- In the skillet, melt butter and cook the wraps seam-side down for 2-3 minutes on each side until golden.
- Remove wraps from the skillet, let them rest for 1-2 minutes, then garnish and serve.
Leave a Reply