
As I stood in my kitchen, an unexpected craving for something sweet yet wholesome washed over me. This is where my recipe for 4-Ingredient Crispy Chocolate Oat Cookies comes to the rescue! Not only are these delightful cookies incredibly easy to make—whipping up in under 30 minutes—but they also cater to gluten-free diets without sacrificing flavor. Imagine the joy of indulging in a treat that’s both nutritious and satisfying! A perfect blend of chewy oats and rich chocolate, they offer a delightful crunch that makes them a hit at any gathering. Whether you’re looking for a quick snack or a fun dessert, these cookies fit the bill beautifully. So, what’s your favorite way to enjoy cookies: with a glass of milk or a scoop of ice cream?

Why are these cookies a must-try?
Simplicity: With just four ingredients, you can whip up a batch in under 30 minutes, making them perfect for busy lifestyles.
Flavor variety: Enjoy the versatility to customize with nut butters, dried fruits, or different sweeteners to suit your taste.
No-bake option: For those hot summer days, consider making a no-bake version inspired by my delicious Healthy Christmas Cookies.
Gluten-free goodness: These cookies cater to gluten-free diets while still delivering a satisfying crunch and rich chocolate flavor.
Perfect snack: Ideal for a quick energy boost and a delightful treat that pleases everyone, from family to guests at a last-minute gathering.
Crowd pleaser: Serve them warm, alongside a scoop of vanilla ice cream, or with a glass of milk for the ultimate indulgence!
4-Ingredient Chocolate Oat Cookie Ingredients
Looking to create the perfect batch of cookies at home?
For the Cookie Mixture
- Gluten-Free Oats – Essential for providing structure and chewiness; always ensure they are labeled gluten-free for dietary needs.
- Nut Butter – Creamy and binding, ideal choices are almond or peanut butter; substitute sunflower seed butter for nut-free alternatives.
- Honey or Maple Syrup – Acts as a natural sweetener while keeping the mixture moist; use maple syrup for a vegan option.
- Chocolate Chips – Adds delightful sweetness and richness; swap dark chocolate chips for semi-sweet or omit for less sugar.
Optional Add-ins
- Dried Fruits – Incorporate cranberries or raisins for an extra burst of flavor and chew.
- Chopped Nuts – Add walnuts or pecans for a satisfying crunch and increased nutrition.
- Spices – A pinch of cinnamon or sea salt can elevate the overall flavor profile of your chocolate oat cookies.
Stay tuned for a simple recipe that’s sure to become a household favorite!
Step-By-Step Instructions for 4-Ingredient Crispy Chocolate Oat Cookies
Step 1: Preheat the Oven
Begin by preheating your oven to 350°F (175°C). This is essential to ensure your cookies bake evenly and develop a delightful crispiness. While the oven warms up, gather your ingredients and line a baking sheet with parchment paper, creating a perfect surface for your soon-to-be delicious cookies.
Step 2: Mix the Ingredients
In a large mixing bowl, combine 2 cups of gluten-free oats, 1 cup of your favorite nut butter, 1/2 cup of honey or maple syrup, and 1/2 cup of chocolate chips. Stir with a spatula or wooden spoon until the mixture is well combined, and the oats are evenly coated. You’ll know it’s ready when you see a thick and sticky consistency that clumps together nicely.
Step 3: Scoop the Mixture
Using a tablespoon, scoop out portions of the cookie mixture and drop them onto the prepared baking sheet, spacing them about 2 inches apart. This step is crucial to allow room for spreading as they bake. Aim for a nice rounded shape, and don’t worry if they look a bit rustic—they’ll taste amazing!
Step 4: Flatten the Cookies
With the back of your spoon, gently flatten each scoop of cookie dough to about 1/2 inch thick. This helps achieve that desired crispy edge while keeping a chewy center. Make sure each cookie is similar in shape and size, allowing them to bake uniformly for perfectly delicious 4-Ingredient Crispy Chocolate Oat Cookies.
Step 5: Bake the Cookies
Transfer the baking sheet into the preheated oven and bake for 10-12 minutes. Keep an eye on them, as you’ll want the edges to turn golden brown while the centers remain slightly soft. This contrast creates that delightful texture just right for your cookies.
Step 6: Cool and Transfer
After baking, allow the cookies to cool on the baking sheet for about 5 minutes. This resting time lets them set, so they won’t crumble when moved. Once they’re slightly hardened, use a spatula to transfer your 4-Ingredient Crispy Chocolate Oat Cookies to a wire rack to cool completely. Prepare for the irresistible aroma to fill your kitchen!
Chocolate Oat Cookies Variations
Feel free to get creative and customize these cookies for your taste buds!
-
Chewy Texture: Adjust baking time to just 8-10 minutes for a soft, chewy cookie. You’ll love the gooeyness!
-
Crispy Option: Bake until golden and extend the time to about 12-14 minutes. Enjoy the satisfying crunch in every bite.
-
Nut-Free: Swap nut butter for sunflower seed butter to cater to nut allergies while keeping it delicious. You won’t miss a beat!
-
Sweetener Swaps: Use agave nectar or coconut sugar for unique sweetness and a healthier twist. Each option adds its own delightful flavor!
-
Add-Ins: Mix in a handful of dried fruit or chopped nuts for texture and nutrition. Try incorporating some cranberries alongside the chocolate chips for a fruity surprise.
-
Zesty Flavor: Add a teaspoon of orange or lemon zest for a refreshing citrus burst that’ll brighten your cookies. Going zesty will elevate your baking experience!
-
Spiced Up: Incorporate cinnamon or cocoa powder for a deliciously warm twist to the classic chocolate flavor. A little spice goes a long way!
-
Vegan Adaptation: Substitute honey with maple syrup and use dairy-free chocolate chips for a fully vegan version—indulgence that everyone can enjoy!
Whether you’re baking for a cozy night in or preparing something special for guests, there are options to suit any craving. For an equally delightful treat, check out my Healthy Christmas Cookies or try the comforting texture of Protein Veggie Bake. Happy baking!
What to Serve with 4-Ingredient Crispy Chocolate Oat Cookies
Enjoy these delightful cookies alongside a few perfectly paired accompaniments to elevate your snacking experience.
-
Creamy Vanilla Ice Cream: A scoop of creamy vanilla ice cream adds a silky texture that beautifully complements the cookies’ crunchy edges and chewy centers.
-
Fresh Berries: Juicy strawberries or raspberries provide a tart contrast, balancing the cookie’s sweetness while enhancing the overall fruitiness of your dessert.
-
Glass of Milk: A classic choice, milk adds a comforting touch, intensifying the chocolate flavor while providing a refreshing sip after each bite.
-
Nutty Granola: Serve with a sprinkle of nutty granola to add extra crunch and depth; it’s perfect for those who enjoy a hearty, wholesome treat.
-
Chocolate Drizzle: For an extra indulgent flair, drizzle melted chocolate over the cookies. This simple touch elevates their appearance and boosts chocolatey goodness!
-
Herbal Tea: A warm cup of chamomile or mint tea creates a soothing contrast, perfect for enjoying with a cookie at the end of a long day.
-
Chia Pudding: Pair your cookies with a creamy chia pudding for a delightful contrast in texture. It’s also a visually appealing addition to your dessert table!
Storage Tips for Chocolate Oat Cookies
- Room Temperature: Keep your cookies in an airtight container at room temperature for up to 5 days to maintain their delightful crunch and chewy texture.
- Fridge: While not necessary, you can store cookies in the fridge for up to a week. Just allow them to come to room temperature before serving for the best flavor.
- Freezer: For longer preservation, freeze your chocolate oat cookies in a single layer on a baking sheet for 1 hour, then transfer them to an airtight container or freezer bag. They’ll stay fresh for up to 3 months.
- Reheating: Warm cookies in the microwave for about 10 seconds or in a preheated oven at 350°F (175°C) for 5 minutes to restore their chewy center and crispy edges. Enjoy your chocolate oat cookies at their best!
Make Ahead Options
These 4-Ingredient Crispy Chocolate Oat Cookies are perfect for busy home cooks looking to save time during the week! You can mix the cookie dough and store it in the refrigerator for up to 24 hours prior to baking. This not only allows the flavors to meld but also saves you a last-minute scramble. Simply scoop the mixture onto the prepared baking sheet as instructed and refrigerate until ready to bake. When you’re set to indulge, preheat your oven and bake directly from the fridge; just add an extra minute or two to the baking time if the dough is cold. This meal prep strategy ensures you can enjoy these delicious cookies without compromising on flavor or quality!
Expert Tips for 4-Ingredient Chocolate Oat Cookies
-
Measure Accurately: Ensure oats are properly measured for consistency; using too much can lead to dry cookies.
-
Add a Twist: For extra flavor, a pinch of sea salt or vanilla extract can enhance the overall taste of your cookies.
-
Watch the Bake: Avoid overbaking your cookies; they should be slightly soft in the center before cooling, as they will harden while setting.
-
Custom Options: Experiment with different nut butters or add-ins like dried fruits for unique flavor profiles that still keep the focus on your chocolate oat cookies.
-
Storage Tips: To maintain freshness, store cookies in an airtight container at room temperature for up to five days or freeze for longer preservation.
4-Ingredient Chocolate Oat Cookies Recipe FAQs
Can I use regular oats instead of gluten-free oats?
Absolutely! But if you’re making these cookies for someone with gluten sensitivity or celiac disease, always choose certified gluten-free oats. Regular oats may be cross-contaminated with gluten, so it’s best not to take chances!
What’s the best way to store these cookies?
Store your cookies in an airtight container at room temperature for up to 5 days. For even longer storage, you can pop them in the fridge, but they’re best enjoyed at room temperature. If you want to save them for later, put them in a freezer-safe bag and freeze them for up to 3 months.
How do I freeze chocolate oat cookies properly?
To freeze your cookies, place them in a single layer on a baking sheet lined with parchment paper and freeze for about 1 hour until solid. After that, transfer them into an airtight container or freezer bag, separating layers with parchment paper to avoid sticking. When you’re ready to enjoy, let them thaw in the fridge overnight or warm them in the microwave for a few seconds.
Why did my cookies turn out too dry?
This can happen if you overmeasured the oats. Be sure to use proper measuring cups and level them off for accuracy. Additionally, make sure you’re mixing just enough to combine the ingredients, as overmixing can dry them out too. Always check for a moist and sticky texture before scooping them onto the baking sheet!
Can I make these cookies nut-free?
Very! You can substitute nut butter with sunflower seed butter or any seed-based spread. Just make sure to check the packaging for allergens if you’re sharing these with others. You’ll still achieve the delightful crunch and chewy center that make these cookies special!
Are these cookies suitable for pets?
When it comes to sharing treats with your furry friends, it’s important to be cautious. Ingredients like chocolate and nut butter can be harmful to pets. Always keep these delicious 4-Ingredient Chocolate Oat Cookies out of your pet’s reach and consider baking a pet-friendly treat instead!

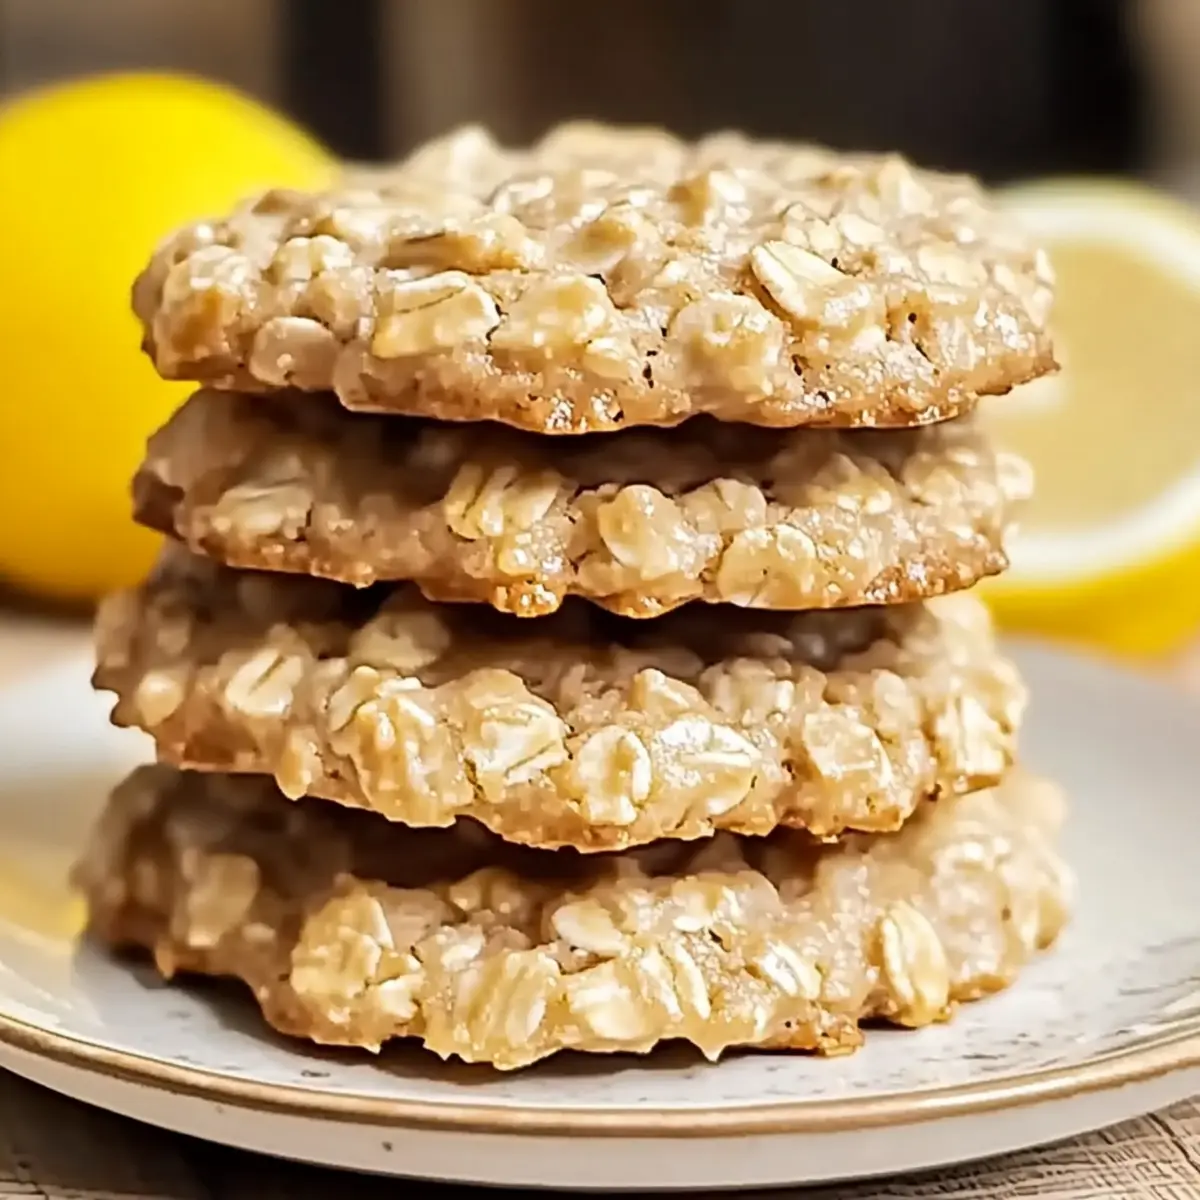
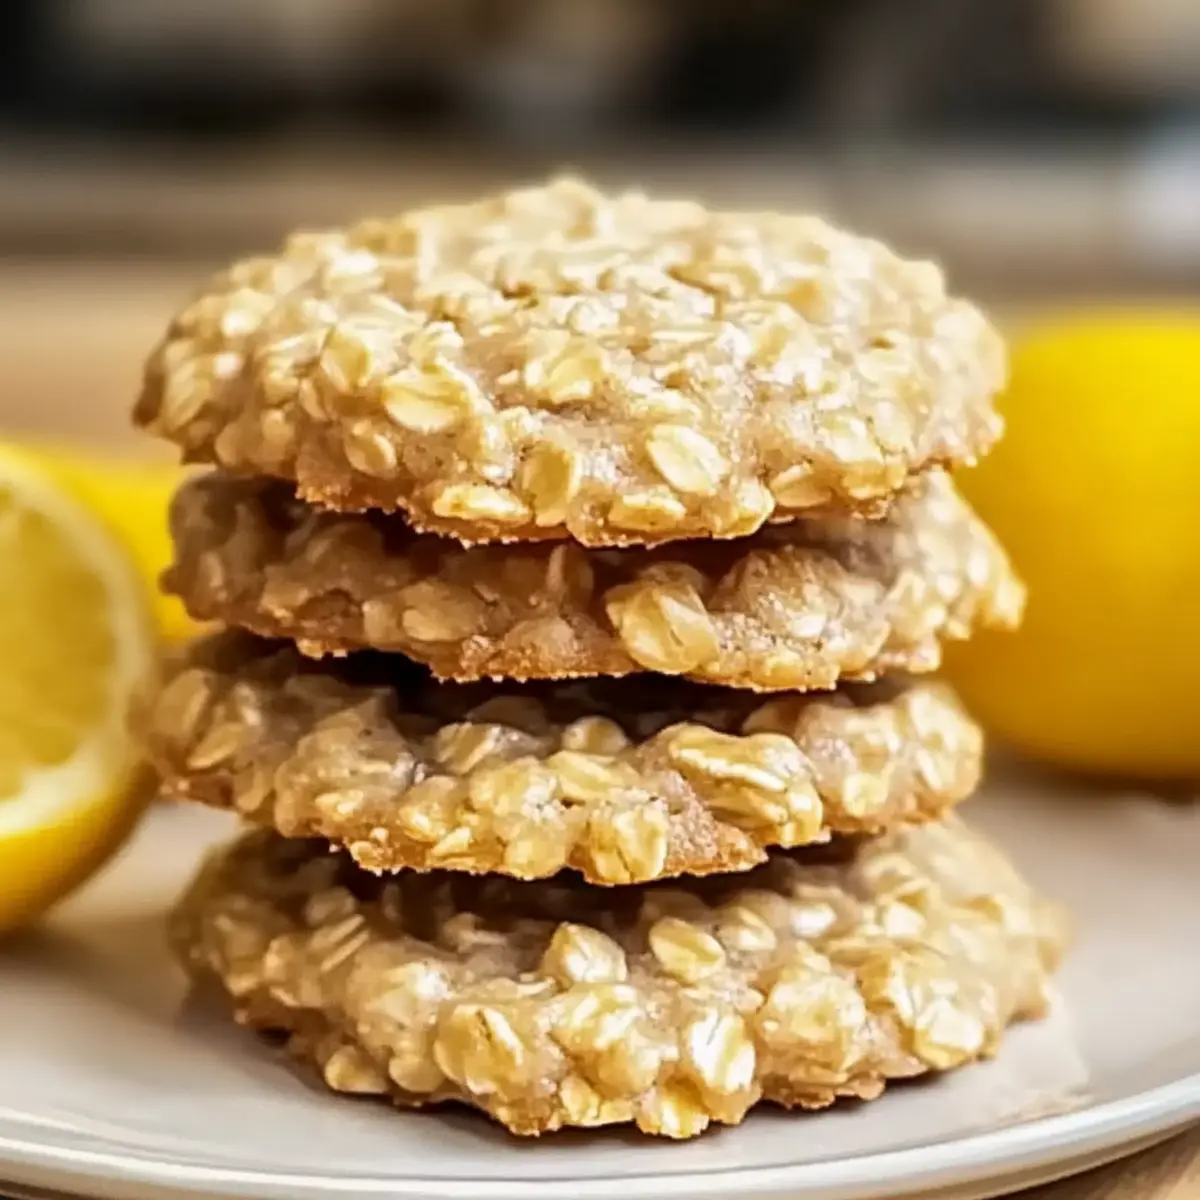
Zesty Lemon Oatmeal No Bake Cookies That Refresh Your Day
Ingredients
Equipment
Method
- Preheat your oven to 350°F (175°C) and line a baking sheet with parchment paper.
- In a large mixing bowl, combine the gluten-free oats, nut butter, honey or maple syrup, and chocolate chips until well mixed.
- Scoop out portions of dough onto the prepared baking sheet, spacing them about 2 inches apart.
- Flatten each scoop to about 1/2 inch thick to ensure they bake evenly.
- Bake in the preheated oven for 10-12 minutes, until edges are golden brown.
- Allow cookies to cool on the baking sheet for about 5 minutes before transferring to a wire rack.
Leave a Reply