
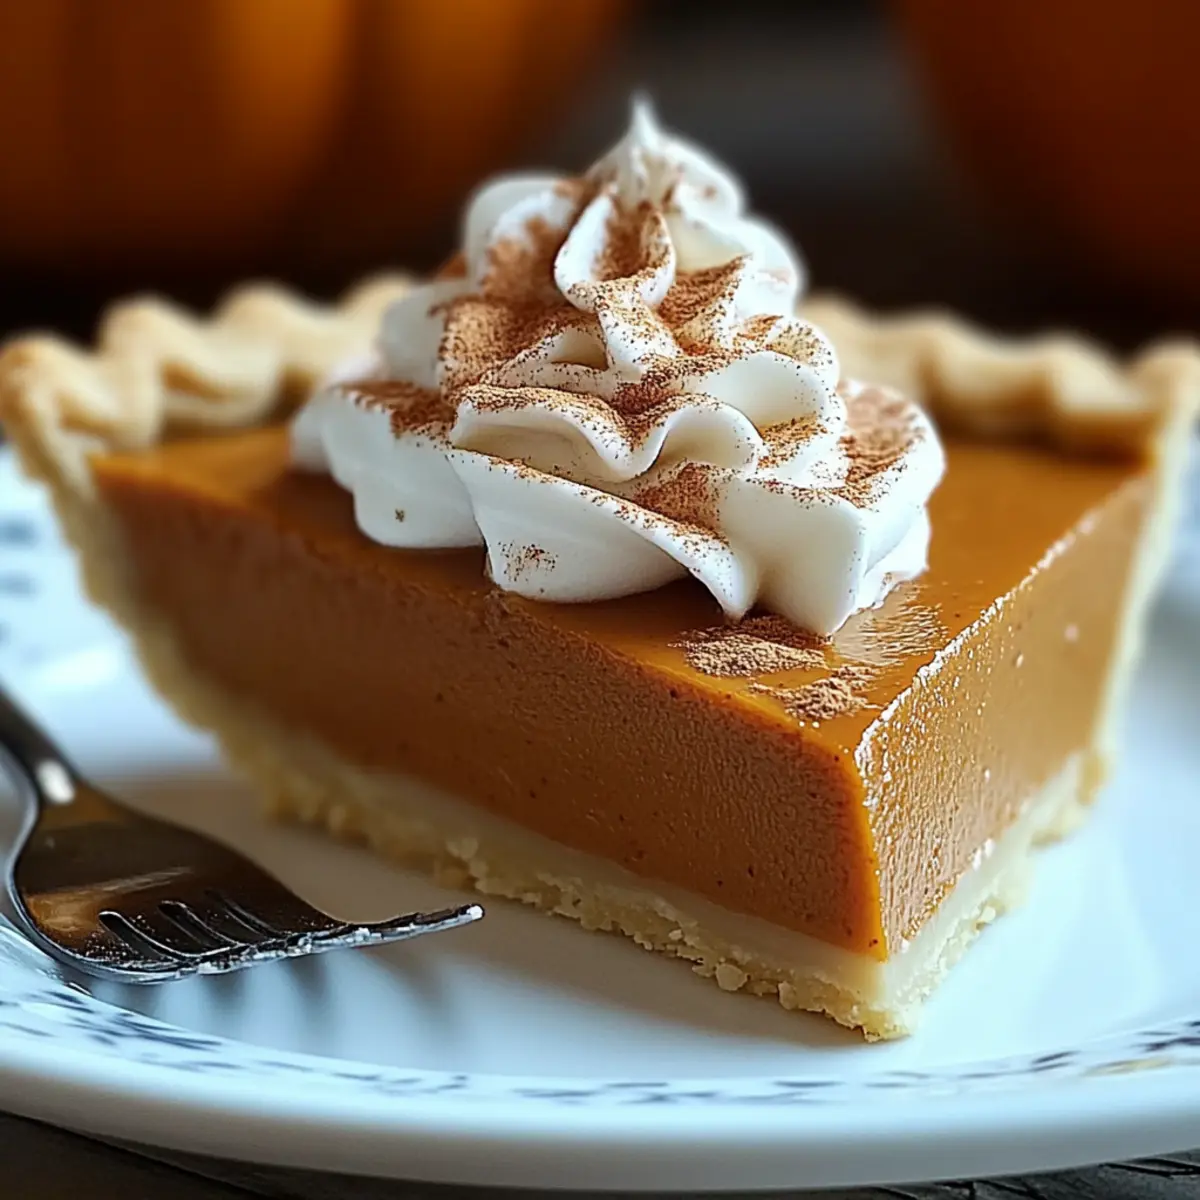
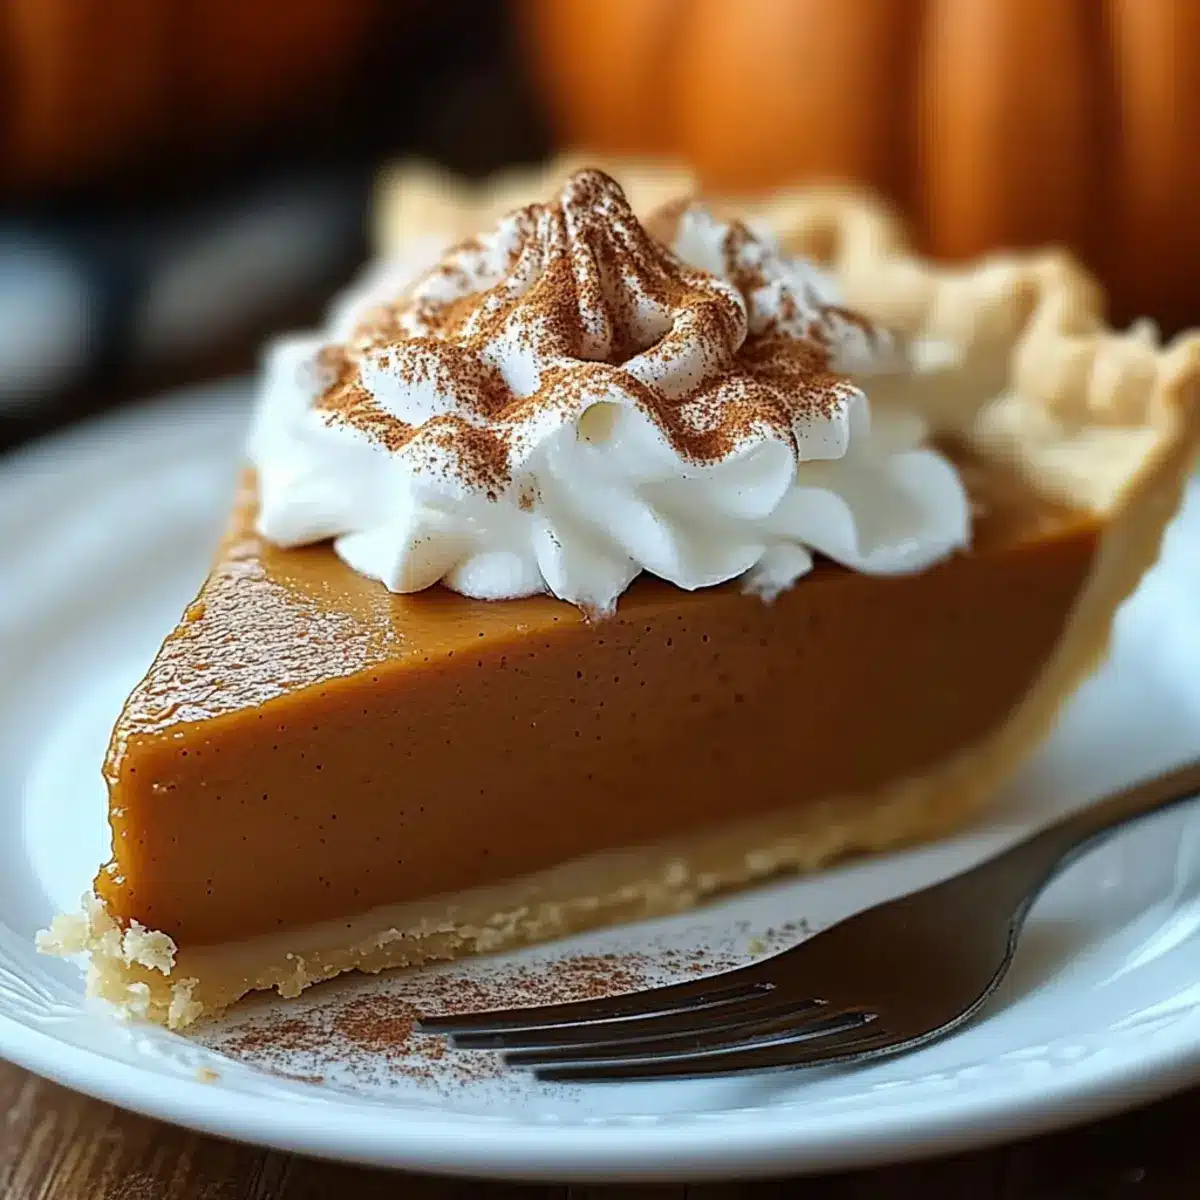
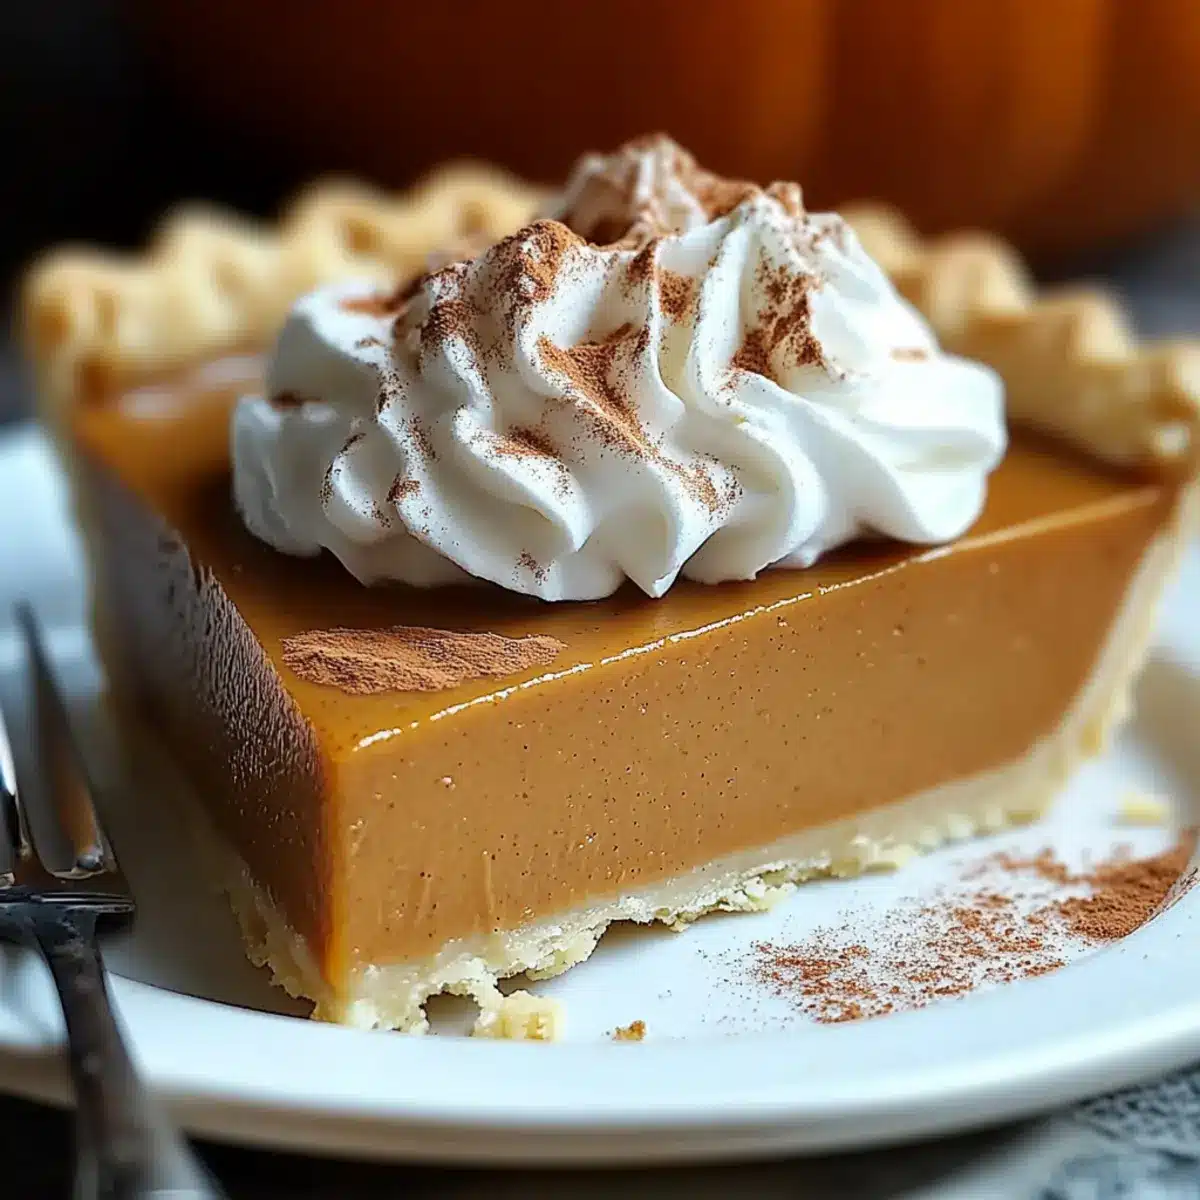
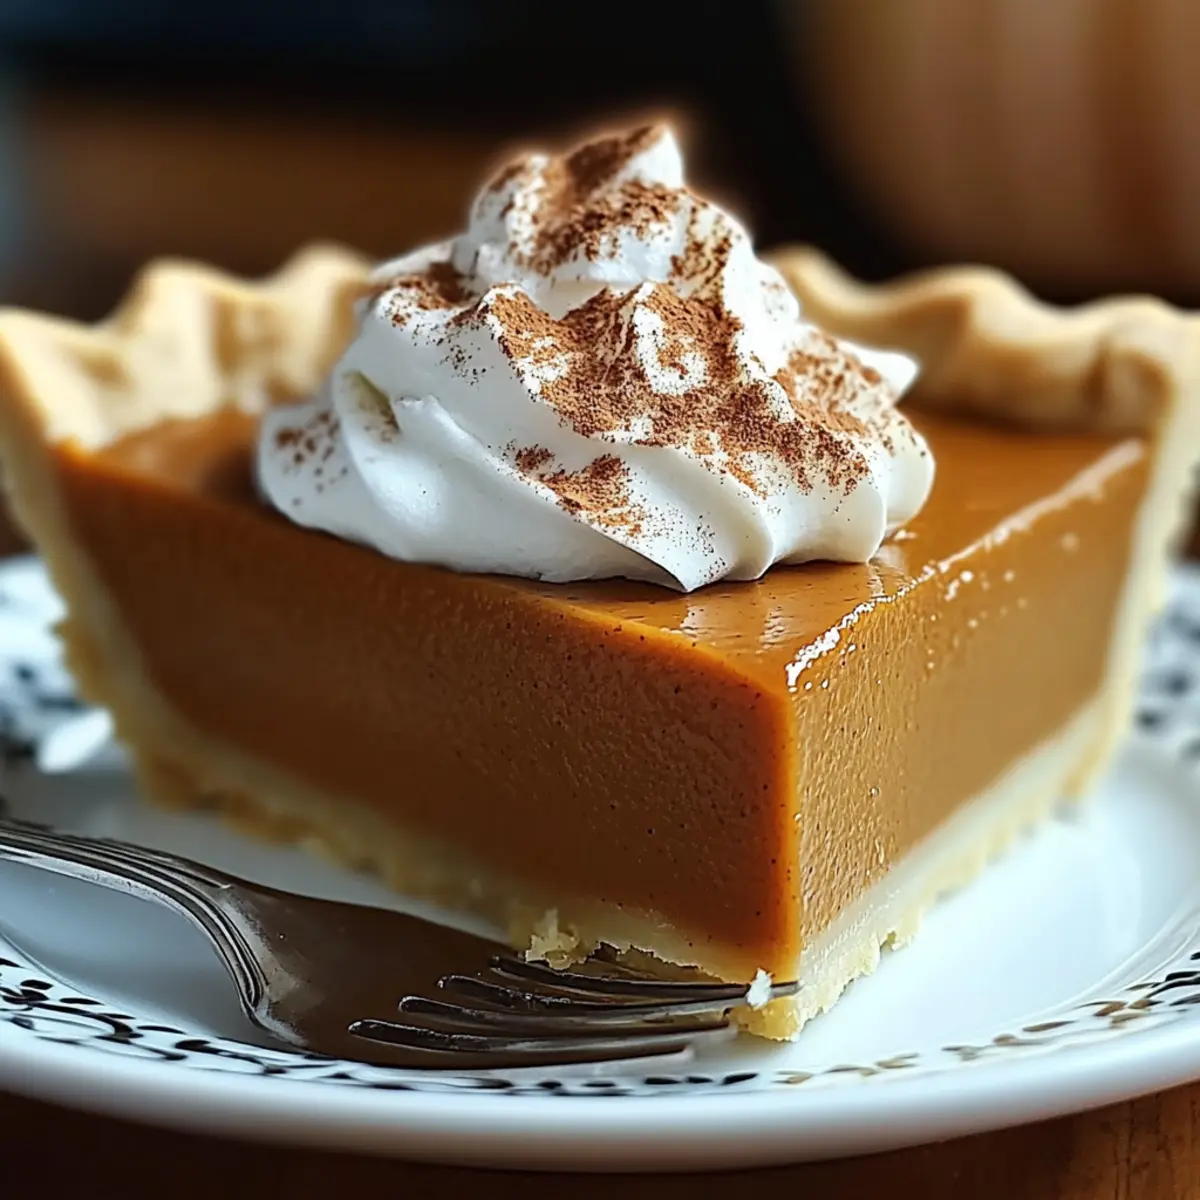
As the crisp fall air settles in, there’s nothing quite like the warmth that spreads through your kitchen as you bake a Classic Pumpkin Pie. The inviting aroma of spiced goodness and buttery crust fills the space, instantly transforming your home into a haven of comfort. This isn’t just any syrupy-sweet dessert; it’s a nostalgic embrace of tradition, perfect for gatherings or simply indulging on a chilly evening. With this recipe, you’ll enjoy a silky filling that balances rich pumpkin flavor with aromatic spices, all wrapped in a flaky crust that crumbles just right. Plus, it’s a quick and crowd-pleasing delight, ensuring you can share the joy without spending hours in the kitchen. Ready to uncover the secrets to creating this seasonal masterpiece? Let’s dive in and make your autumn sweetness a reality!
Why is Pumpkin Pie a Fall Favorite?
Nostalgic Comfort: This Classic Pumpkin Pie delivers a taste that instantly transports you back to childhood gatherings, making it a timeless favorite for all ages.
Rich Flavor Profile: Infused with warm spices like cinnamon and nutmeg, each bite is a celebration of autumn’s best flavors, perfectly complementing the creamy filling.
Simple and Quick: Even for beginner bakers, this recipe is a breeze, minimizing time in the kitchen while maximizing satisfaction for family and friends.
Versatile Options: Whether you prefer to use fresh pumpkin or canned puree, this recipe adapts to your needs. Don’t forget to try a dollop of whipped cream for an extra touch of delight!
Make-Ahead Magic: Perfect for busy days, you can prepare this pie in advance, letting the flavors meld beautifully until you’re ready to serve.
Crowd-Pleasing Appeal: With its delightful aroma and inviting presentation, this pie is sure to impress at any gathering, just like our Pumpkin Chocoflan Cozy or Baked Pumpkin Donuts.
Classic Pumpkin Pie Ingredients
For the Filling
• Pumpkin Puree – Use 2 cups of homemade puree for richer taste or top-quality canned puree for convenience.
• Granulated Sugar – Adds the essential sweetness; opt for brown sugar for a deeper flavor if desired.
• Eggs – Essential for binding the filling and ensuring a smooth texture.
• Evaporated Milk – Delivers creaminess; substitute with heavy cream for a richer texture.
• Vanilla Extract – Enhances the overall flavor; increase to intensify sweetness.
• Ground Cinnamon – The key spice that adds warmth; adjust according to personal taste.
• Ground Ginger – Gives a zesty kick; can be substituted with freshly grated ginger.
• Ground Nutmeg – Adds a nutty aroma that complements the spices; fresh grated is best.
• Ground Cloves – Contributes to the spice profile; optional if you prefer a milder flavor.
• Salt – Balances the sweetness and enhances the flavor profile.
For the Crust
• Unbaked 9-inch Pie Crust – This provides structure; use homemade or store-bought. For a gluten-free option, swap for a gluten-free crust.
For the Topping
• Heavy Whipping Cream – Adds richness and can be enhanced with powdered sugar and cinnamon for a delightful finish.
• Powdered Sugar – Sweetens the whipped cream for a lighter topping.
Step‑by‑Step Instructions for Classic Pumpkin Pie
Step 1: Preheat and Prepare the Crust
Begin by preheating your oven to 425°F (220°C). While the oven warms up, take your unbaked 9-inch pie crust and place it into a 9-inch pie plate. Make sure the crust is fitted snugly, then refrigerate it for at least 10 minutes to firm it up, ensuring a flaky texture once baked.
Step 2: Mix the Filling
In a large mixing bowl, whisk together 2 cups of pumpkin puree, granulated sugar, eggs, evaporated milk, and vanilla extract until the mixture is smooth and well combined. As you combine these ingredients, the rich colors and creamy consistency signal that the filling for your Classic Pumpkin Pie is fully blended and ready for the next step.
Step 3: Pour the Filling
Carefully pour the silky pumpkin filling into the chilled pie crust. Shake the pie plate gently to ensure the filling settles evenly and reaches the edges. The vibrant orange color of the filling should fill the crust to about three-quarters full, allowing room for expansion as it bakes.
Step 4: Bake at High Temperature
Place the pie on the middle rack of your preheated oven and bake at 425°F for 15 minutes. This initial high temperature helps set the crust and filling. As the pie bakes, watch for the crust to begin turning golden and for the edges to puff slightly, indicating it’s starting to cook through.
Step 5: Lower the Temperature and Continue Baking
After 15 minutes, carefully reduce the oven temperature to 350°F (175°C) without opening the oven door. Bake for an additional 40 to 45 minutes, or until a knife inserted in the center comes out clean. The filling should look set but with a slight jiggle in the center—this is key to achieving that perfect silky texture in your Classic Pumpkin Pie.
Step 6: Cool the Pie
Once baked, remove the pie from the oven and let it cool on a wire rack for at least 2 hours. This cooling step is crucial; it allows the filling to firm up and prevents cracks from forming as it cools. Enjoy the warm, inviting aroma of spices filling your kitchen as you wait.
Step 7: Whip the Cream
Just before serving, take your heavy whipping cream and beat it in a mixing bowl with powdered sugar until stiff peaks form. This should take about 3-5 minutes. The result will be a luscious whipped cream that adds a creamy, sweet finish to your Classic Pumpkin Pie, perfectly complementing the spiced filling.
Step 8: Decorate and Serve
Using a spatula or piping bag, generously dollop the cinnamon whipped cream onto each slice of pie when ready to serve. This beautifies your pie and enhances the overall festive presentation. Serve with a smile alongside your favorite warm beverage, and enjoy the delightful flavors of your homemade Classic Pumpkin Pie!
What to Serve with Classic Pumpkin Pie?
There’s something magical about creating the perfect meal to accompany your favorite desserts that elevates every bite into an experience.
-
Cinnamon Whipped Cream: The perfect topping for your pie; rich, creamy, and infused with warm spices, it completes the comforting flavor profile.
-
Spiced Apple Cider: Serve this warm drink alongside your pumpkin pie, enhancing the seasonal vibes with its fragrant spices, providing a cozy touch that’s hard to resist.
-
Vanilla Ice Cream: The creamy, cool texture beautifully contrasts the pie’s warm filling, making each bite an indulgent delight that feels like a warm embrace.
-
Ginger Snap Cookies: These crunchy treats add a delightful spiced crunch, complementing the pie’s smooth filling while adding a nostalgic touch to your dessert table.
-
Caramel Sauce Drizzle: A warm caramel drizzle over the pie or scoop of ice cream brings a touch of sweetness, creating a luxurious experience that captures both fall flavors and decadence.
-
Roasted Pecans: The nutty crunch provides an excellent textural contrast to the creamy pumpkin filling, enhancing the overall flavor combination beautifully.
-
Hot Coffee or Espresso: A steaming cup of coffee balances the sweetness of the pie, grounding the meal with its rich flavor profile, perfect for post-dinner discussions with loved ones.
Expert Tips for Classic Pumpkin Pie
• Cool Gradually: Allow the pie to cool slowly to prevent cracks; remove it from the oven while the center is still slightly jiggly.
• Day-Ahead Delight: For the best flavor, prepare your Classic Pumpkin Pie a day in advance. This lets the spices meld beautifully.
• Check for Doneness: A knife should come out clean from the center, but a slight jiggle indicates the perfect silky texture—don’t overbake!
• Wrap and Store: Keep leftovers wrapped tightly in the refrigerator for up to 4 days for optimal freshness. Alternatively, freeze for up to 1 month.
• Custom Spice Mix: Feel free to adjust the spices to your taste or add a splash of bourbon for a unique twist in the filling!
Make Ahead Options
These Classic Pumpkin Pie preparations are a lifesaver for busy cooks! You can prepare the filling up to 24 hours in advance and refrigerate it in an airtight container to preserve flavor and freshness. Additionally, you can assemble the entire pie (uncooked) and store it covered in the fridge for up to 3 days; this way, you simply need to pop it in the oven when ready to bake. To maintain quality, ensure your crust is tightly wrapped to prevent it from getting soggy. When it’s time to enjoy your delicious classic pumpkin pie, bake from chilled, adding an extra few minutes to the baking time for the best, just-as-delicious results!
Classic Pumpkin Pie Variations
Feel free to get creative and customize your Classic Pumpkin Pie for a delightful twist on a beloved classic!
- Fresh Pumpkin: Use 2 cups of homemade pumpkin puree for a deeper, fresher flavor and richer texture.
- Brown Sugar: Swap granulated sugar for brown sugar to add a warm, caramel-like depth that complements the spices beautifully.
- Dairy-Free: For a vegan version, replace evaporated milk with coconut milk and use flax or chia seeds as egg substitutes.
- Flavor Kick: Stir in a splash of bourbon or rum into the filling for an adult twist that adds warmth and complexity.
- Maple Syrup: Substitute sugar with maple syrup to impart a unique sweetness and a hint of maple flavor that pairs perfectly with pumpkin.
- Spice Variations: Customize your spice blend by experimenting with different ratios or adding nutmeg and cardamom for an aromatic twist.
- Nut Crush Topping: For added crunch, top your pie with a sprinkle of crushed pecans or walnuts before baking, enhancing both flavor and texture.
- Spicy Heat: If you love a bit of kick, incorporate a dash of cayenne pepper or chili powder for a surprising heat that contrasts beautifully with the sweet filling.
As you embark on these variations, consider pairing your pie with a steaming cup of spiced apple cider or a scoop of vanilla ice cream for an indulgent experience! And if you’re looking for more pumpkin delights, don’t miss our comforting Pumpkin Chocoflan Cozy or these delightful Baked Pumpkin Donuts.
How to Store and Freeze Classic Pumpkin Pie
Fridge: Store tightly wrapped in plastic wrap or an airtight container for up to 4 days. This keeps your Classic Pumpkin Pie fresh and ready for an indulgent treat.
Freezer: For longer storage, freeze the pie wrapped well in foil or freezer-safe bags for up to 1 month. Thaw overnight in the fridge before serving.
Reheating: To enjoy leftovers, reheat individual slices in the microwave for about 30 seconds or warm in a preheated oven at 350°F (175°C) for 10-15 minutes.
Classic Pumpkin Pie Recipe FAQs
What type of pumpkin puree should I use?
Absolutely! For the best flavor, I recommend using 2 cups of homemade pumpkin puree if you have the time, as it offers a deeper, more complex taste. However, high-quality canned pumpkin puree is a convenient alternative that works beautifully in this recipe. Just make sure to choose pure pumpkin, not pumpkin pie filling, to ensure the right texture and sweetness.
How should I store leftover pumpkin pie?
Very simple! Store your Classic Pumpkin Pie tightly wrapped in plastic wrap or in an airtight container in the refrigerator for up to 4 days. This will keep it fresh and delicious for you to enjoy at later meals or snacks!
Can I freeze pumpkin pie, and if so, how?
Of course you can freeze it! To freeze your Classic Pumpkin Pie, wrap it tightly in plastic wrap and then in aluminum foil or place it in a freezer-safe bag. This will help prevent freezer burn. You can freeze it for up to 1 month. When you’re ready to enjoy it again, simply thaw it overnight in the refrigerator. For best results, reheat it at 350°F (175°C) for about 10-15 minutes.
What if my pumpkin pie cracks while baking?
Don’t worry! A common reason for cracking can be baking at a temperature that’s too high or removing the pie from the oven too quickly as it cools. To avoid this, let your Classic Pumpkin Pie cool gradually on a wire rack once it’s done baking, keeping the oven door slightly ajar for a bit to let the pie settle. Additionally, take it out while the center is still slightly jiggly, which will allow for a perfect, creamy texture.
Is this recipe suitable for people with dietary restrictions?
Yes, it can be adjusted! To make it gluten-free, simply swap out the traditional pie crust for a gluten-free one. For those who are vegan, use egg substitutes like flaxseed meal or silken tofu and replace evaporated milk with coconut milk. Adjusting these ingredients makes it inclusive for various dietary needs while still enjoying this Classic Pumpkin Pie.
Classic Pumpkin Pie with Silky Filling and Comforting Spices
Ingredients
Equipment
Method
- Preheat your oven to 425°F (220°C) and refrigerate the unbaked pie crust for at least 10 minutes.
- In a large mixing bowl, whisk together pumpkin puree, granulated sugar, eggs, evaporated milk, and vanilla extract until smooth.
- Pour the filling into the chilled pie crust, ensuring it settles evenly.
- Bake at 425°F for 15 minutes to set the crust and filling.
- Reduce the temperature to 350°F (175°C) and bake for an additional 40 to 45 minutes until a knife comes out clean.
- Cool the pie on a wire rack for at least 2 hours to firm up.
- Beat heavy whipping cream with powdered sugar until stiff peaks form.
- Dollop the cinnamon whipped cream onto each slice before serving.
Leave a Reply