
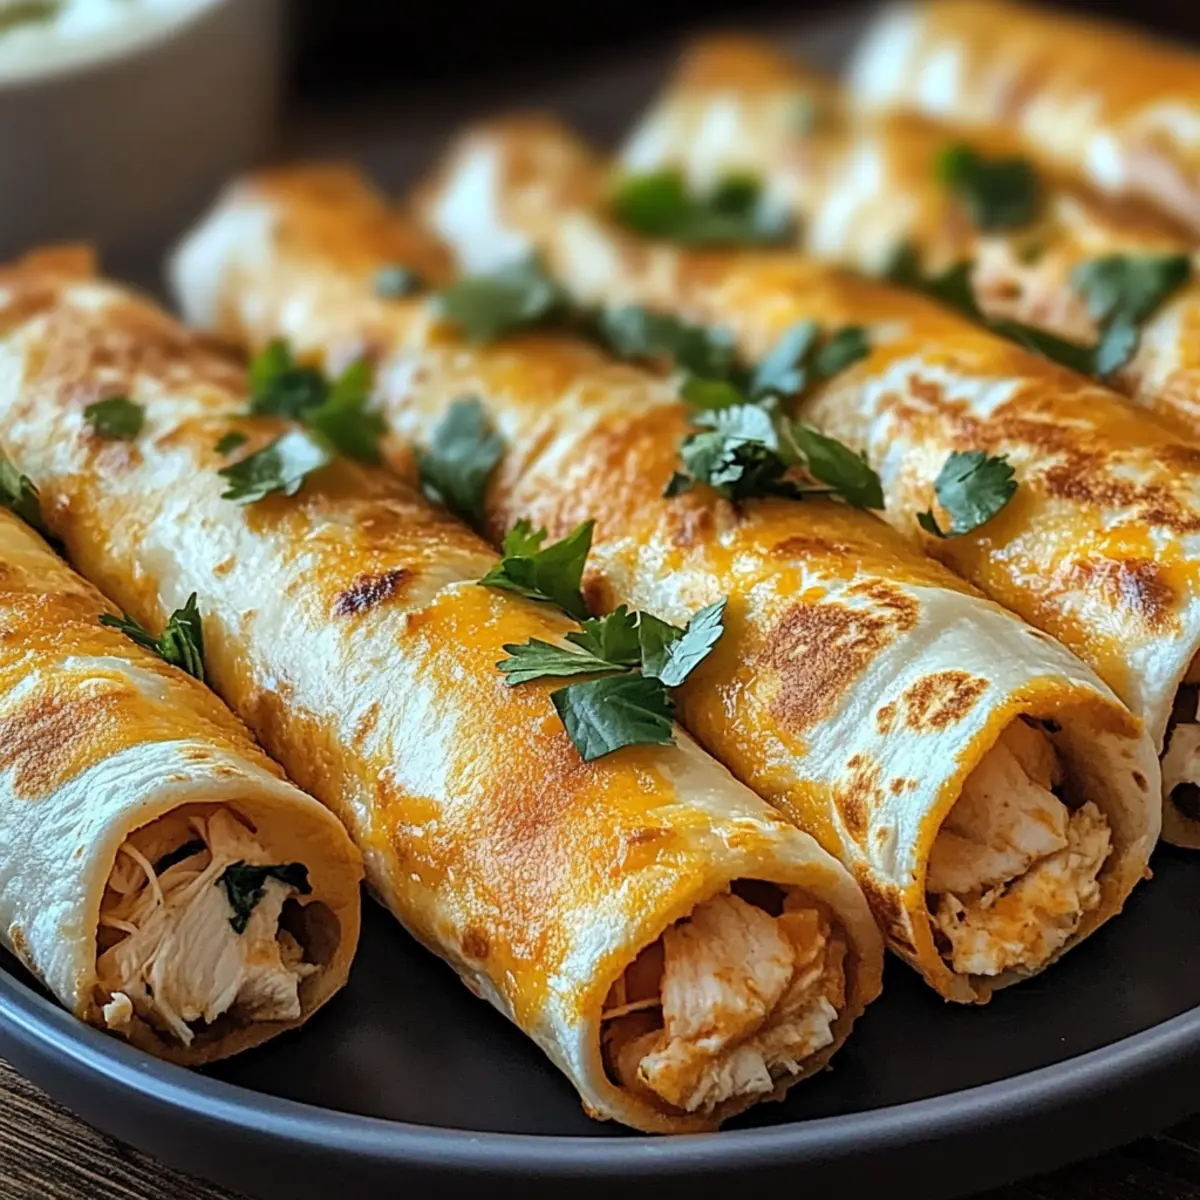
Excitement bubbled in the kitchen as I tried out a new snack idea—Crispy Chicken Taquitos. These little rolls turned out to be not just a treat for my taste buds but also a canvas for creativity! The best part? You can bake or air-fry them for a perfectly crunchy, guilt-free delight. With layers of tender, creamy shredded chicken wrapped in warm tortillas, they are super versatile and perfect for any occasion, whether it’s a casual weeknight dinner or a lively game-day gathering. Plus, they can easily cater to dietary preferences—just swap in corn tortillas for a gluten-free option. So, are you ready to roll up your sleeves and make these delightful bites? Let’s dive into the recipe!

Why are these taquitos a must-try?
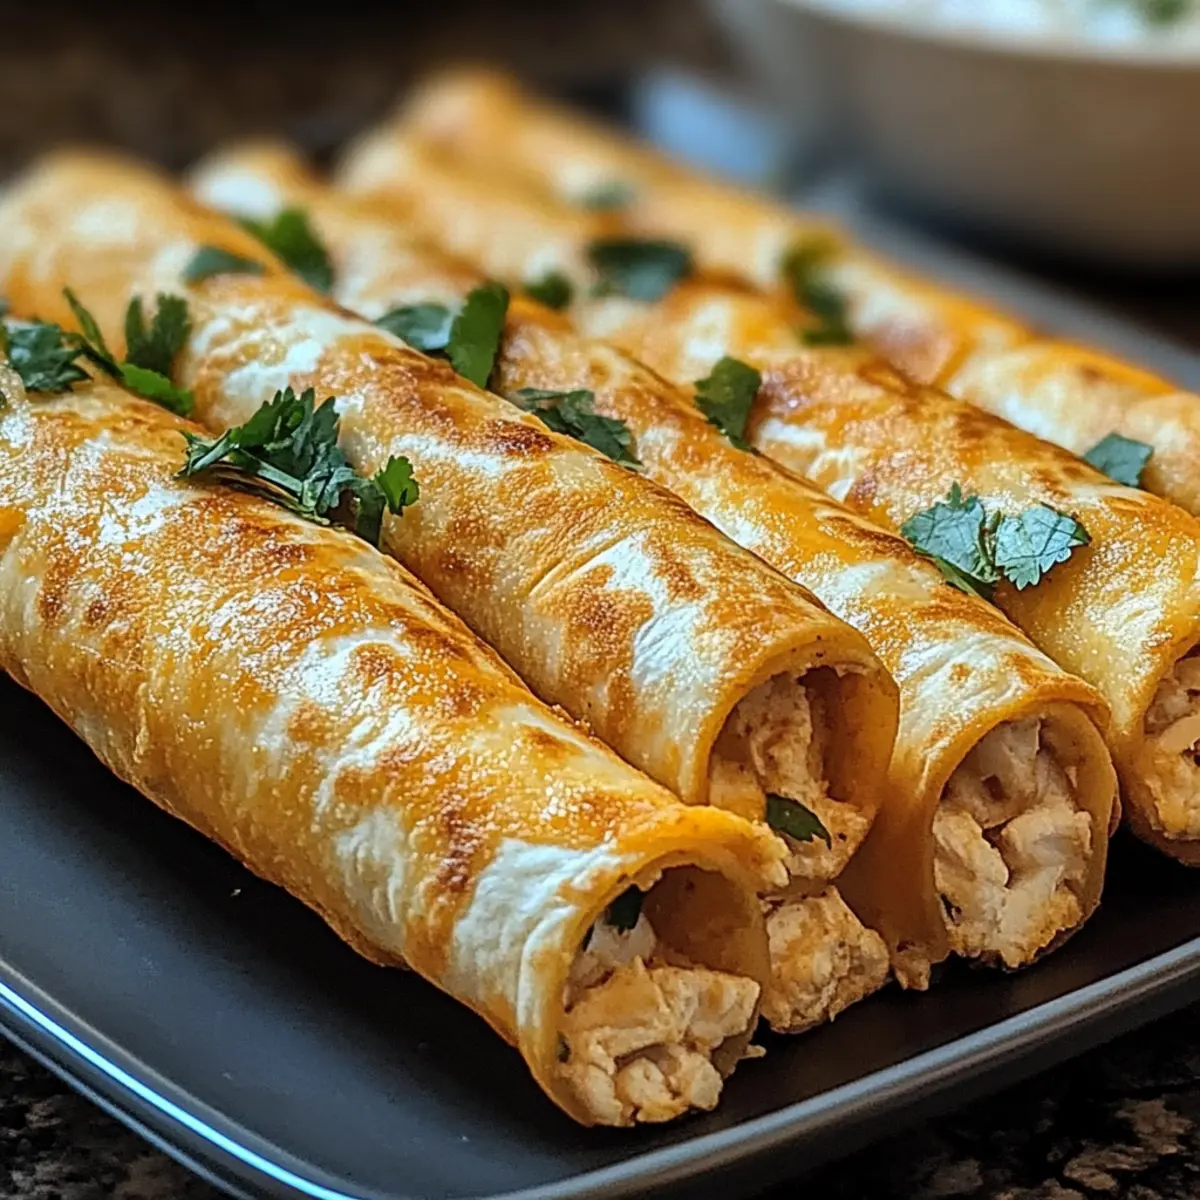
Crispy Chicken Taquitos are the ultimate snack that everyone will love! Golden and crunchy, they provide a satisfying bite that pairs perfectly with your favorite dips. Quick to make, these taquitos can be baked or air-fried, saving you time without compromising on flavor. Customizable to your taste, fill them with everything from zesty ground beef to creamy vegetarian options. And don’t forget, they’re a fantastic choice for hosting—proudly serve them at your next gathering alongside some Cheesy Garlic Chicken or Chicken Pitas Herby for an unbeatable spread!
Crispy Chicken Taquitos Ingredients
• Get ready to roll!
For the Filling
- Cooked Shredded Chicken – Provides the base filling for flavor and protein; feel free to use rotisserie chicken for a quick option.
- Cream Cheese – Adds a luscious creaminess; ensure it’s softened for easy mixing.
- Shredded Cheddar or Mexican Blend Cheese – Introduces cheesy richness; any melty cheese can work here, just like in these Crispy Chicken Taquitos!
- Salsa – Imparts moisture and flavor; opt for mild or spicy based on your heat preference.
- Garlic Powder – Amplifies the flavor profile; fresh minced garlic can add a bolder kick.
- Chili Powder – Brings warmth and spice depth; tailor the amount to suit your taste buds.
- Cumin – Adds an earthy warmth; feel free to omit it for a milder flavor.
- Salt and Black Pepper – Essential components for seasoning to taste.
For the Tortillas
- Tortillas (flour or corn) – The perfect wrap for rolling; warm them up to prevent cracking. Use corn for a gluten-free alternative.
For Cooking
- Cooking Spray or Oil – Helps achieve that desired crisp texture; brush on olive oil or any cooking oil you prefer.
Step‑by‑Step Instructions for Crispy Chicken Taquitos
Step 1: Preheat the Oven
Begin by preheating your oven to 425°F (220°C). While it’s heating up, line a large baking sheet with parchment paper to prevent sticking. This will set the stage for your Crispy Chicken Taquitos, ensuring they bake evenly and develop that golden, crunchy texture we all love.
Step 2: Prepare the Filling
In a mixing bowl, combine the cooked shredded chicken, softened cream cheese, shredded cheddar or Mexican blend cheese, salsa, garlic powder, chili powder, cumin, salt, and black pepper. Use a sturdy spoon to mix everything together thoroughly until you achieve a creamy and seasoned filling. This flavorful mixture is what will make your taquitos truly irresistible.
Step 3: Warm the Tortillas
To prevent your tortillas from cracking while rolling, warm them in the microwave for about 20 seconds until they are pliable. This step is crucial when making Crispy Chicken Taquitos. If using corn tortillas, the warming will also help them stay intact as you fold in the delicious filling.
Step 4: Assemble the Taquitos
Take one warmed tortilla and place 2–3 tablespoons of the chicken filling on one side. Carefully roll it up tightly, starting from the filled side, ensuring the filling is secure within. Repeat this process for all tortillas, placing each rolled taquito seam-side down on the prepared baking sheet. This helps maintain their shape while baking.
Step 5: Brush with Oil
Lightly brush the tops of your rolled taquitos with cooking spray or olive oil. This will help them achieve that beautiful golden-brown color and added crispiness during the baking process. Make sure to coat each taquito evenly for the best results and enhance their crave-worthy texture.
Step 6: Bake the Taquitos
Slide the baking sheet into the preheated oven and bake your Crispy Chicken Taquitos for 15–20 minutes. Keep an eye on them during the last few minutes; you want them to be golden brown and crispy all over. If you desire extra crunch, finish with a quick broil for 1–2 minutes, watching closely to prevent burning.
Step 7: Serve and Enjoy
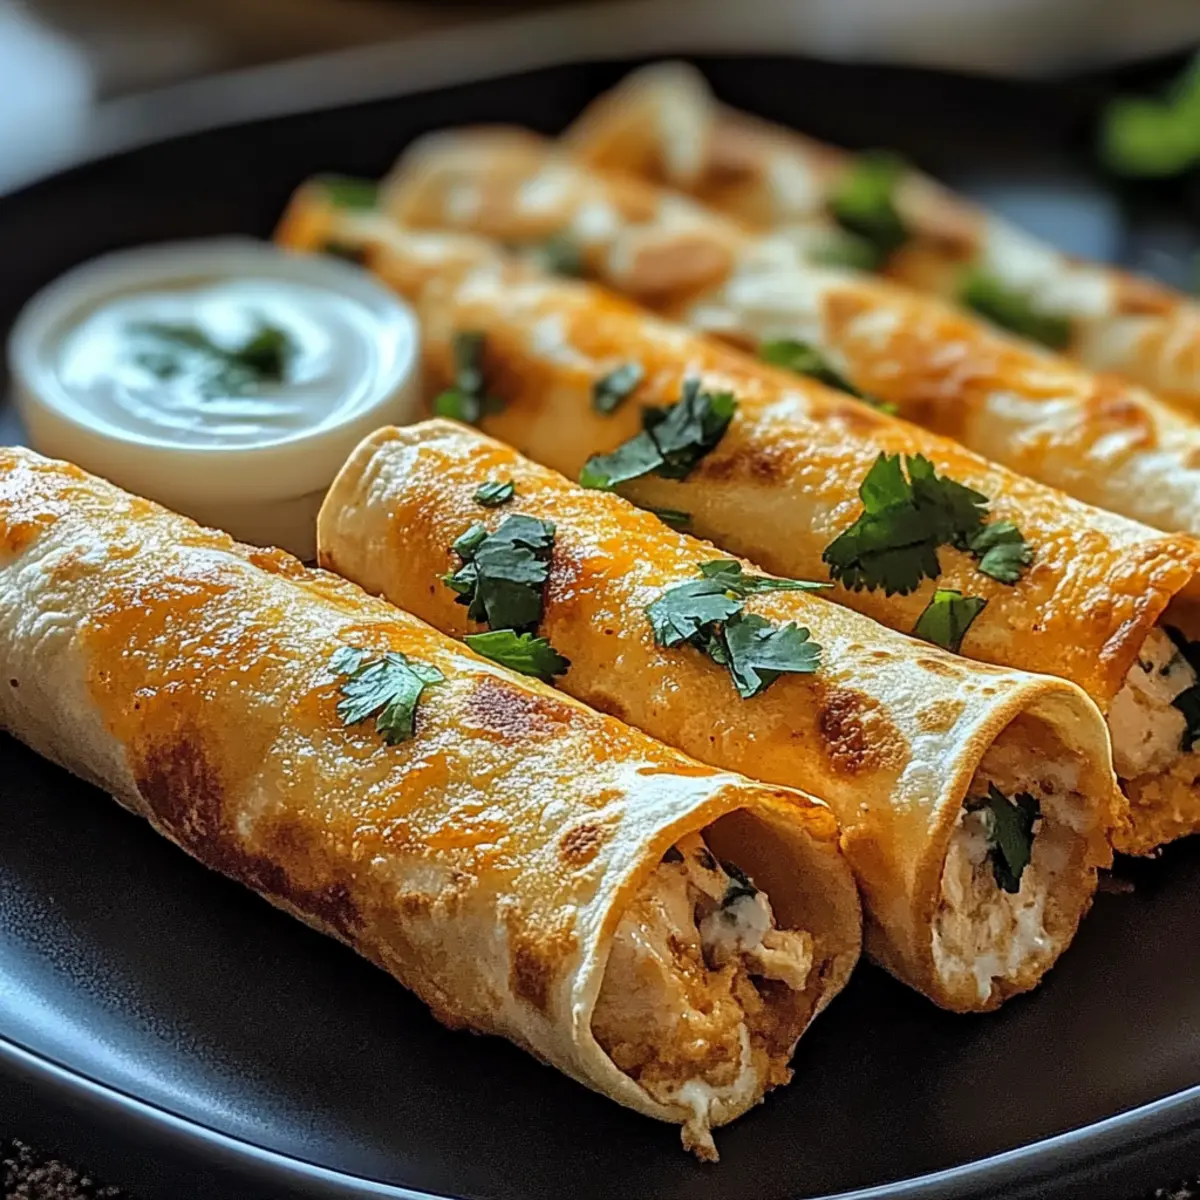
Once baked to perfection, remove the taquitos from the oven and let them cool for a couple of minutes. Serve them warm with your favorite dips like sour cream, guacamole, or fresh salsa. These Crispy Chicken Taquitos are best enjoyed fresh, so gather your friends and family for a delightful snack!
Crispy Chicken Taquitos Variations
Feel free to unleash your culinary creativity as you customize these delightful taquitos to suit your taste buds!
-
Meat Swap: Use ground beef or shredded pork instead of chicken for a flavor twist. This simple change can transform the dish into new, mouthwatering territory!
-
Vegetarian Option: Substitute shredded chicken for black beans, lentils, or a delicious cheese blend for a vegetarian delight that doesn’t skimp on flavor.
-
Cheese Upgrade: Experiment with different cheeses like pepper jack for extra heat or a blend for varied textures. The right cheese can elevate your taquitos to new flavor heights.
-
Fresh Herbs: Add chopped fresh cilantro or green onions to the filling for a pop of freshness! This little touch can brighten up every bite, making each taquito even more delicious.
-
Zesty Garnish: Top with avocado slices or a splash of lime juice before serving. These fresh garnishes can add a delightful contrast to the rich filling!
-
Spicy Kick: For those who crave heat, toss in diced jalapeños or a dash of your favorite hot sauce in the filling. It’s a perfect way to turn up the temperature!
-
Salsa Swap: Instead of traditional salsa, try using a fresh pico de gallo for an added burst of freshness and crunch. This vibrant alternative can completely change the dynamic of your taquitos.
-
Air Fry Alternative: If you’re in a hurry, try air-frying the taquitos at 400°F for 8–10 minutes. They’ll turn out perfectly crispy without the wait!
With these tailored options, your Crispy Chicken Taquitos will not only wow your taste buds but also impress your guests. Pair them with a side of Chicken Avocado Melt for a delightful meal that’s packed with flavor!
Make Ahead Options
These Crispy Chicken Taquitos are perfect for meal prep enthusiasts! You can assemble the taquitos up to 24 hours in advance; simply wrap them tightly in plastic wrap and refrigerate to maintain their freshness. If you’re planning further ahead, consider freezing them for up to 3 months—just make sure to freeze them in a single layer on a baking sheet before transferring them to an airtight container. When ready to enjoy, bake them straight from the fridge or freezer, adding an extra 5-10 minutes of cooking time if frozen. By prepping ahead, you’ll save precious time during busy weeknights, and they’ll be just as delicious as freshly made!
Expert Tips for Crispy Chicken Taquitos
-
Warm Tortillas:
Warming tortillas is essential to keep them pliable and prevent cracking when rolling. A quick 20 seconds in the microwave does wonders. -
Be Careful with Fillings:
Avoid overstuffing the taquitos, as this may lead to bursting during baking. Stick to 2–3 tablespoons of filling for a perfect balance. -
Customize Your Spice:
Adjust the chili powder in the filling according to your taste and, for an extra kick, consider adding diced jalapeños. -
Make Ahead:
You can assemble the taquitos in advance! Just refrigerate them for up to 24 hours or freeze them for longer storage. Bake them straight from the freezer but add extra time. -
Use Parchment Paper:
Lining your baking sheet with parchment paper ensures that the taquitos don’t stick and makes clean-up a breeze. -
Alternate Cooking Methods:
For a quicker preparation, use an air fryer at 400°F for 8–10 minutes, flipping halfway through for even crispiness in your Crispy Chicken Taquitos.
What to Serve with Crispy Chicken Taquitos?
These delightful taquitos are a fantastic starting point for a well-rounded meal, brimming with flavor and excitement.
-
Fresh Guacamole:
Creamy and zesty, guacamole adds a refreshing contrast to the crispy taquitos, enhancing their savory goodness. The rich avocado pairs beautifully with the tender chicken filling. -
Zesty Salsa:
A vibrant, tangy salsa not only complements the flavors but also adds a burst of freshness. Whether you opt for mild or spicy, this dip is a must-have for your taquito feast. -
Mexican Street Corn Salad:
This dish blends sweet corn, creamy dressing, and zesty lime, making it a crunchy complement to the crunch of the taquitos. The flavors of roasted corn and herbs elevate the meal into something special. -
Pico de Gallo:
Fresh tomatoes, onions, and cilantro create a lively topping that enhances the flavors of your taquitos. It brings a crisp, juicy texture to each bite, making for a delightful eating experience. -
Sour Cream:
A smooth dollop of sour cream balances the richness of the taquitos. Its cool texture gives a satisfying contrast to the crispy exterior and creamy filling. -
Cheesy Queso Dip:
This indulgent dip adds an extra layer of creamy goodness to your taquitos. Easy to dip into, the gooey cheese perfectly complements the delicate flavors of the chicken filling. -
Margarita:
A refreshing margarita offers a zesty counterbalance to the savory taquitos. The bright citrus notes will awaken your taste buds and elevate your meal to a festive occasion. -
Churros:
For a sweet ending, serve these crispy, cinnamon-sugar-dusted treats alongside your taquitos. They will round out the meal with a delightful crunch and sweetness.
How to Store and Freeze Crispy Chicken Taquitos
Fridge: Store leftover Crispy Chicken Taquitos in an airtight container for up to 3 days. Reheat them in the oven or air fryer to maintain their crispiness.
Freezer: For long-term storage, freeze assembled, unbaked taquitos on a baking sheet until solid, then transfer to a freezer bag. They can last up to 3 months.
Reheating: Bake frozen taquitos directly from the freezer at 425°F (220°C) for about 20-25 minutes until golden and crispy. Enjoy them fresh out of the oven!
Thawing: If desired, thaw the frozen taquitos in the fridge overnight before baking, then follow the original baking instructions for optimal flavor and texture.
Crispy Chicken Taquitos Recipe FAQs
What’s the best type of chicken to use for the filling?
Absolutely! Cooked shredded chicken is the star here, and to save time, I often recommend using rotisserie chicken. It’s flavorful and tender, making it a perfect base for your Crispy Chicken Taquitos. Feel free to use any cooked chicken you have on hand, just ensure it’s well-shredded for easy rolling.
How should I store leftover Crispy Chicken Taquitos?
Very! To keep your leftover taquitos fresh, place them in an airtight container in the fridge for up to 3 days. When you’re ready to enjoy them again, reheat in the oven or air fryer. This will help them regain their crispiness, making them almost as good as fresh out of the oven!
Can I freeze these taquitos? How do I do that?
Absolutely! To freeze your assembled but unbaked Crispy Chicken Taquitos, lay them out on a baking sheet in a single layer and freeze until solid. Once frozen, transfer them to a freezer bag, squeezing out as much air as possible. They’ll stay fresh for up to 3 months. When you’re ready to eat, bake directly from the freezer at 425°F (220°C) for 20-25 minutes, or until they’re golden brown.
What if my tortillas crack while rolling?
Oh no! If your tortillas crack, there are a couple of tricks to help. First, ensure you warm them in the microwave for about 20 seconds, which makes them pliable and flexible. If they still crack, try using a little bit of cooking spray or brushing them with oil – this can also help keep them moist while rolling. You might also consider using fresh tortillas, as they tend to be softer.
Are there any allergens I should be aware of when making these taquitos?
Yes! If you’re serving these Crispy Chicken Taquitos to others, be mindful of common allergens. The cream cheese and cheese can contain dairy, while tortillas can have gluten unless you opt for corn tortillas for a gluten-free option. Always check labels if you’re cooking for someone with allergies, and feel free to substitute as necessary to make them safe for everyone!
Crispy Chicken Taquitos That Will Wow Your Taste Buds
Ingredients
Equipment
Method
- Preheat your oven to 425°F (220°C) and line a large baking sheet with parchment paper.
- In a mixing bowl, combine the cooked shredded chicken, softened cream cheese, shredded cheese, salsa, garlic powder, chili powder, cumin, salt, and black pepper. Mix thoroughly.
- Warm tortillas in the microwave for about 20 seconds until pliable.
- Take one warmed tortilla, place 2–3 tablespoons of the chicken filling on one side, and roll tightly. Place seam-side down on the baking sheet.
- Lightly brush the tops of the rolled taquitos with cooking spray or olive oil.
- Bake the taquitos for 15–20 minutes until golden brown and crispy. Optionally, broil for 1–2 minutes for extra crunch.
- Let the taquitos cool for a couple of minutes before serving with your favorite dips.
Leave a Reply