
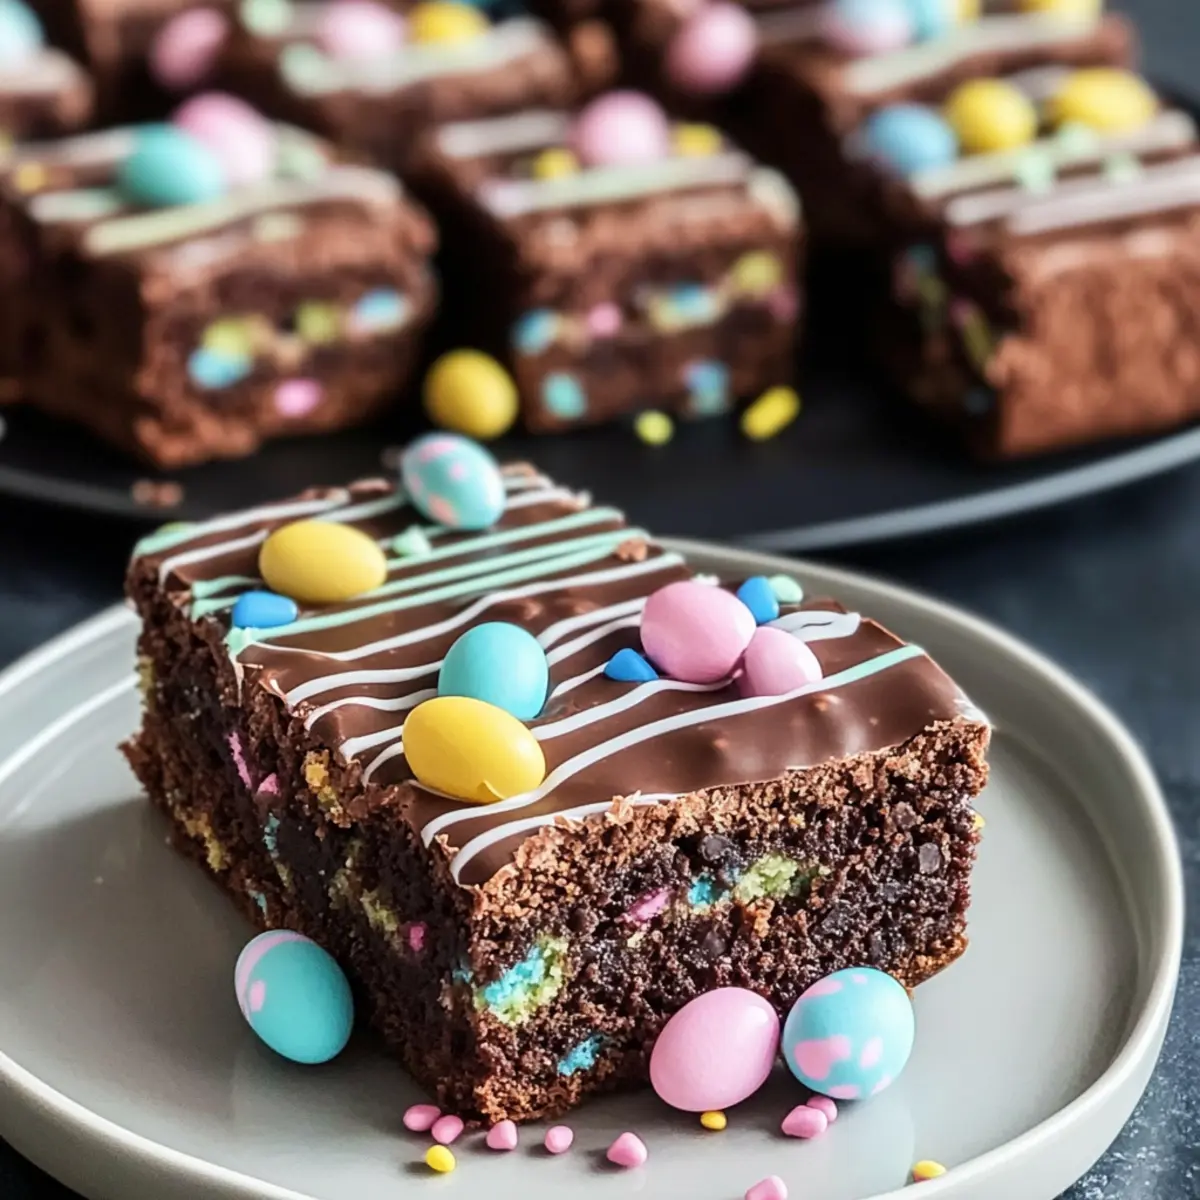
Spring is blooming, and so is my excitement for making the perfect Easter treat! These Fudgy Easter Brownies are not just any dessert; they are a delightful combination of rich chocolate and festive flair, perfect for any spring gathering. This Easter Brownies Recipe will take you back to childhood celebrations while offering a fun twist for today’s palate. With a quick prep time and the option to customize your toppings—think pastel colors and mini candy eggs—these brownies are bound to become a crowd-pleaser. Plus, they freeze beautifully for those moments when you want a chocolate fix without the fuss. Ready to get your hands chocolate-smeared and create something extraordinary? Let’s dive into the joyous world of festive baking!
Why Are These Brownies a Must-Try?
Decadent, these brownies boast a rich, fudgy texture that melts in your mouth. Versatile to the core, you can easily customize the toppings or add a splash of coffee for an enhanced chocolate bliss. Festive flair shines with pastel colors and cute mini candy eggs, perfect for your spring gatherings. Quick prep means more time enjoying the company of friends and family, just like with my Honey Garlic Ground dish. Memorable flavors will keep everyone coming back for more, proving that these Easter Brownies are delightful for any occasion!
Easter Brownies Recipe Ingredients
• Gather your ingredients to create these delightful Easter Brownies!
For the Brownies
- Granulated Sugar – Adds sweetness and contributes to a crisp top layer. Note: Can be reduced slightly for less sweetness.
- Brown Sugar – Provides moisture and a chewy center. Substitution: Use coconut sugar for a deeper flavor.
- Butter – Adds richness and enhances overall flavor. Tip: Use unsalted for better control over salt levels.
- Eggs – Binds ingredients together while adding moisture. Advice: Room temperature eggs incorporate better.
- Vanilla Extract – Imparts aromatic depth and sweetness. Optional: Swap for almond extract to innovate your flavor profile.
- All-Purpose Flour – Gives the brownies their structure. Substitution: Choose a gluten-free flour blend for gluten-free brownies.
- Cocoa Powder – Essential for that irresistible deep chocolate flavor. Note: Dutch-processed cocoa makes for a smoother taste.
- Salt – Enhances flavor and balances sweetness.
- Chocolate Chips – Creates indulgent pockets of melted chocolate. Tip: Mix dark and milk chocolate chips for varied flavor.
For the Topping
- Coconut Oil – Facilitates melting for the chocolate topping. Substitution: Use vegetable oil if you prefer.
- Melted White Chocolate – Adds sweetness and a festive base for decoration.
- Pastel Colors – For tinting the white chocolate, creating a vibrant Easter look.
- Sprinkles – Adds fun flair to your brownies.
- Mini Candy Eggs – The perfect touch for that Easter spirit!
Embrace the delightful sweetness of these Easter Brownies, a recipe that beautifully combines nostalgic charm with modern creativity!
Step‑by‑Step Instructions for Easter Brownies Recipe
Step 1: Preheat the Oven
Begin by preheating your oven to 350°F (175°C). While it’s warming up, prepare an 8×8-inch baking pan by lining it with parchment paper. This will prevent the brownies from sticking, making them easy to lift out later. Ensure that the edges of the paper hang over the sides of the pan for easy removal once baked.
Step 2: Mix Butter and Sugars
In a medium saucepan over low heat, melt 1 cup of unsalted butter until fully liquefied. Remove from heat, then stir in 1 cup of granulated sugar and 1 cup of brown sugar. Mix vigorously until the mixture is smooth and glossy, showing that the sugars are well incorporated. Allow it to cool slightly before moving to the next step.
Step 3: Add Eggs and Vanilla
Once your butter and sugar mixture is just warm, add in 4 large room-temperature eggs, one at a time, mixing well after each addition. Then, add 2 teaspoons of vanilla extract and blend until smooth. The mixture should look creamy and slightly thickened, indicating it’s well combined and ready for the dry ingredients.
Step 4: Combine Dry Ingredients
In a separate bowl, sift together 1 cup of all-purpose flour, 1 cup of cocoa powder, and ½ teaspoon of salt. Gradually fold this dry mixture into the wet ingredients using a spatula. Be gentle to avoid incorporating air bubbles, and mix until just combined. You want to see a rich, dark batter without any flour streaks.
Step 5: Fold in Chocolate Chips
Gently fold in 1 cup of chocolate chips, ensuring they are evenly distributed throughout the brownie batter. This will create delicious pockets of melted chocolate in each bite of your fudgy Easter Brownies. Once mixed, transfer the batter into your prepared baking pan, spreading it evenly into the corners.
Step 6: Bake the Brownies
Place the baking pan in the preheated oven and bake for 30–35 minutes. To check for doneness, insert a toothpick into the center—when removed, it should have a few moist crumbs clinging to it. Avoid overbaking, as you want your brownies to remain fudgy and moist for the best texture.
Step 7: Cool before Topping
After baking, remove the pan from the oven and let it cool in the pan for about 10 minutes. Then, using the overhanging parchment paper, lift the brownies out and place them on a wire rack to cool completely. This step is crucial to ensure your topping adheres properly.
Step 8: Prepare the Topping
To make the topping, melt 1 cup of chocolate chips together with 2 tablespoons of coconut oil in a microwave-safe bowl. Heat in 30-second intervals, stirring in between, until smooth and shiny. Once melted, allow this mixture to cool slightly before spreading it generously over the cooled brownies.
Step 9: Decorate for Easter
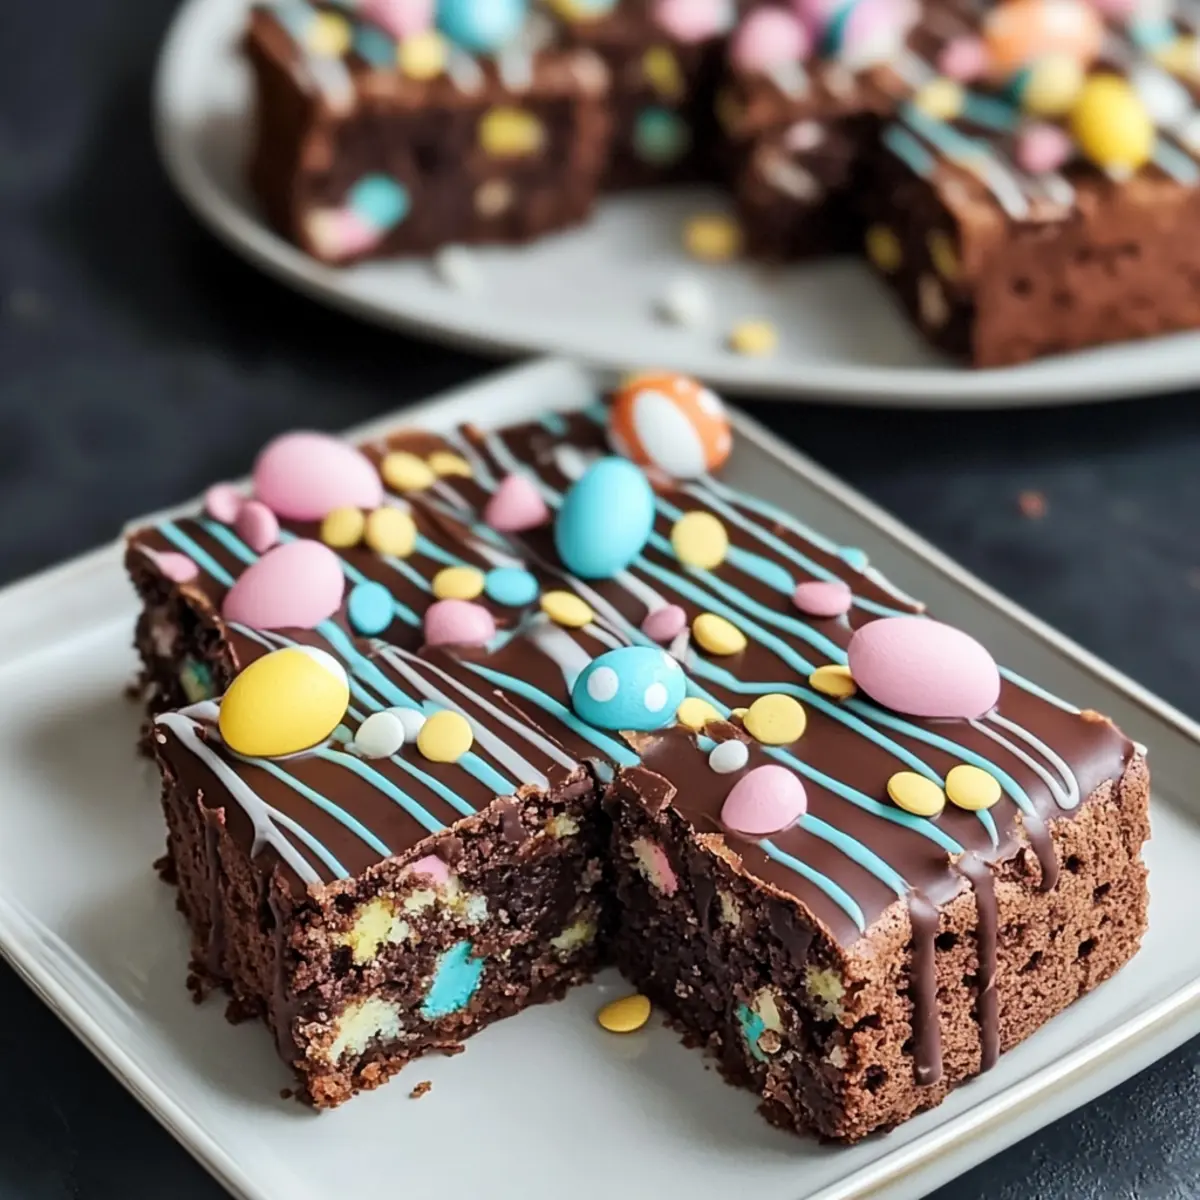
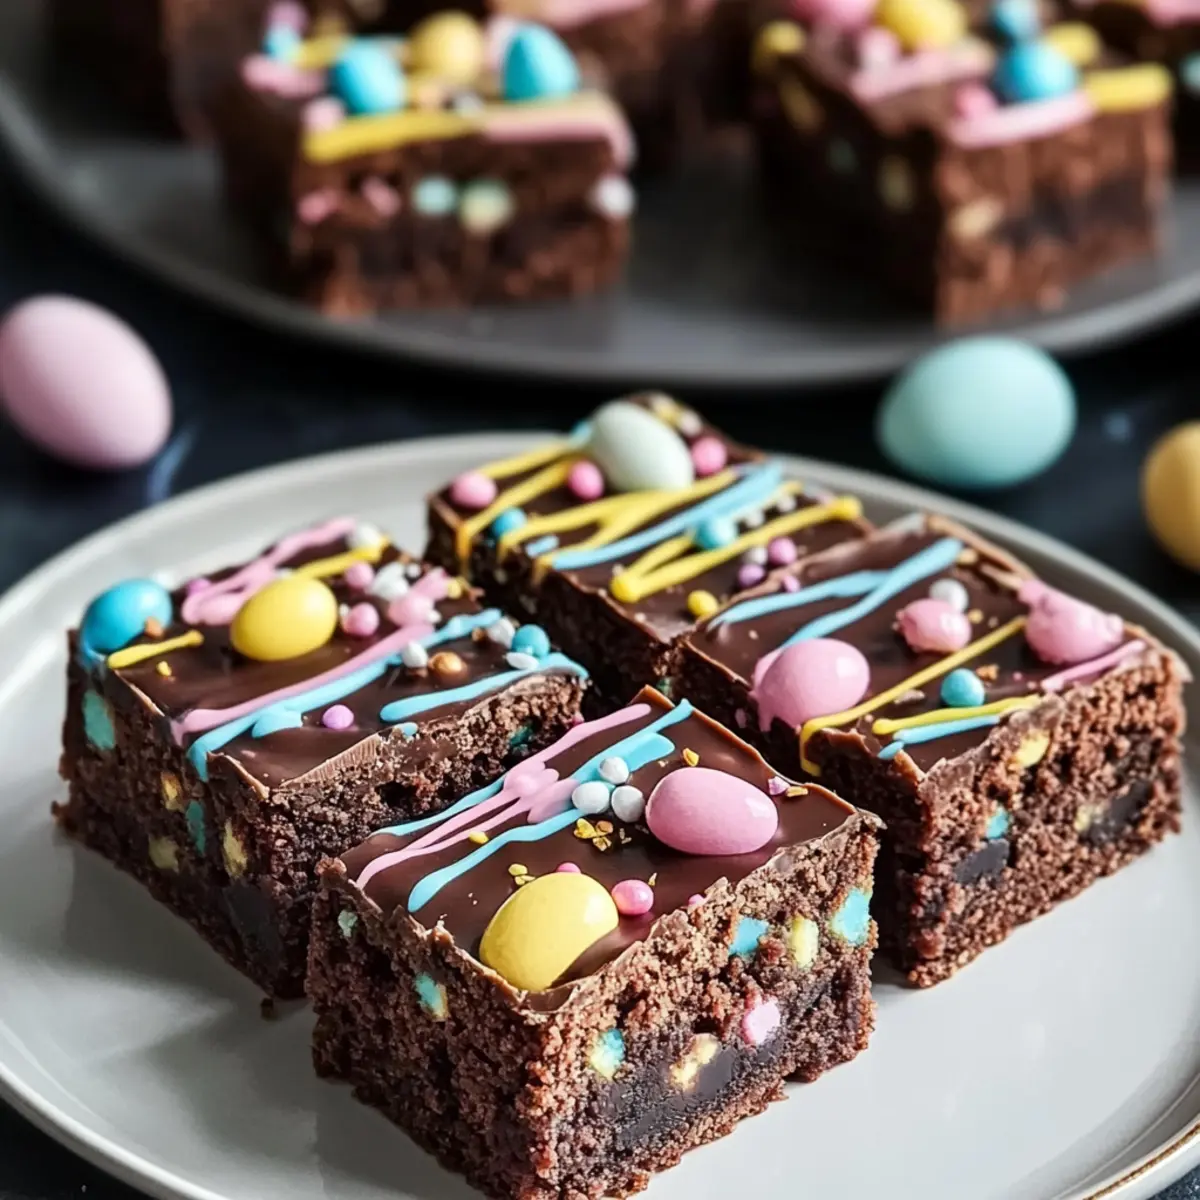
Once the chocolate topping has set slightly, take melted white chocolate mixed with pastel colors and drizzle it artistically over the top. Customize with colorful sprinkles and mini candy eggs for a festive flair. Allow the decorations to harden before slicing the brownies into squares for serving.
How to Store and Freeze Easter Brownies
Room Temperature: Store brownies in an airtight container at room temperature for up to 3 days to maintain their fudginess and flavor.
Fridge: For longer freshness, refrigerate brownies in an airtight container for up to a week without compromising texture.
Freezer: Freeze the brownies by wrapping them tightly in plastic wrap and placing them in a freezer-safe bag for up to 3 months. Thaw before serving for the best taste.
Reheating: To enjoy warmed brownies, microwave for 10-15 seconds or heat in the oven at 350°F (175°C) for a few minutes, perfect for reviving your Easter Brownies recipe!
Make Ahead Options
These Fudgy Easter Brownies are perfect for meal prep, allowing you to enjoy delicious sweet treats even on the busiest days! You can prepare the brownie batter up to 24 hours in advance—just mix it as instructed, cover it tightly, and refrigerate. This helps the flavors meld beautifully while keeping the batter fresh. You can also make the brownies themselves up to 3 days ahead; simply bake, cool, and store them in an airtight container at room temperature. When you’re ready to serve, add the chocolate topping and festive decorations. This way, you’ll have fresh, fudgy brownies waiting for your spring gatherings—just as delectable as if they were made the same day!
What to Serve with Fudgy Easter Brownies?
Spring celebrations are even sweeter when you pair these rich brownies with complementary flavors and textures.
- Vanilla Ice Cream: Creamy and cold, it balances the warm fudginess of the brownies perfectly, creating a delightful contrast.
- Fresh Berries: Ripe strawberries or blueberries add a refreshing burst of flavor, cutting through the richness while introducing a touch of natural sweetness.
- Minty Whipped Cream: Whipped cream infused with fresh mint offers a cooling taste and an herby aroma that elevates the chocolate’s depth.
- Chocolate Dipped Fruit: Indulge with chocolate-covered strawberries or banana slices, enhancing the chocolate experience with exciting flavors and textures.
- Sparkling Lemonade: The refreshing, tangy notes of sparkling lemonade cleanse the palate after each rich bite, making dessert feel lively and special.
- Nutty Brownie Bites: Serve alongside nut-infused brownie bites for a crunchy contrast and an extra chocolaty treat that everyone will adore.
- Coconut Macaroons: Chewy and sweet, these coconut delights align beautifully with the festive flavors of your brownies, creating a harmonious dessert table.
- Creamy Cheesecake Bites: The tangy creaminess of cheesecake complements the fudgy texture while adding a new layer of flavor to your Easter dessert spread.
- Iced Coffee: A chilled cup of iced coffee enhances the brownies’ chocolatey undertones, perfect for coffee lovers enjoying an afternoon treat.
Easter Brownies Recipe Variations
Feel free to make these delightful brownies your own by exploring some exciting twists!
-
Coffee Kick: Add a splash of cooled coffee or espresso to the batter for a rich chocolate intensity that will surprise your taste buds. The coffee enhances the chocolate’s depth, creating a unique experience.
-
Topping Swap: Instead of traditional chocolate, experiment with white, dark, or even caramel toppings. You can also sprinkle on flaky sea salt for a sweet and salty contrast. This adds a playful touch that elevates the brownies.
-
Flavorful Extracts: Try substituting vanilla extract with almond, mint, or orange extract to give your brownies a personal flair. Each variation introduces a new layer of deliciousness, making them exciting every time!
-
Nutty Crunch: Fold in chopped nuts like walnuts, pecans, or almonds for added texture and flavor. Nuts provide a delightful crunch that complements the fudgy brownies, creating a satisfying bite.
-
Fruit Fusion: Add chocolate-covered raspberries or crushed strawberries to the batter for a fruity explosion. The burst of fruitiness contrasts beautifully with the rich chocolate, making for an unforgettable treat.
-
Gluten-Free Option: Substitute all-purpose flour with a gluten-free flour blend for a delicious gluten-free version. With the right blend, you’ll still achieve that incredible fudgy texture everyone loves.
-
Spicy Heat: Incorporate a pinch of cayenne pepper or ground chili into the batter for a surprising heat that contrasts beautifully with the sweetness. This twist brings the brownies to life and adds a touch of adventure.
Don’t forget to indulge in your delicious creations with a scoop of vanilla ice cream or pair them with a warm cup of coffee! If you’re looking for another scrumptious dessert to complement your Easter feast, check out my Banana Bread Brownies or whip up some cozy Crockpot Chili Hearty for a delightful meal!
Expert Tips for the Best Easter Brownies
- Cooling Time: Allow your brownies to cool completely before topping them to prevent melting and ensure a smooth presentation.
- Sharp Knife: Use a sharp knife warmed under hot water for clean cuts, ensuring your brownies look as good as they taste.
- Sift Dry Ingredients: Sift the flour, cocoa powder, and salt together to eliminate lumps, which helps achieve a uniform batter for your Easter Brownies.
- Egg Temperature: Use room temperature eggs for better incorporation into the batter, enhancing the overall texture of your brownies.
- Don’t Overbake: Keep an eye on baking time; aim for moist crumbs on your toothpick for that perfect fudgy texture.
- Customize Toppings: Feel free to experiment with different toppings or flavor extracts to make these Easter Brownies uniquely yours!
Fudgy Easter Brownies Recipe FAQs
What is the best way to choose ripe ingredients for the brownies?
Absolutely! When selecting ingredients, particularly for eggs and butter, opt for fresh eggs without any cracks, and choose butter that is creamy and smooth in texture. If possible, use room temperature eggs to achieve better incorporation into your batter—it makes a noticeable difference in texture!
How should I store my Easter Brownies, and how long will they last?
To keep those fudgy Easter Brownies at their best, store them in an airtight container at room temperature for up to 3 days. You can also refrigerate them for up to a week if you want to keep them fresh longer—just ensure they are covered well to prevent them from drying out.
Can I freeze the Easter Brownies, and if so, how?
Very! You can freeze your brownies to enjoy later. Wrap each brownie tightly in plastic wrap and place them in a freezer-safe bag or container for up to 3 months. When you’re ready to indulge, simply thaw them in the fridge or at room temperature, or reheat them directly in the microwave for a few seconds for that fresh-out-of-the-oven taste.
What should I do if my brownies come out too cakey rather than fudgy?
If your brownies are cakey, a common culprit could be overmixing or overbaking. Ensure that you mix the dry ingredients gently into the wet ones just until combined, and keep an eye on baking time—remove them as soon as a toothpick shows moist crumbs for that desired fudgy texture.
Are these Easter Brownies suitable for people with gluten allergies?
Absolutely! You can easily make these brownies gluten-free by substituting the all-purpose flour with a gluten-free flour blend. Just make sure the blend is suitable for baking; many brands have mixes specifically designed to replace regular flour in recipes seamlessly.
Can I add other toppings or flavors to customize my brownies?
The more the merrier! You can mix in nuts, change the chocolate (dark, white, or milk), or even add flavor extracts like peppermint or orange zest for a unique twist. Get creative—it’s all about making these fudgy Easter Brownies your own!
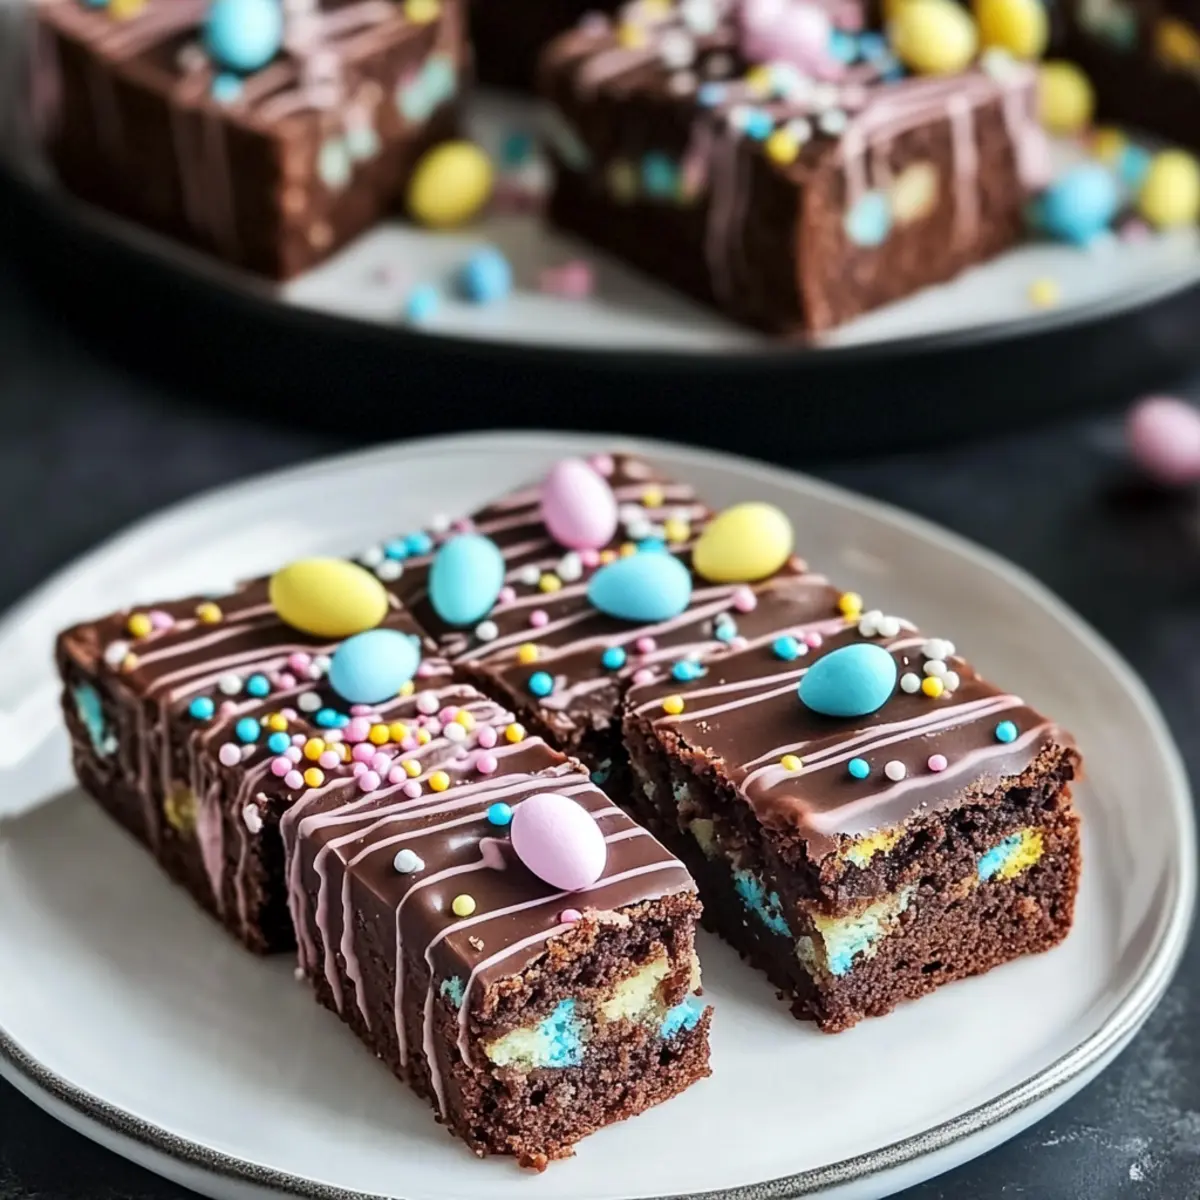
Fudgy Easter Brownies Recipe with Colorful Spring Toppings
Ingredients
Equipment
Method
- Preheat your oven to 350°F (175°C) and prepare an 8x8-inch baking pan with parchment paper.
- In a medium saucepan over low heat, melt 1 cup of unsalted butter until liquefied. Stir in granulated and brown sugars until smooth and glossy.
- Once cooled slightly, add eggs one at a time and mix well. Add vanilla extract and blend until smooth.
- In a separate bowl, sift together flour, cocoa powder, and salt. Gradually fold the dry mixture into the wet ingredients.
- Fold in 1 cup of chocolate chips evenly throughout the batter. Transfer to the prepared pan.
- Bake for 30–35 minutes, checking doneness with a toothpick.
- Cool in the pan for about 10 minutes, then remove and cool completely on a wire rack.
- Melt 1 cup of chocolate chips with 2 tablespoons of coconut oil in a microwave-safe bowl until smooth.
- Spread the chocolate topping over the cooled brownies and drizzle with melted white chocolate mixed with pastel colors. Decorate with sprinkles and mini candy eggs.
Leave a Reply