
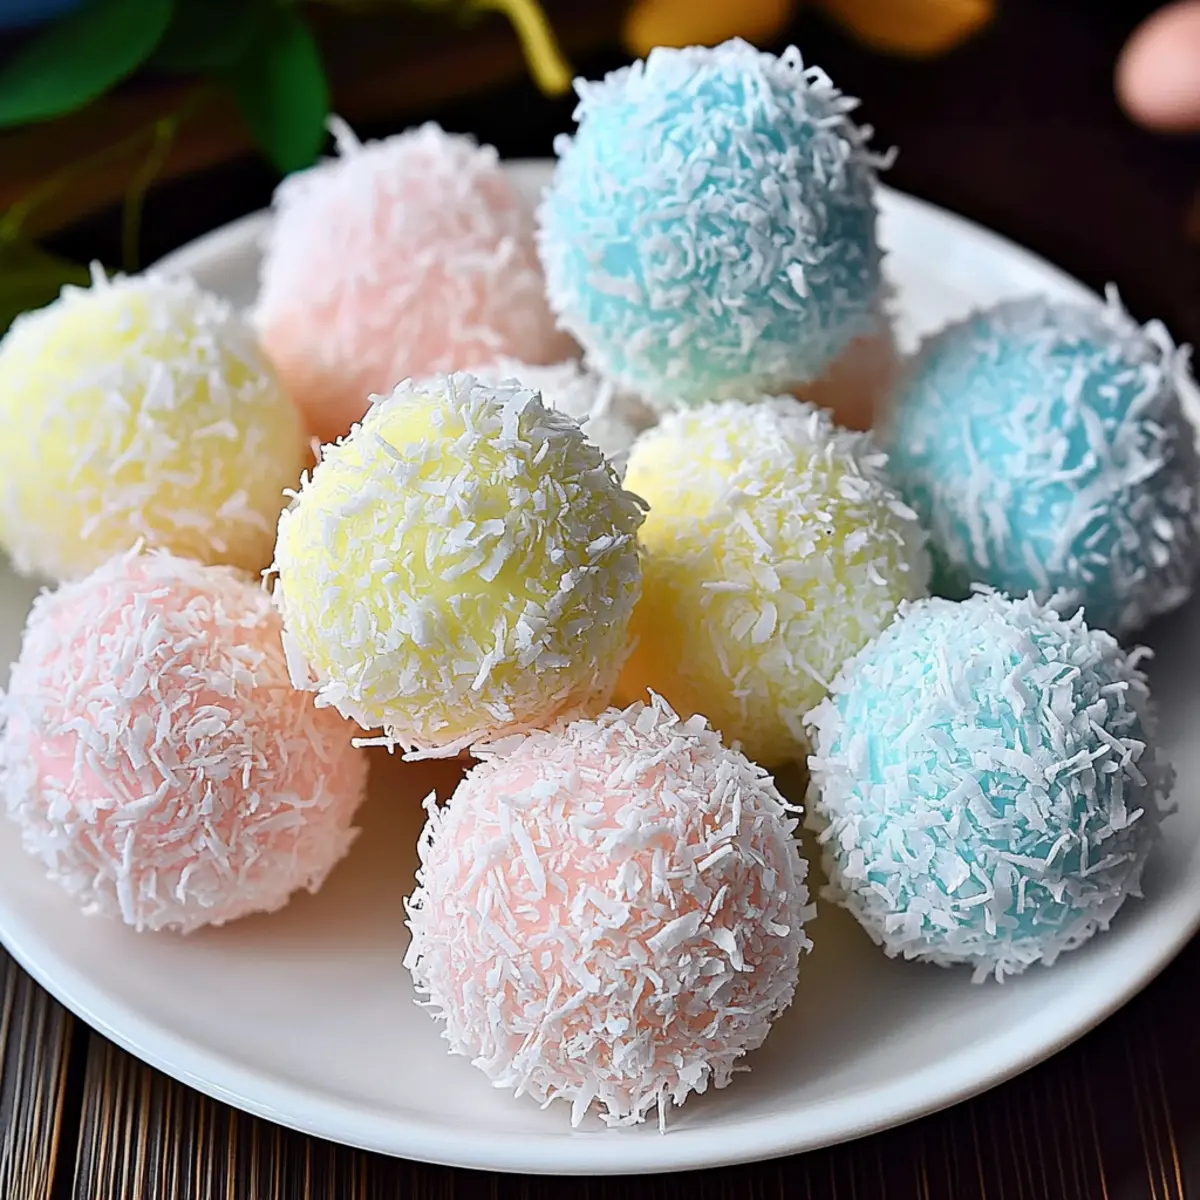
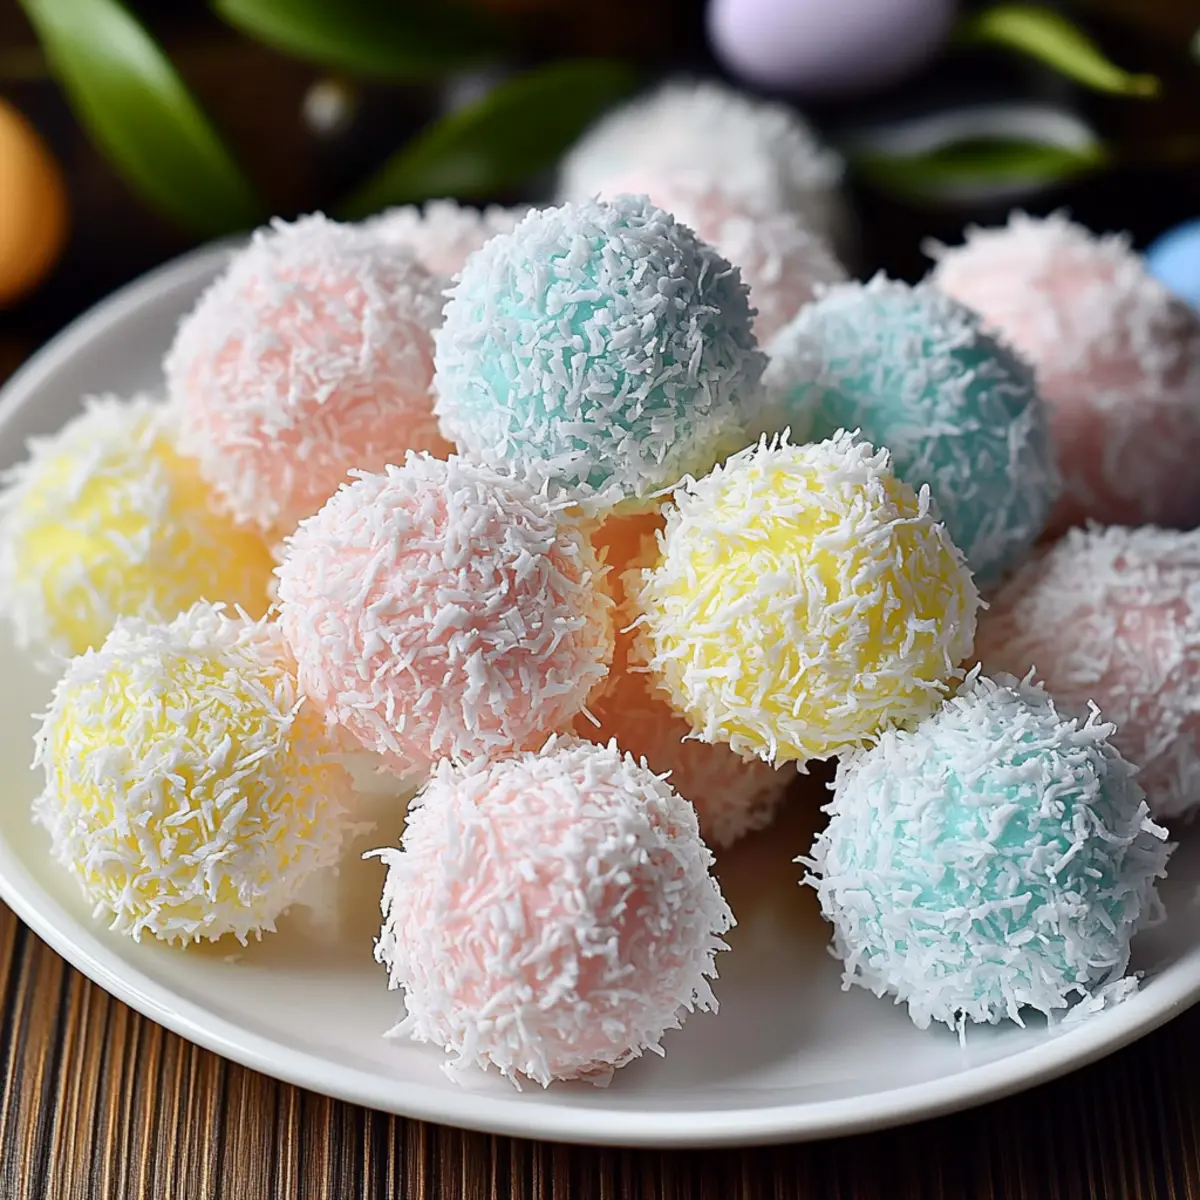
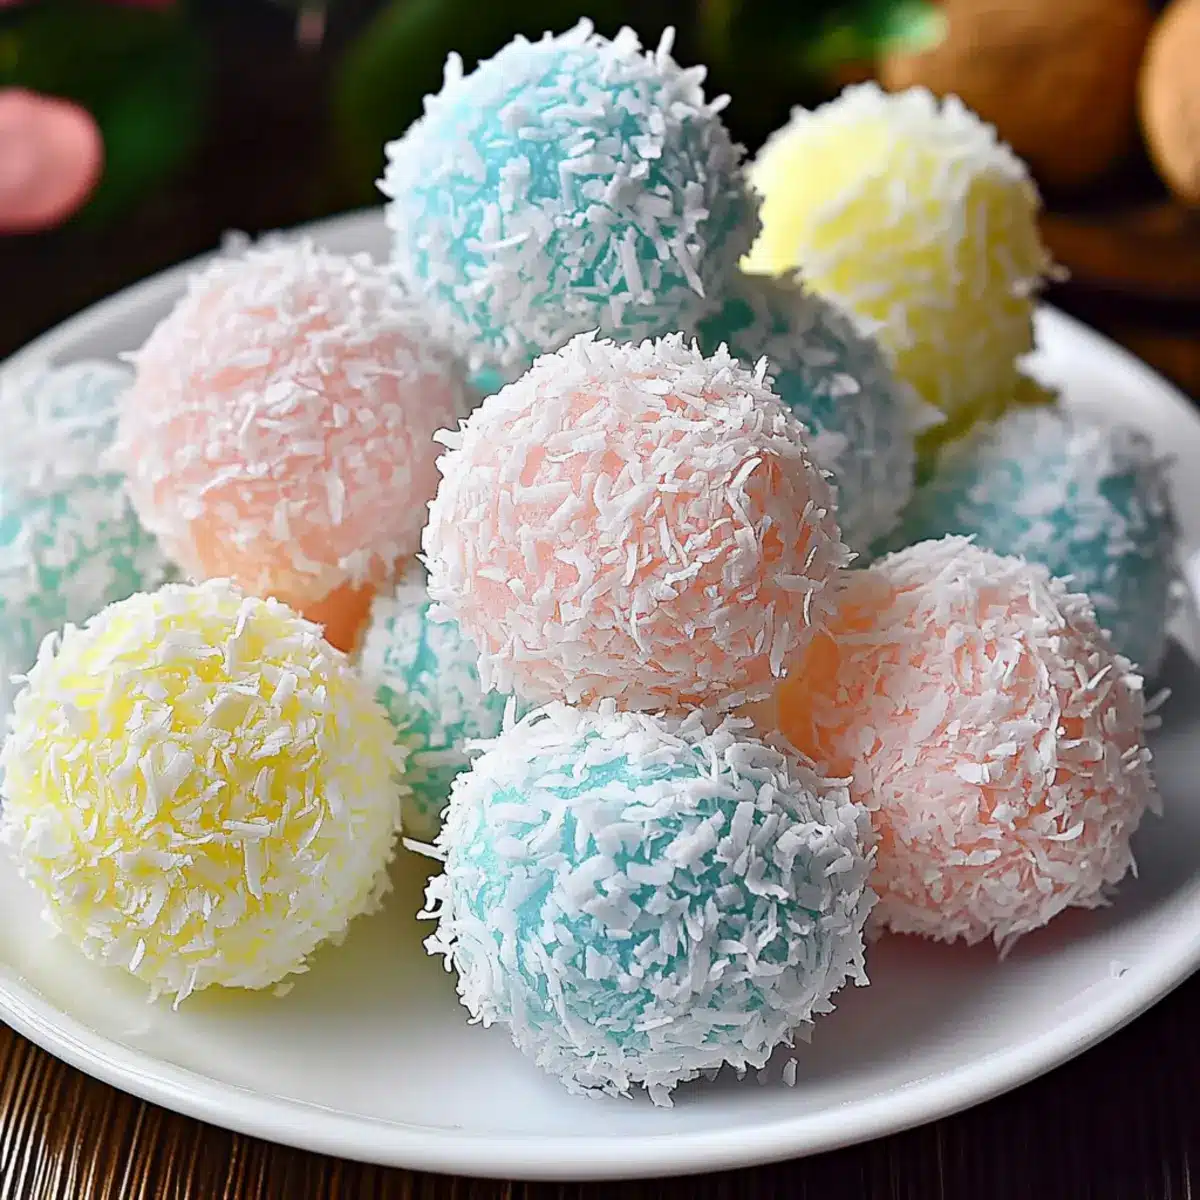
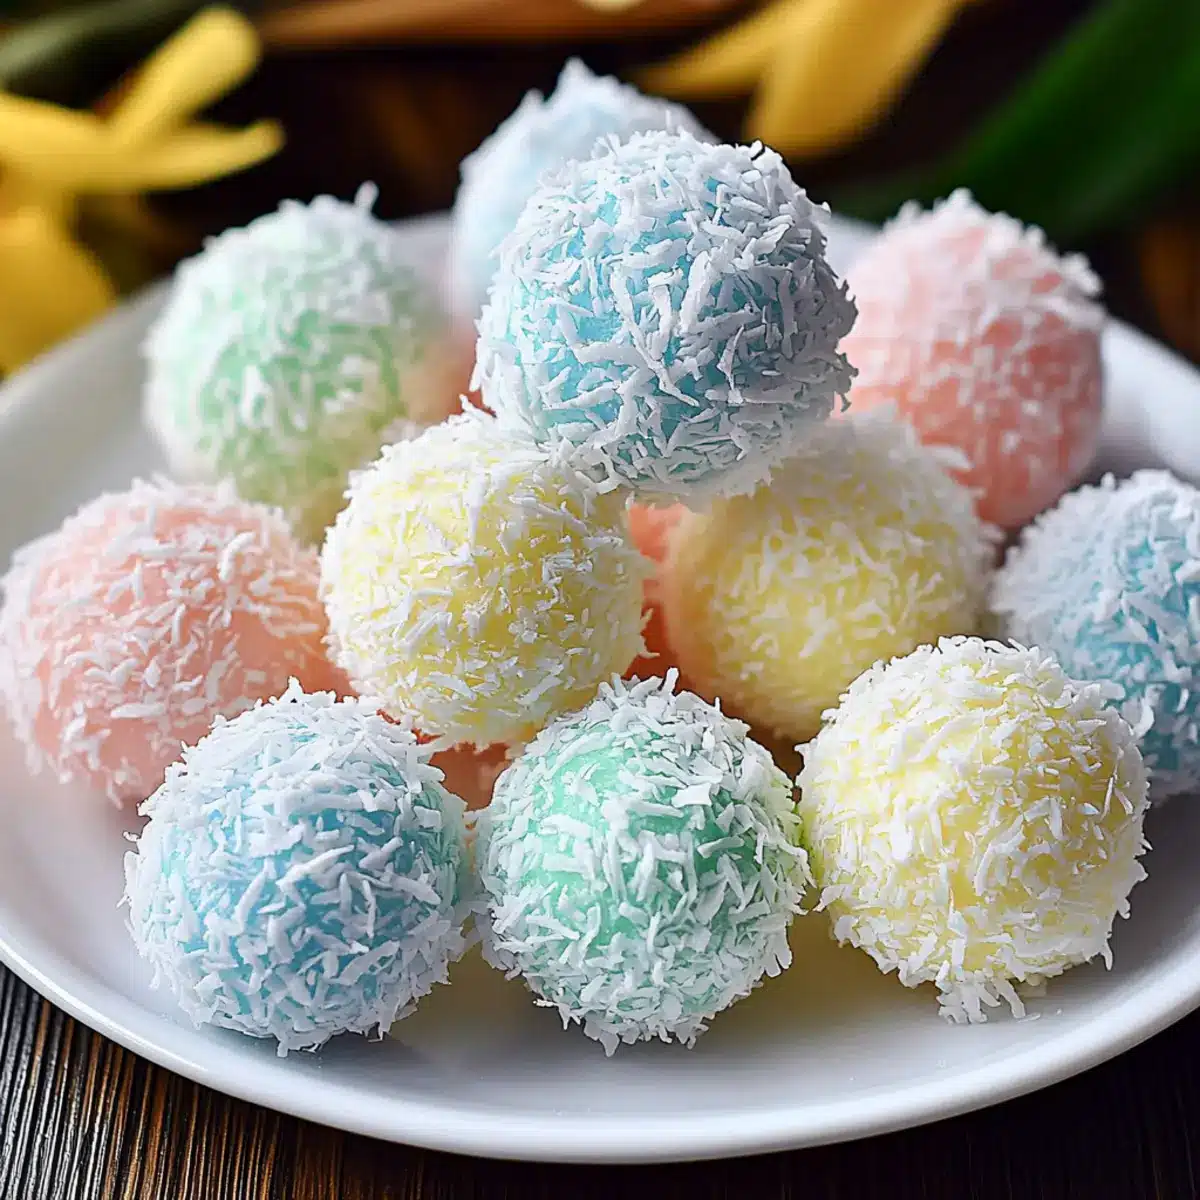
As I watched my little ones dash around the kitchen, giggling and getting their fingers sticky, I knew we were onto something special. These No-Bake Easter Bunny Coconut Tails not only capture the essence of the holiday, but they also create an opportunity for kids to get hands-on in a fun way. Soft, chewy, and dressed up in cheerful pastel coconut flakes, these adorable treats are a delightful alternative to store-bought candies. The best part? They’re incredibly easy to whip up, making them a fantastic option for busy families during Easter festivities. Plus, with the ability to customize sweetness and colors, every batch can be uniquely yours! Will you let the kids help, or do you think you might keep these adorable goodies all to yourself?
Why Are These Coconut Tails So Fun?
Kid-Friendly: These Easter Bunny Coconut Tails are a hands-on delight, perfect for engaging children in the kitchen! Customizable Colors: With simple food coloring, kids can create their own vibrant versions, making each batch a masterpiece. No-Bake Convenience: Quick to prepare without turning on the oven, they save time for busy families. Deliciously Chewy: The gooey mixture of coconut and sweetened condensed milk creates a delightful treat that’s soft yet satisfying. Perfect for Celebrations: Serve them at Easter gatherings or birthday parties, and watch them disappear in a flash! For more fun, check out my Coconut Curry Soup for an equally delightful cooking adventure!
Easter Bunny Coconut Tails Ingredients
For the Tails
• Sweetened Condensed Milk – Acts as a binding agent and provides sweetness; if a less sweet option is desired, consider using less or substituting with evaporated milk combined with sugar.
• Melted Butter – Adds richness and helps to bind the ingredients together; use dairy-free butter for a vegan version.
• Vanilla Extract – Enhances flavor; opt for pure vanilla extract for the best taste.
• Medium Shredded Coconut – Forms the base of the tails, providing texture; unsweetened coconut can also be used for less sweetness.
• Confectioner’s Sugar – Sweetens and helps in thickening the mixture; adjust the amount to your desired sweetness level.
For the Coating
• Fine Shredded Coconut – Used for coating the balls in colorful coconut; ensure to divide and color according to festive themes.
• Liquid Food Coloring – Used for achieving vibrant, pastel colors for the coconut coating; dilute gel food coloring with a small amount of water for even distribution.
Step‑by‑Step Instructions for Easter Bunny Coconut Tails
Step 1: Prepare the Base Mixture
In a large mixing bowl, combine the sweetened condensed milk, melted butter, and vanilla extract. Use a whisk to blend these ingredients together until smooth and well combined, which should take about 2-3 minutes. The mixture will be creamy and slightly thick. This base is essential for creating the Easter Bunny Coconut Tails, so make sure it’s thoroughly mixed!
Step 2: Add Coconut and Sugar
Stir in the medium shredded coconut and confectioner’s sugar into the mixture using a sturdy spatula until the mixture becomes thick and sticky, approximately 4-5 minutes. You’ll know it’s ready when it clumps together and holds its shape. Once combined, cover the bowl and refrigerate the mixture for about 15 minutes to let it firm up, making it easier to handle.
Step 3: Color the Coconut Shredding
While your coconut mixture chills, prepare for the fun! Divide the fine shredded coconut into several small bowls according to the colors you want. Add 3-4 drops of liquid food coloring to each bowl, adjusting the colors to your taste. Mix thoroughly until the coconut is evenly dyed, creating vibrant pastel shades perfect for coating your Easter Bunny Coconut Tails.
Step 4: Shape the Tails
Once the mixture has chilled and thickened, use a small cookie scoop or spoon to portion out 1½ teaspoon-sized balls from the mixture. Gently roll each portion into a smooth ball in your hands, about the size of a medium marble, ensuring they are tightly packed. This will create the adorable, plump tails that will be coated in colorful coconut.
Step 5: Coat in Colored Coconut
Take each ball and roll it in the prepared colored shredded coconut until fully coated. Make sure to press the coconut onto the tails gently so it sticks well. Place the coated coconut tails on a parchment-lined baking sheet, arranging them so there’s a little space between each one to prevent sticking as they chill.
Step 6: Chill to Set
Finally, transfer your baking sheet of colorful Easter Bunny Coconut Tails to the refrigerator. Chill for at least 1 hour to allow them to set properly. You’ll know they are ready when they’re firm to the touch. Keep these delightful treats refrigerated until you are ready to serve for the Easter festivities or any fun gathering!
Storage Tips for Easter Bunny Coconut Tails
Fridge: Keep the Easter Bunny Coconut Tails in an airtight container in the refrigerator for up to 1 week. Layer them with parchment paper to avoid sticking.
Freezer: For longer storage, freeze the tails in an airtight container for up to 3 months. Make sure to wrap them individually in plastic wrap for best results.
Reheating: These treats are best enjoyed chilled or at room temperature; simply take them out of the fridge or freezer and let them sit for a few minutes before serving.
Keep Fresh: Avoid storing the coconut tails near strong-smelling foods in the fridge as they can absorb odors.
What to Serve with Easter Bunny Coconut Tails?
Delight in creating the perfect spread to accompany these vibrant, no-bake treats, enhancing the festive spirit at your celebrations.
- Fruity Yogurt Parfaits: Layer yogurt with fresh berries and granola for a refreshing and nutritious pairing that contrasts nicely with the coconut sweetness.
- Chocolate-Dipped Strawberries: The indulgent chocolate adds a rich flavor that complements the sweetness of the Coconut Tails beautifully.
- Fresh Fruit Salad: A medley of seasonal fruits not only brings a burst of color to the table but also adds a bright, refreshing balance to the rich treats.
- Rainbow Veggie Platter: Serve crunchy vegetables with a creamy dip for a healthy and colorful option that appeals to kids and adults alike.
- Sweet Lemonade: A glass of chilled lemonade offers a citrusy zing that cuts through the sweetness, making it a refreshing drink choice.
- Mini Cupcakes: Adorn a variety of mini cupcakes on your dessert table to complement these coconut tails with delightful sweetness and whimsical fun.
- Chocolate Milk: Creamy and nostalgic, chocolate milk is a beloved drink among kids that elevates the joyous experience when served with Coconut Tails.
- Easter-themed cookies: Bunny or egg-shaped cookies can add an extra layer of cheer, creating a colorful and fun dessert spread that your guests will adore.
Expert Tips for Easter Bunny Coconut Tails
• Even Mixing: Ensure the sweetened condensed milk and melted butter are thoroughly combined before adding coconut; this prevents uneven texture in the batter.
• Coloring Coconut: To achieve vibrant colors, use gel food coloring diluted with a bit of water. Mix well to avoid clumping; this helps distribute color evenly across the coconut.
• Adjusting Sweetness: Don’t hesitate to tweak the amount of confectioner’s sugar based on your sweetness preference; a little adjustment can help tailor the flavor of your Easter Bunny Coconut Tails.
• Chilling Time: Make sure to chill the mixture adequately before rolling. If it feels too soft to handle, give it more time in the refrigerator to firm up, making shaping easier.
• Layering for Storage: When storing the finished tails, place parchment paper between layers to prevent them from sticking together—a must for keeping your treats intact!
Make Ahead Options
These Easter Bunny Coconut Tails are ideal for meal prep, allowing you to enjoy more time with family during your holiday gatherings. You can prepare the coconut mixture up to 24 hours in advance by following Steps 1 and 2, then refrigerate it in an airtight container. Additionally, the colored coconut can be prepped up to 3 days ahead and stored in sealed bags to keep it fresh and vibrant. When you’re ready to finish up, simply scoop and roll the mixture into tails (Step 4), coat them in the colored coconut (Step 5), and chill for an hour to set before serving. This way, you’ll have delightful, homemade treats that are just as delicious and festive, but with much less stress on the big day!
Easter Bunny Coconut Tails Variations
Feel free to let your creativity shine by customizing these delightful treats to match your family’s tastes!
-
Less Sweet: Reduce the amount of sweetened condensed milk or replace it with evaporated milk mixed with sugar for a lighter option.
-
Vegan Friendly: Use dairy-free butter and homemade vegan sweetened condensed milk to make these coconut tails accessible for everyone.
-
Flavor Boost: Swap vanilla extract for almond or coconut extract to infuse a delightful twist into the coconut mixture, enhancing the familiar flavors.
-
Textural Twist: Add finely chopped nuts or chocolate chips into the base mixture for extra crunch or richness.
-
Color Varieties: Instead of traditional pastels, create a rainbow effect by using a wider variety of vibrant food coloring options for a more festive appearance.
-
Edible Glitter: For a sparkly finish, mix edible glitter into the colored coconut coating, transforming them into sparkling Easter treasures.
-
Chili Heat: If you’re adventurous, add a pinch of cayenne or chili powder to the mixture for a surprising, sweet-heat combo.
-
Layered Treat: Transform the coconut tails into a layered dessert by placing a layer of the coconut mixture in small cups, topping with whipped cream, and finishing with a sprinkling of colored coconut.
Don’t miss out on trying these variations to make your Easter Bunny Coconut Tails uniquely yours! For more delicious ideas, consider checking out my favorite Coconut Curry Soup when you’re looking for something heartier!
Easter Bunny Coconut Tails Recipe FAQs
How do I choose the right coconut for this recipe?
Absolutely! For your Easter Bunny Coconut Tails, I recommend using medium shredded coconut as it provides the perfect texture for the base. If you’re looking to reduce sweetness, opt for unsweetened coconut instead. Always check the package to ensure you’re getting a fresh product—look for coconut that is white, fragrance-free, and without any dark spots.
What’s the best way to store these coconut tails?
Very good question! To keep your Easter Bunny Coconut Tails fresh, store them in an airtight container in the refrigerator for up to 1 week. Make sure to layer them with parchment paper between each layer to prevent them from sticking together. If you have leftovers, you can freeze them for up to 3 months, just ensure they’re wrapped individually in plastic wrap before placing them in an airtight container.
Can I freeze the Easter Bunny Coconut Tails?
Definitely! If you’d like to make these delightful treats ahead of time, freezing is a great option. Wrap each coconut tail individually in plastic wrap and then place them in an airtight container. This way, you can enjoy fresh-tasting coconut tails later, perfect for Easter celebrations or any occasion when a sweet treat is desired!
What should I do if my mixture is too sticky to handle?
If you find that your mixture is too sticky after chilling, don’t worry! Simply sprinkle a little extra confectioner’s sugar over your hands while shaping the tails. You can also chill the mixture for a bit longer, around 10 more minutes, to give it a firmer consistency that’s easier to work with. Making these adjustments will help you maintain that delightful chewy texture!
Are these coconut tails safe for kids with allergies?
That’s an important consideration! The Easter Bunny Coconut Tails contain common allergens like coconut and dairy (from the sweetened condensed milk and butter). For a kid-friendly version, substitute dairy-free condensed milk and butter for a vegan option if needed. Always double-check labels for allergens, especially if you’re serving kids, as preferences and dietary restrictions can vary widely!
Can I customize the colors of the coconut coating?
Absolutely, and it’s part of the fun! When dyeing your fine shredded coconut, feel free to mix various food coloring shades to create unique pastel colors for your tails. Add 3-4 drops of liquid food coloring to each bowl of coconut and mix until you achieve your desired hue. Experimenting with different colors makes each batch unique and wonderfully festive for any gathering!
Easter Bunny Coconut Tails: Fun No-Bake Treats for Kids
Ingredients
Equipment
Method
- In a large mixing bowl, combine the sweetened condensed milk, melted butter, and vanilla extract. Whisk until smooth, about 2-3 minutes.
- Stir in the medium shredded coconut and confectioner’s sugar until thick and sticky, about 4-5 minutes. Cover and refrigerate for 15 minutes.
- Divide the fine shredded coconut into small bowls. Add liquid food coloring to each and mix thoroughly.
- Once the mixture has chilled, scoop out 1½ teaspoon-sized balls. Roll each into a smooth ball.
- Roll each ball in the colored shredded coconut until fully coated. Place on a parchment-lined baking sheet.
- Transfer to the refrigerator and chill for at least 1 hour until firm.
Leave a Reply