
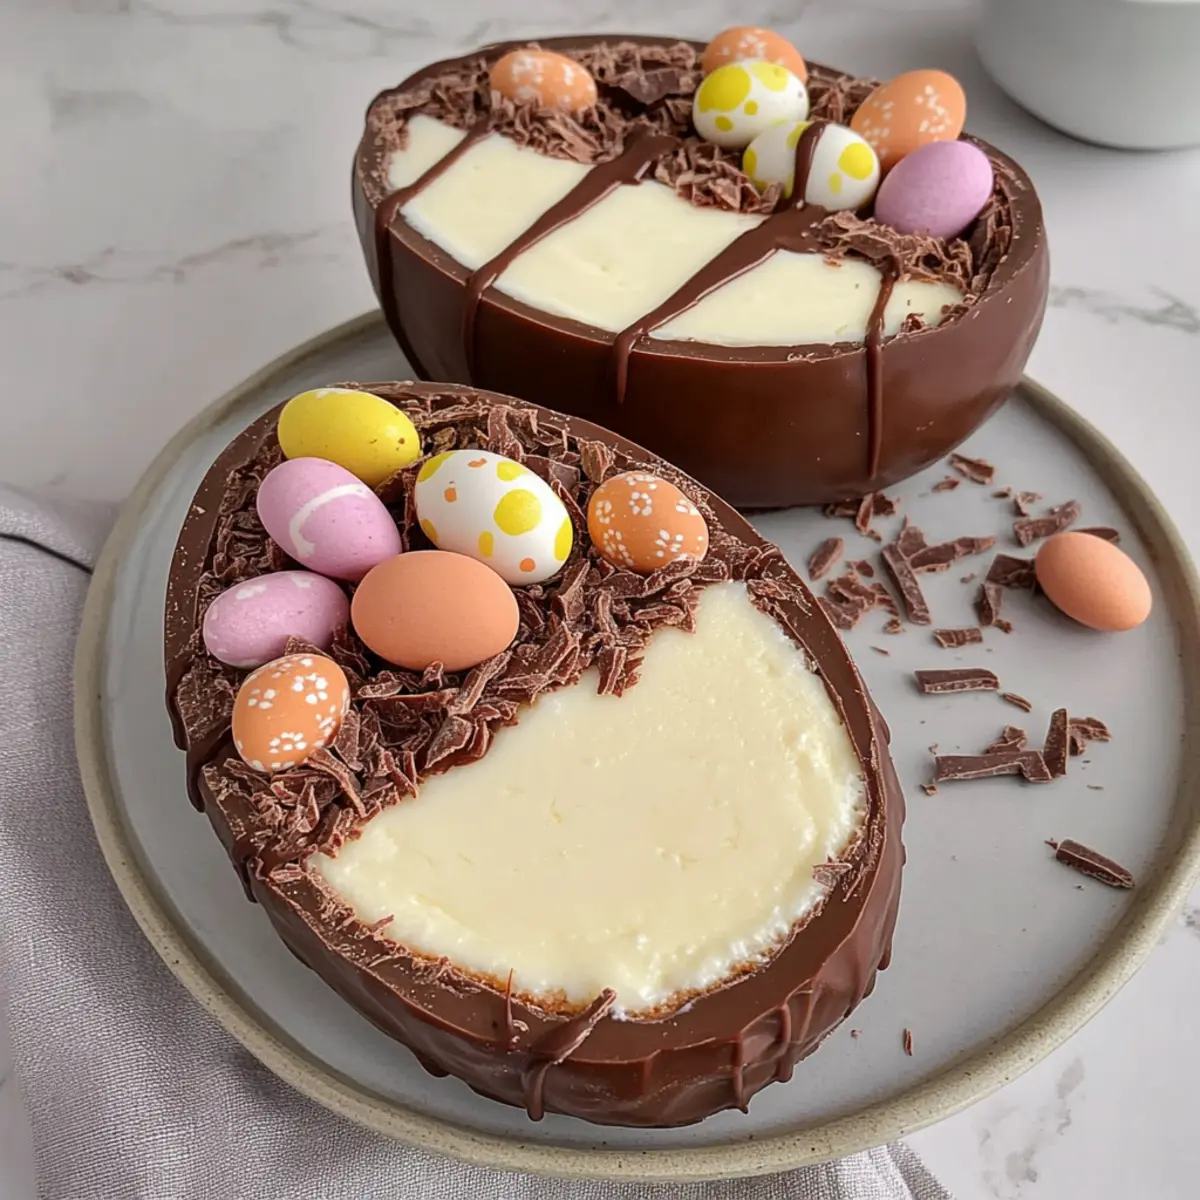
As I pulled the large chocolate eggs from their colorful packaging, I felt an infectious excitement fill the kitchen. This Easter, I wanted to create something truly special, and my No-Bake Easter Egg Cheesecake is just the ticket. With its delightful blend of smooth cheesecake nestled inside a crunchy biscuit base and wrapped in a chocolate shell, this dessert is not only a showstopper but also incredibly simple to make. Who doesn’t love a recipe that allows you to spend less time in the kitchen and more time enjoying family celebrations? Plus, it’s customizable, so whether you’re looking to sprinkle in your favorite Easter treats or choose a gluten-free option, it caters to all. Are you ready to impress your loved ones with this whimsical dessert? Let’s dive in!
Why is this Easter Egg Cheesecake a must-try?
Unmatched originality: This isn’t just any cheesecake; it’s presented in a charming Easter egg shell for a fun twist!
No baking required: Perfect for those who want a delicious treat without the hassle of baking.
Easy to customize: Feel free to switch up the fillings or decorations with your favorite Easter confections or try a Savory Sausage Egg for a savory balance.
Perfect for gatherings: Its stunning appearance and delightful flavor will have everyone reaching for a slice!
Hassle-free prep: Make ahead of time and allow it to chill, freeing up your Easter day for enjoyment rather than kitchen chaos.
Crowd-pleasing taste: Rich creaminess combined with crunchy biscuit bites creates a luscious dessert experience that will keep your family coming back for seconds.
Easter Egg Cheesecake Ingredients
For the Cheesecake Filling
- Full Fat Cream Cheese (235g) – Provides creaminess and richness, making every bite indulgent.
- Icing Sugar (40g) – Adds sweetness and helps achieve that smooth cheesecake texture; consider powdered erythritol for a low-sugar alternative.
- Vanilla Extract (1 tsp) – Enhances the flavor profile, bringing warmth to your cheesecake; try using vanilla bean paste for a richer taste.
- Double Cream (95ml) – Adds richness and assists in thickening the filling; coconut cream works well for a dairy-free option.
For the Biscuit Base
- Digestive Biscuits (60g) – Creates a satisfying crunch; if you’re in the US, feel free to substitute with graham crackers.
- Butter or Baking Spread (25g, melted) – Binds the biscuit crumbs together, ensuring a sturdy base; coconut oil is a great substitute for a dairy-free option.
For the Easter Egg Shell
- Large Easter Egg (150g) – This serves as the structure of your dessert; make sure it’s large enough to hold the cheesecake filling.
- Dark Chocolate (15g, melted, optional) – Adds decorative flair; white chocolate can be used instead for a different look.
For Decoration
- Mini Eggs (8, optional) – Adds a festive touch; feel free to swap for Cadbury Creme Eggs or chocolate bunnies to personalize your creation.
This delightful Easter Egg Cheesecake is an unforgettable treat that will impress family and friends alike!
Step‑by‑Step Instructions for Easter Egg Cheesecake
Step 1: Prepare the Easter Eggs
Using a warmed, sharp knife, carefully cut the large Easter egg in half. This allows you to create two perfect halves that will hold your cheesecake filling. Be gentle as you separate the halves to avoid breaking the chocolate shell, setting the stage for your beautiful Easter Egg Cheesecake.
Step 2: Make the Biscuit Base
In a mixing bowl, crush the digestive biscuits into fine crumbs using a rolling pin or food processor. Combine the crushed biscuits with the melted butter, stirring until the mixture resembles wet sand. This will create a sturdy base for your cheesecake.
Step 3: Press the Biscuit Mixture
Divide the biscuit mixture evenly between both Easter egg halves, using your fingers or the back of a spoon to gently press it down. Aim for an even layer that’s firmly packed. Once done, place the filled egg halves in the refrigerator to chill for about 30 minutes, allowing the base to set.
Step 4: Mix the Cheesecake Filling
In a large mixing bowl, beat the full-fat cream cheese with icing sugar and vanilla extract using an electric mixer. Blend until the mixture is smooth and creamy, ensuring there are no lumps. This will be the luscious filling of your Easter Egg Cheesecake, so take your time to achieve the perfect texture.
Step 5: Whip the Cream
Add the double cream to the cream cheese mixture and continue mixing until the filling thickens and holds its shape, which should take about 2-3 minutes. Be careful not to overmix, as the texture should remain smooth and fluffy, adding richness to your cheesecake filling.
Step 6: Fill the Egg Halves
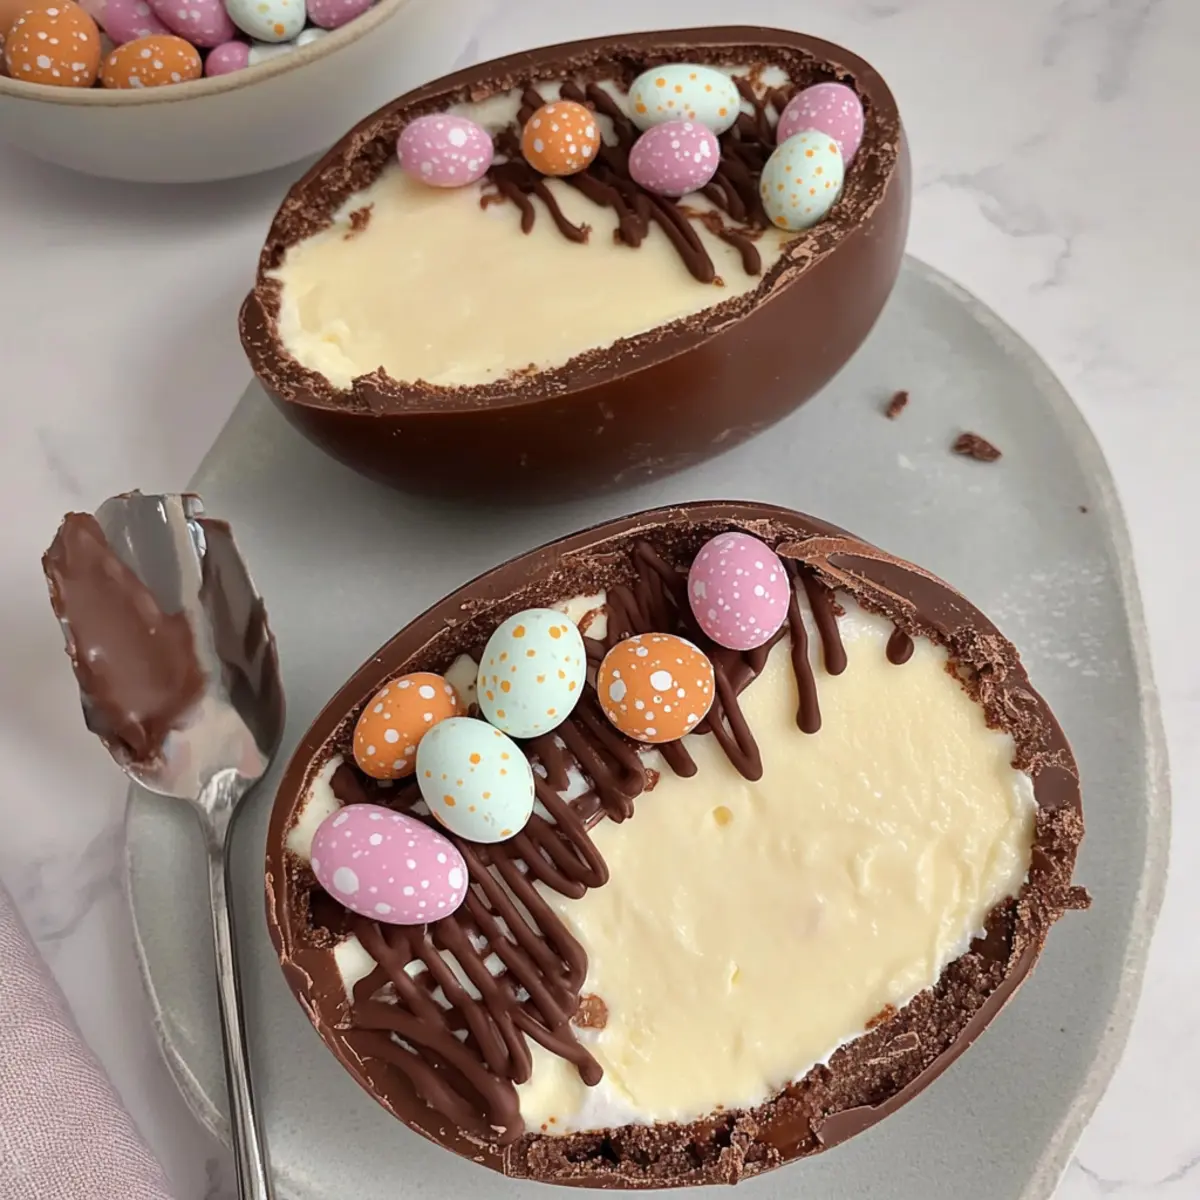
Carefully spoon the cheesecake filling into each chocolate egg half, smoothing the tops with a spatula for a neat finish. Ensure that both halves are filled to the brim, making the Easter Egg Cheesecake visually appealing and enticing.
Step 7: Set in the Refrigerator
Cover the filled egg halves with plastic wrap and refrigerate for at least 2 hours. This chilling time allows the cheesecake to set properly, developing a firm yet creamy texture that will be delightfully satisfying when served.
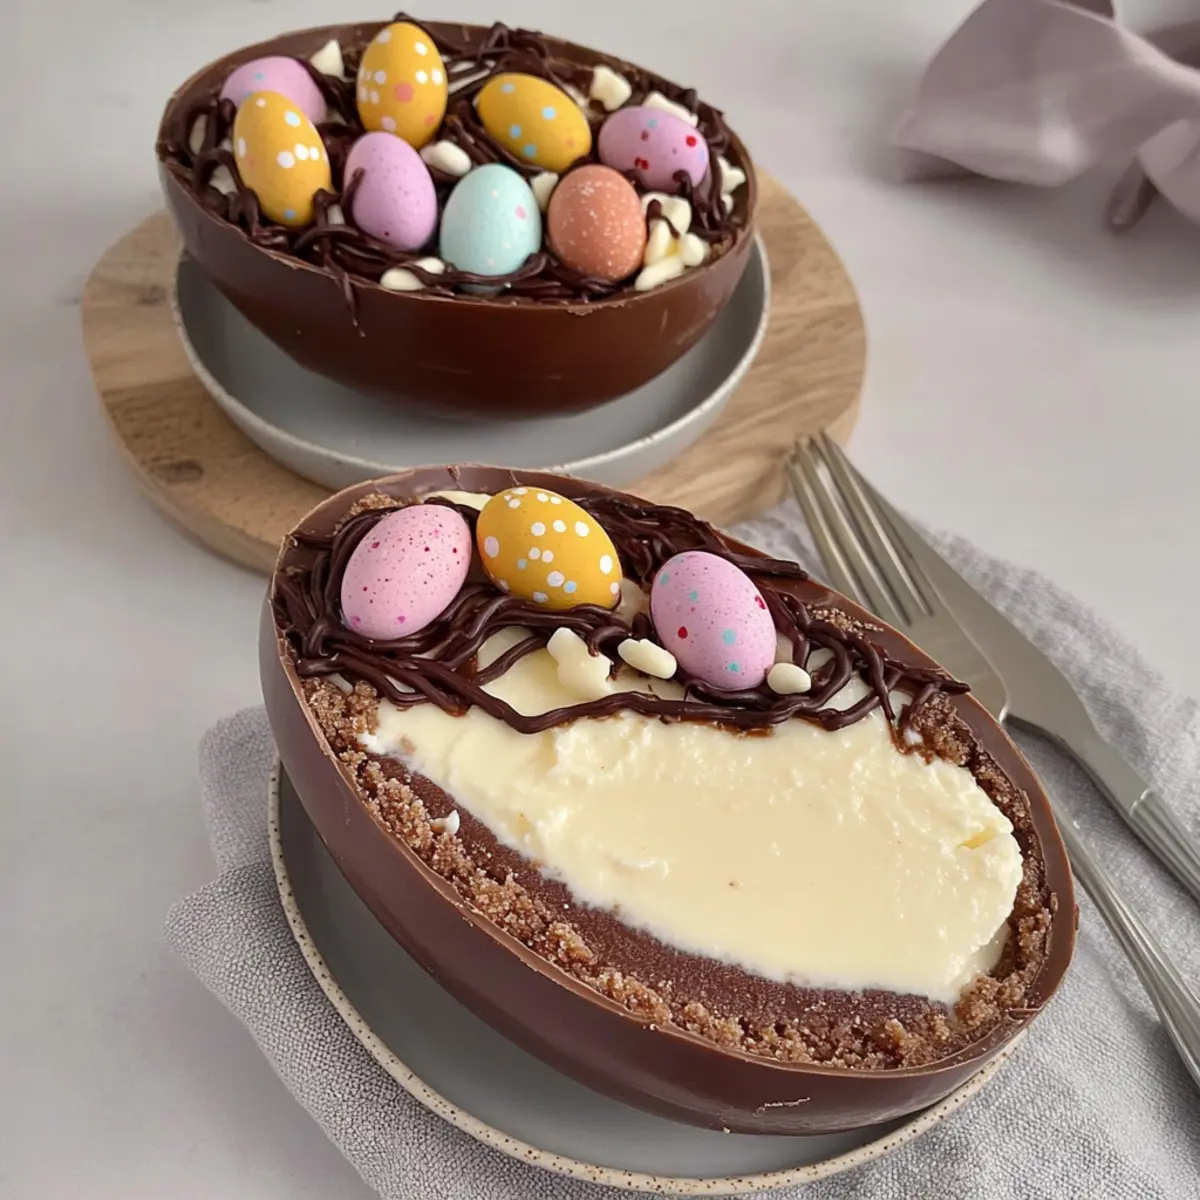
Step 8: Decorate with Chocolate
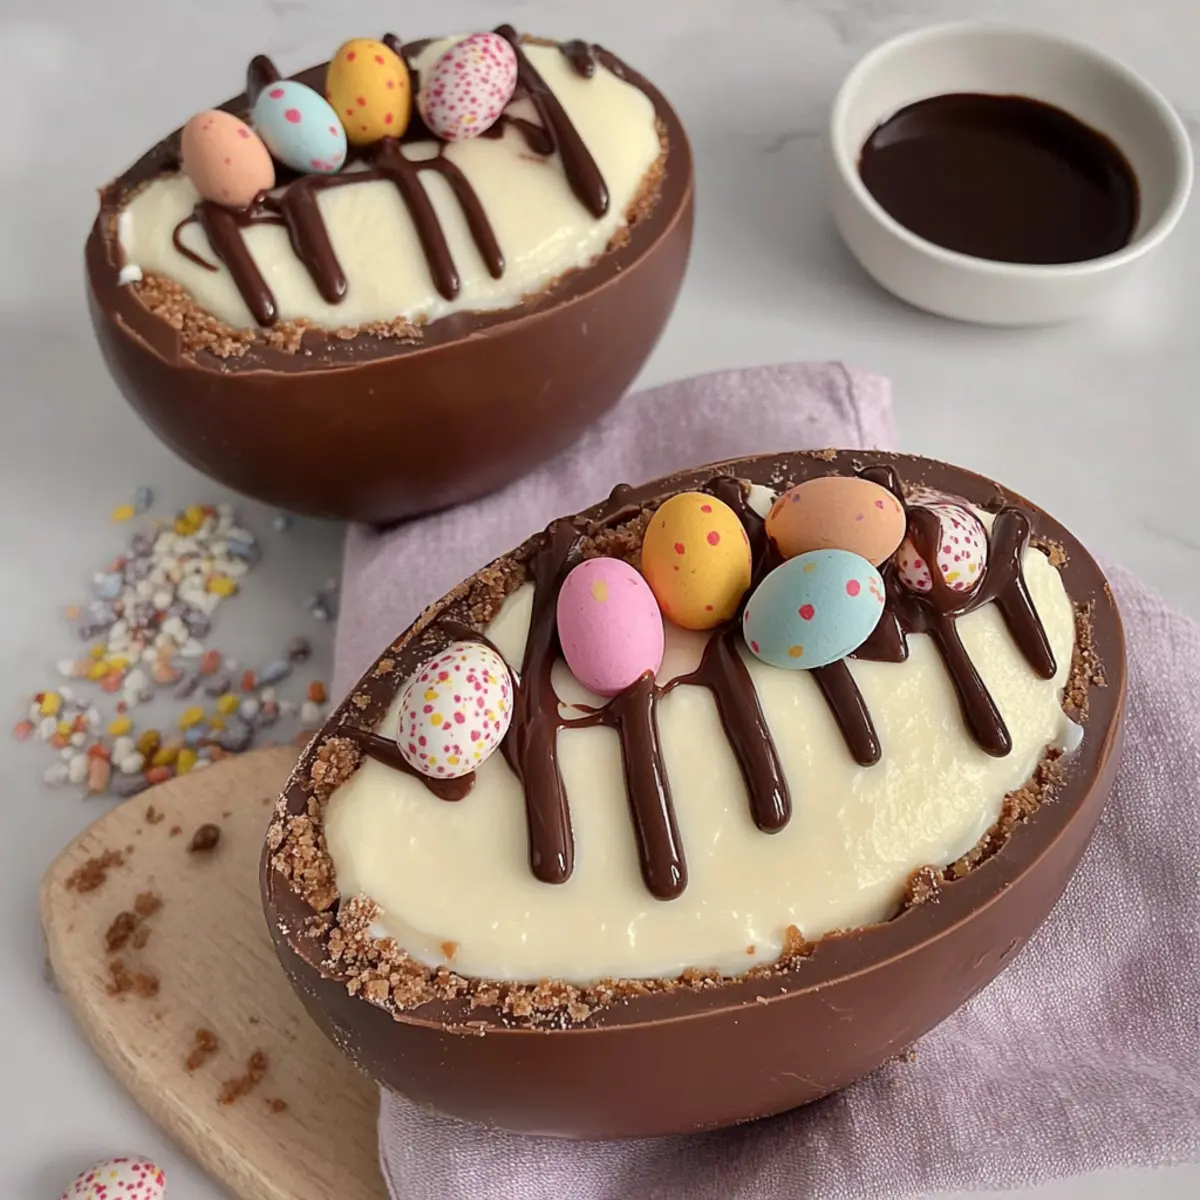
Once the cheesecake has set, melt the dark chocolate and drizzle it over the tops of each Easter egg for an elegant touch. Let it firm up for a few minutes before decorating with mini eggs or your favorite festive treats, adding a playful and colorful finishing touch to your Easter Egg Cheesecake.
Step 9: Serve and Store
After decorating, the Easter Egg Cheesecake is ready to serve immediately or can be stored in the refrigerator for up to 3-4 days. If making ahead of time, I suggest waiting to add the decorations until just before serving to maintain freshness and visual appeal.
Make Ahead Options
These delightful Easter Egg Cheesecakes are perfect for busy home cooks looking to save time during festive celebrations! You can prepare the cheesecake filling up to 24 hours in advance, ensuring it’s ready to scoop into the chocolate egg shells when you’re set to serve. Simply mix the cream cheese, icing sugar, and double cream, then transfer it to an airtight container in the fridge. You can also press the biscuit base into the Easter egg halves up to 3 days ahead of time, allowing for easy assembly closer to your gathering. When ready to finish, just fill each egg half with the cheesecake mixture and chill for at least 2 hours before decorating. This way, your beautiful Easter Egg Cheesecake will be just as delicious, with minimal last-minute effort!
What to Serve with Easter Egg Cheesecake
As you gather around the table to celebrate the flavors of Easter, elevate your festive feast with these delectable side dishes and treats.
-
Fresh Berries: The tartness of fresh strawberries or raspberries adds a delightful contrast to the rich Easter Egg Cheesecake, refreshing every bite.
-
Whipped Cream: A dollop of lightly sweetened whipped cream enhances the cheesecake’s creaminess, creating an indulgent dessert experience everyone will love.
-
Chocolate Drizzle: Enhance your dessert’s appeal by drizzling melted chocolate on the plate, offering an extra layer of decadence and visual allure.
-
Mini Fruit Tarts: Complement the cheesecake with vibrant mini fruit tarts, providing a light, fruity crunch that beautifully contrasts the rich cheesecake filling.
-
Mimosas: Start the celebration off right with sparkling mimosas, their refreshing citrus flavor pairs effortlessly with the creamy sweetness of the cheesecake.
-
Coconut Macaroons: These chewy delights introduce a delightful texture and flavor pairing, bringing a chewy contrast to the creamy layers of cheesecake.
-
Creamy Coleslaw: For a savory balance, serve creamy coleslaw on the side. Its crunchy texture provides a refreshingly delightful contrast to the sweetness of the dessert.
-
Carrot Cake: Keep the Easter theme alive with a moist carrot cake. Its spices and textures harmonize wonderfully with the creamy Easter Egg Cheesecake.
-
Chocolate Milkshake: For a fun, playful drink option that appeals to both kids and adults, a thick chocolate milkshake pairs delightfully with the cheesecake.
How to Store and Freeze Easter Egg Cheesecake
Fridge: Keep the Easter Egg Cheesecake in an airtight container in the fridge for up to 3-4 days. This helps maintain its creamy texture and prevents drying out.
Make-Ahead: You can prepare the cheesecake up to 2 days in advance. However, wait to decorate it until just before serving to keep it looking fresh and festive.
Freezer: For longer storage, freeze the cheesecake (unadorned) for up to 2 months. Wrap securely in plastic wrap, followed by aluminum foil to prevent freezer burn.
Reheating: If frozen, thaw the cheesecake overnight in the fridge before serving. No need to reheat; simply enjoy chilled for a delightful treat!
Easter Egg Cheesecake Variations & Substitutions
Get ready to sprinkle some magic into your Easter Egg Cheesecake and make it your very own masterpiece!
-
Gluten-Free: Use gluten-free cookies instead of digestive biscuits for the base, ensuring everyone can enjoy this delight.
-
Dairy-Free: Substitute full-fat cream cheese and double cream with coconut cream for a rich, dairy-free version that still satisfies.
-
Fruit-Infused: Mix in some crushed raspberries or strawberries to the cheesecake filling for a fruity burst of flavor that complements the chocolate beautifully.
-
Flavor Kicks: Add a splash of lemon juice or orange zest to the filling for a refreshing citrus twist that lightens up the dessert.
-
Healthy Sweetener: Swap icing sugar for powdered erythritol if you’re looking for a low-sugar option without compromising on sweetness.
-
Decadent Chocolate Swirl: Fold melted white chocolate into the cheesecake filling for a creamy, chocolatey delight that will have everyone asking for seconds.
-
Nutty Crunch: Incorporate chopped nuts like almonds or hazelnuts into the biscuit base for extra crunch and flavor; just be sure to check for any nut allergies!
-
Festive Decorations: Try topping your cheesecake with a variety of Easter candies, or even edible flowers for a vibrant pop that elevates its presentation.
Remember, the possibilities are endless! And if you’re craving a savory twist, consider trying Savory Sausage Egg as a hearty complement to your sweet extravaganza. Embrace your creativity and enjoy this delightful experience together with family and friends!
Expert Tips for the Best Easter Egg Cheesecake
-
Use Full-Fat Ingredients: Choose full-fat cream cheese and double cream for the richest texture. Lower-fat alternatives can make the cheesecake too loose and less satisfying.
-
Chill Correctly: After filling your Easter egg halves, refrigerate for at least 2 hours. This step ensures your Easter Egg Cheesecake sets properly for that perfect slice.
-
Avoid Overmixing: When whipping the cream, mix until just thick enough to hold its shape. Overmixing can lead to a grainy texture, so keep it smooth and fluffy!
-
Check for Allergies: Make sure to check all ingredients for potential allergens, especially if serving kids or guests with dietary restrictions.
-
Customize Flavor: Feel free to mix in melted white chocolate or flavored extracts into the filling for a personalized twist on your Easter Egg Cheesecake.
Easter Egg Cheesecake Recipe FAQs
What type of large Easter egg should I use?
Absolutely! Choose a solid chocolate Easter egg that weighs at least 150g for the best structure. Look for an egg that’s thick enough to hold your delicious filling without cracking easily. Avoid eggs with too many decorative elements on them, as they might not hold up during the filling process.
How do I store the Easter Egg Cheesecake?
The Easter Egg Cheesecake can be stored in an airtight container in the refrigerator for up to 3-4 days. To keep it fresh, make sure to cover it well and avoid leaving it out at room temperature for extended periods. The flavor and texture will be best when enjoyed within this timeframe!
Can I freeze the Easter Egg Cheesecake?
Very! To freeze, wrap the unadorned Easter Egg Cheesecake in plastic wrap followed by aluminum foil and store it in the freezer for up to 2 months. When you’re ready to serve, simply thaw it overnight in the refrigerator. Avoid freezing it with decorations, as they may not thaw well.
What if my cheesecake filling is too runny?
If your cheesecake filling turns out too runny, don’t worry! You can rectify this by adding more cream cheese or chilled double cream to thicken it up. Mix well until you achieve a stable, spreadable consistency. If you find it’s still too loose, chilling it for an extra hour in the fridge may help it set further.
Is this Easter Egg Cheesecake suitable for people with allergies?
Absolutely! Be sure to check the specific brands of cream cheese and chocolate for allergens, especially if serving to guests with dietary restrictions. The recipe can easily be made gluten-free by using gluten-free biscuits and can also be made dairy-free with coconut cream and dairy-free chocolate options.
Easter Egg Cheesecake: A Creamy No-Bake Delight to Share
Ingredients
Equipment
Method
- Using a warmed, sharp knife, carefully cut the large Easter egg in half.
- In a mixing bowl, crush the digestive biscuits into fine crumbs using a rolling pin or food processor.
- Combine the crushed biscuits with the melted butter, stirring until the mixture resembles wet sand.
- Divide the biscuit mixture evenly between both Easter egg halves, using your fingers or the back of a spoon to gently press it down.
- In a large mixing bowl, beat the full-fat cream cheese with icing sugar and vanilla extract using an electric mixer.
- Add the double cream to the cream cheese mixture and continue mixing until the filling thickens and holds its shape.
- Carefully spoon the cheesecake filling into each chocolate egg half, smoothing the tops with a spatula.
- Cover the filled egg halves with plastic wrap and refrigerate for at least 2 hours.
- Once the cheesecake has set, melt the dark chocolate and drizzle it over the tops of each Easter egg.
- After decorating, serve immediately or store in the refrigerator for up to 3-4 days.
Leave a Reply