
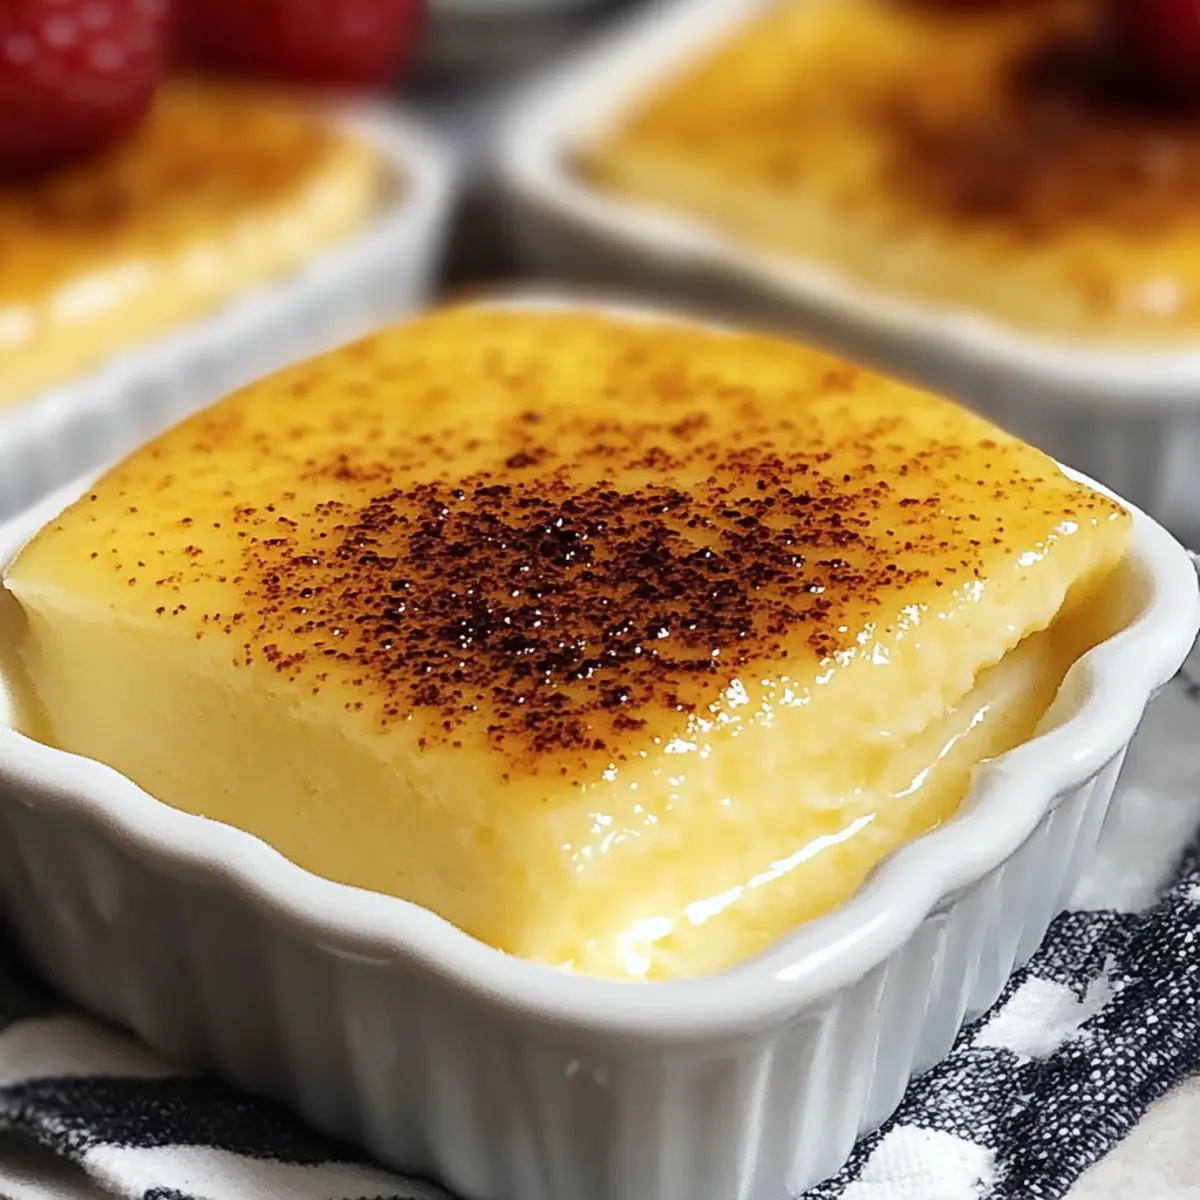
As I stirred the mixture, the sweet, nutty aroma of vanilla wrapped around me like a cozy blanket. There’s something undeniably comforting about dessert. This Easy and Creamy Fail-Proof Egg Custard Recipe encapsulates that feeling, promising a delightful treat with minimal effort. Made from just a handful of simple ingredients, this dessert is a perfect weeknight indulgence that comes together in no time. With its velvety texture and rich flavor, it’s a luxurious dessert that feels like a warm hug on a chilly evening. Plus, this custard can be made ahead of time, making it an effortless addition to any gathering. Curious about how to whip up this nostalgic classic? Let’s dive into the recipe!
Why Is This Custard So Irresistible?
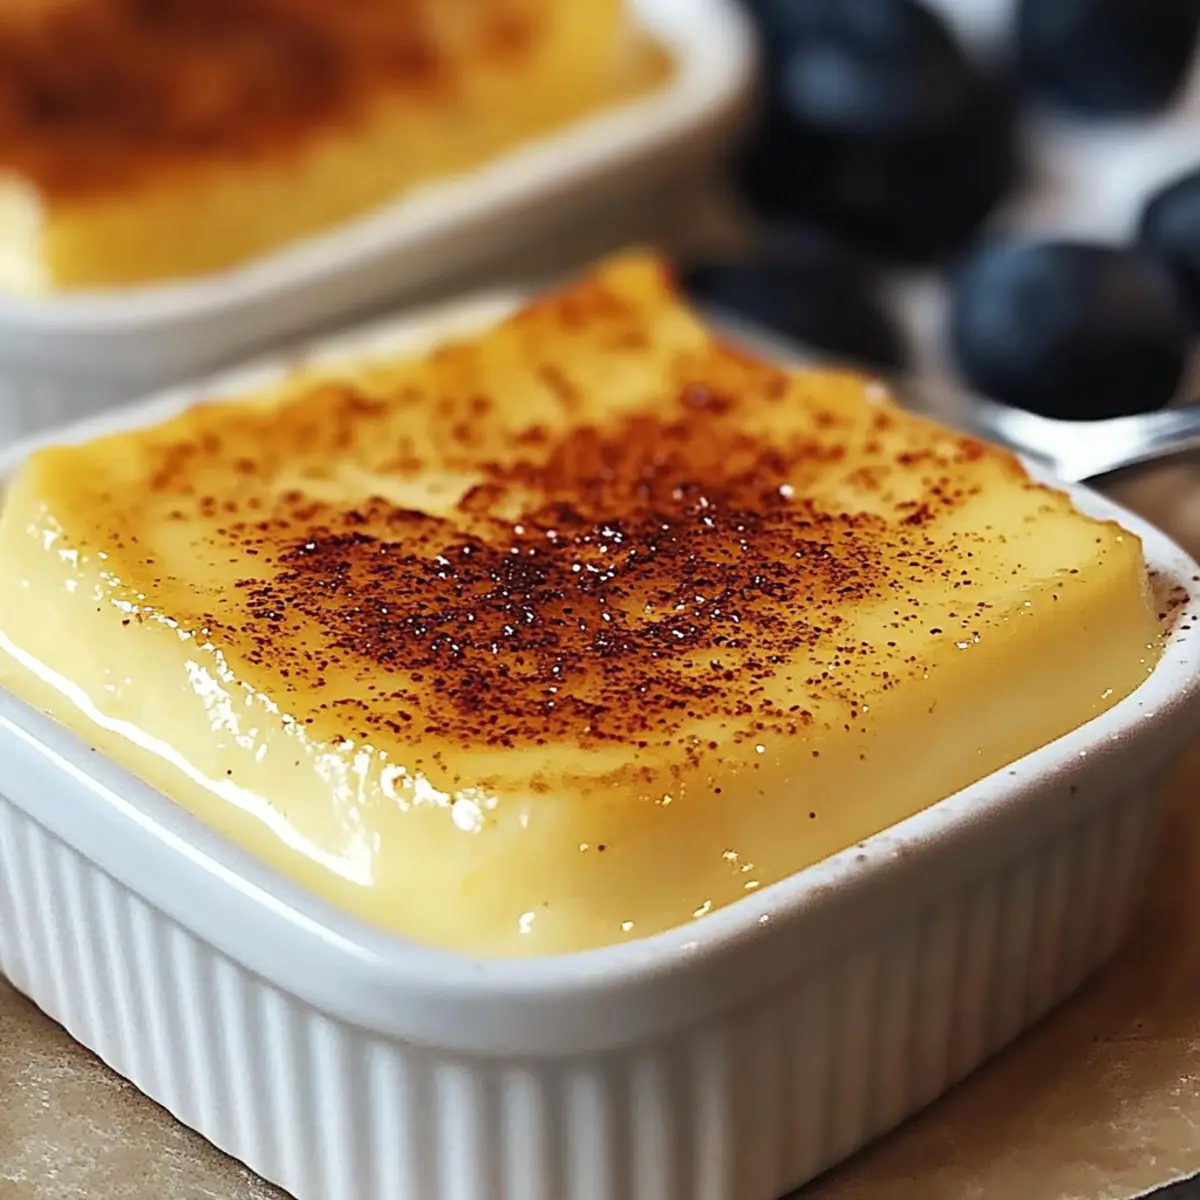
Simplicity at its best! This Fail-Proof Egg Custard Recipe requires minimal ingredients and kitchen skills, making it an approachable sweet treat for everyone. Velvety texture! The smooth consistency will melt in your mouth, offering a comforting dessert experience. Versatility shines through when you serve it chilled, garnished with nutmeg or a dollop of whipped cream. Make-ahead friendly, this dessert can easily be prepared a day in advance, saving you precious time before a gathering. Nostalgia is found in every spoonful, transporting you back to comforting family meals. Indulge your desires for homemade magic and enjoy this delightful creation!
Fail-Proof Egg Custard Ingredients
Here’s everything you need to create this comforting dessert!
For the Custard
- Eggs – Fresh large eggs provide the rich flavor and creamy texture essential for the best fail-proof egg custard.
- Milk – Whole milk adds the signature creaminess, but you can swap in almond or coconut milk for dairy-free versions, noting that it might affect taste.
- Sugar – Granulated sugar is standard, though using brown sugar introduces a delightful depth of flavor. Sugar substitutes are excellent for creating a lower-calorie option.
- Vanilla Extract – Pure vanilla extract is crucial for that classic flavor; consider vanilla essence if you need a less intense option.
- Salt – Just a pinch elevates the overall flavor, making for a balanced and delicious custard.
For the Garnish
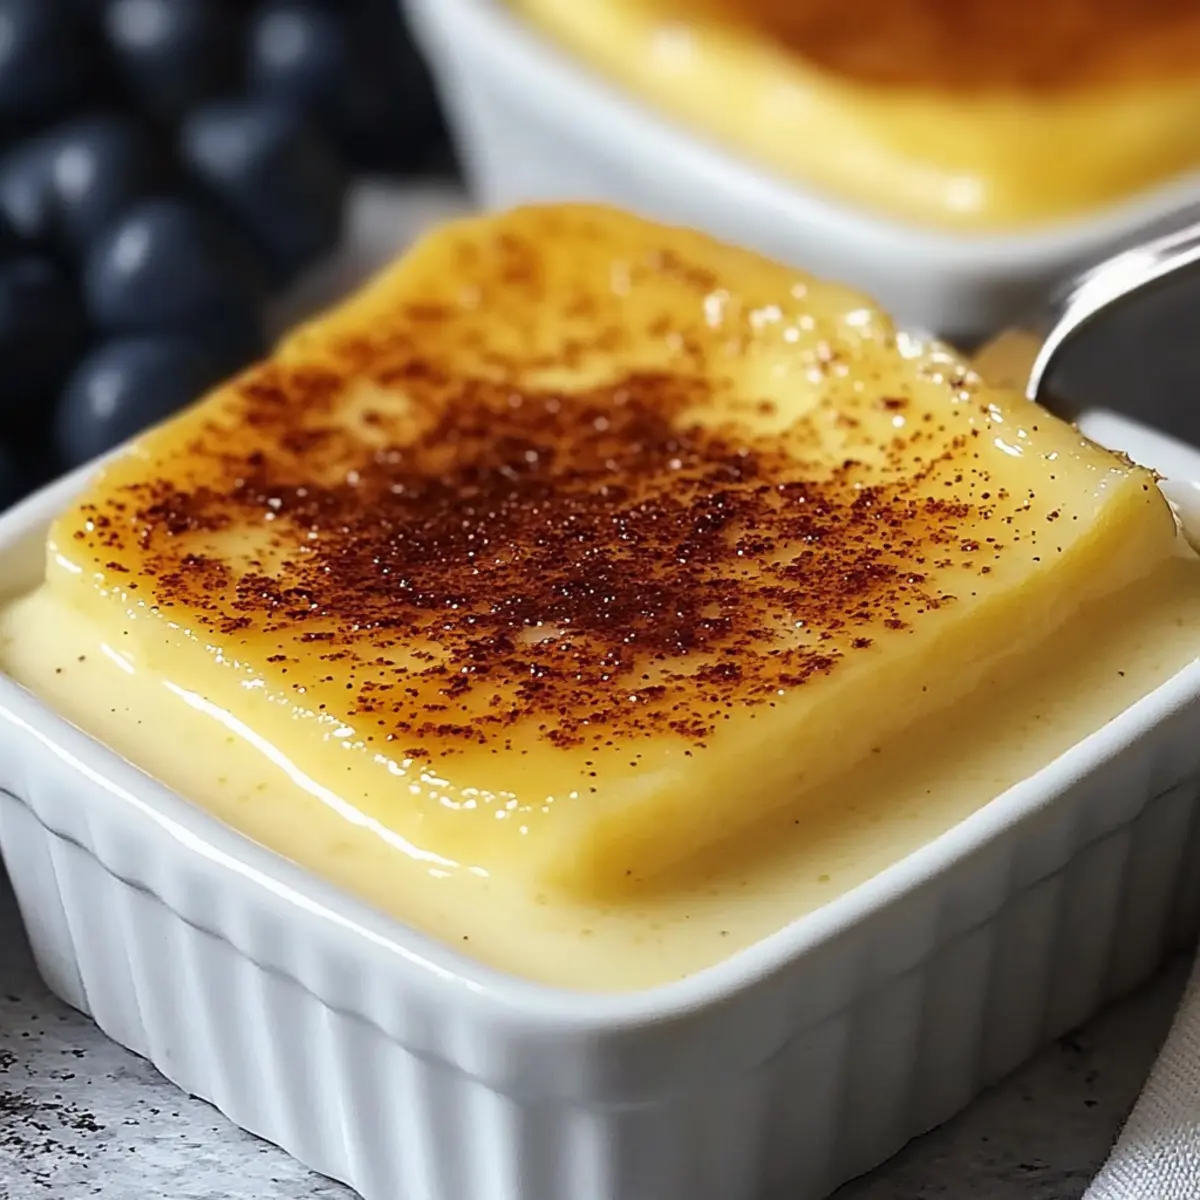
- Nutmeg – A sprinkle just before serving enhances the custard with a warm, spicy aroma that brings nostalgia to every bite.
- Whipped Cream – A dollop adds an indulgent touch, making this dessert feel even more special.
Happy cooking!
Step‑by‑Step Instructions for Easy and Creamy Fail-Proof Egg Custard
Step 1: Preheat Your Oven
Begin by preheating your oven to 325°F (165°C). This temperature is perfect for creating a gentle baking environment for your Easy and Creamy Fail-Proof Egg Custard. Ensure that your oven is fully preheated before you proceed to prepare the custard mixture, as this will help it set evenly once you bake it.
Step 2: Whisk the Eggs
In a medium mixing bowl, gently whisk together 4 large eggs until they are just combined. Be careful not to incorporate too much air—this helps maintain a smooth texture in your custard. You’ll know you’re ready when the mixture looks slightly frothy but still has a smooth surface, taking about 1-2 minutes.
Step 3: Heat the Milk
Next, pour 2 cups of whole milk into a medium saucepan and heat it over medium heat. Watch closely as the milk warms; you’ll see small bubbles forming around the edges, but do not let it reach a boil. This should take about 5-7 minutes. Warm milk ensures that your custard mixture remains smooth.
Step 4: Temper the Eggs
Gradually whisk the warm milk into the egg mixture, a little at a time. This step, called tempering, prevents the eggs from cooking and turning into scrambles. Continuously whisk as you add the milk, and you’ll achieve a well-blended mixture that begins to thicken, taking about 1-2 minutes.
Step 5: Add Sugar and Flavor
Once combined, stir in 3/4 cup of granulated sugar, 1 teaspoon of vanilla extract, and a pinch of salt until everything is fully dissolved. This adds sweetness and enhances the flavor profile of your Fail-Proof Egg Custard. You’ll notice the texture becomes a bit silkier as you blend in the ingredients.
Step 6: Strain the Mixture
To ensure your custard is free of any lumps, strain the mixture through a fine sieve into a measuring cup or another bowl. This crucial step will yield a smooth and creamy texture, so take your time with it. You should see a delightful, golden liquid ready for baking.
Step 7: Prepare the Ramekins
Take your ramekins and place them on a baking sheet. Carefully pour the strained custard mixture into each ramekin, filling them about three-quarters full. This allows room for the custard to gently rise without overflowing during baking. Aim for a neat pour to keep everything tidy!
Step 8: Create a Water Bath
Fill a deep baking dish with hot water until it reaches halfway up the sides of the ramekins. This water bath will help regulate the temperature while baking, ensuring your Easy and Creamy Fail-Proof Egg Custard cooks evenly. Handle the dish with care as you add the water to avoid spills.
Step 9: Bake the Custard
Place the whole baking dish in your preheated oven and bake for 35-40 minutes. The custards are done when the edges look firm while the centers are still slightly jiggly. This slight jiggle ensures they’ll set perfectly once cooled, giving you that silky texture you crave.
Step 10: Cool and Chill
After baking, remove the ramekins from the water bath and let them cool at room temperature for about 20 minutes. Once slightly cooled, transfer them to the refrigerator and chill for at least 2 hours. This chilling step is essential for achieving the creamy consistency that’s ideal for serving.
Step 11: Garnish and Serve
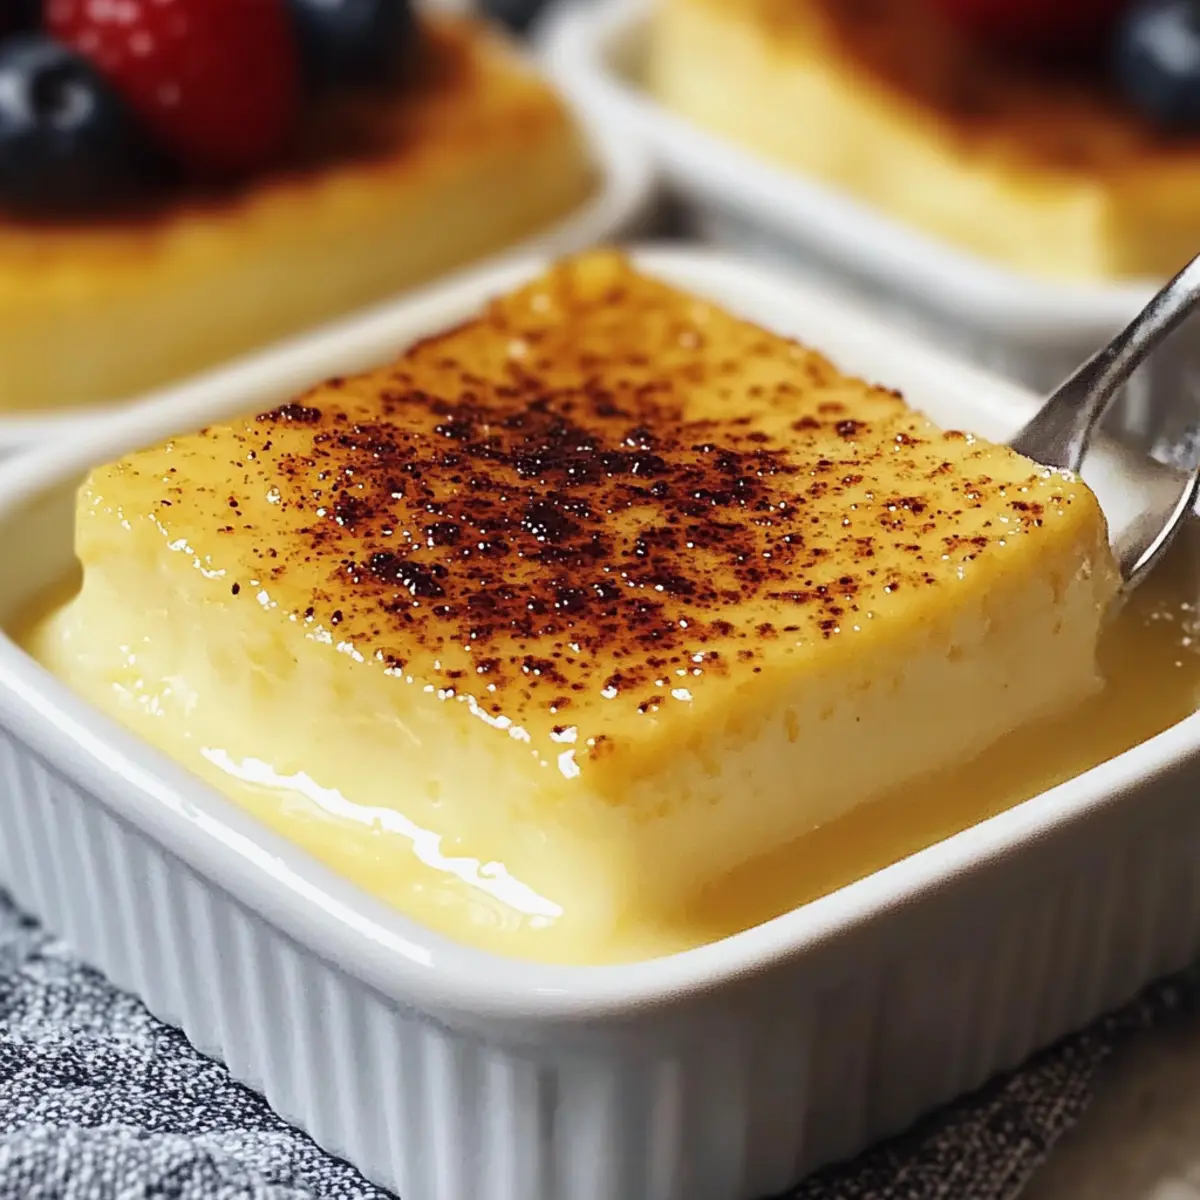
Finally, just before serving, sprinkle a dash of nutmeg on top of each custard for that classic flavor boost. Optionally, add a dollop of whipped cream for an indulgent touch. With the delightful aromas wafting through your kitchen, you’re now ready to enjoy this comforting Easy and Creamy Fail-Proof Egg Custard!
Fail-Proof Egg Custard Variations
Feel free to explore your creativity with this classic egg custard and customize it to suit your taste!
-
Brown Sugar: Swap granulated sugar for brown sugar to deepen the flavor profile, adding a subtle caramel-like richness.
-
Dairy-Free: Replace whole milk with almond, coconut, or soy milk for a dairy-free version, but keep in mind this may alter the custard’s taste.
-
Spice It Up: Experiment with different spices like cinnamon, allspice, or cocoa powder sprinkled on top for added flavor and visual flair.
-
Citrus Zest: Add a teaspoon of lemon or orange zest to the custard mixture for a refreshing, zesty twist that brightens every bite.
-
Nutty Flavors: Incorporate a tiny splash of almond extract to elevate the flavor; it pairs wonderfully with the vanilla and adds richness.
-
Fruit Puree: Layer a spoonful of fruit puree, such as raspberry or passion fruit, at the bottom of the ramekins for a burst of fruity goodness under the custard.
-
Coffee Kick: Stir in a teaspoon of instant coffee granules or espresso powder before baking to create a delightful coffee-flavored custard.
-
Chocolate Version: Fold in some melted chocolate or cocoa powder into the custard mixture for a luscious chocolatey dessert that chocolate lovers will adore.
For more delicious recipes to complement your custard, check out my Pancake Muffins or Savory Sausage Egg Bites that could pair wonderfully with your homemade dessert! Enjoy experimenting!
What to Serve with Easy and Creamy Fail-Proof Egg Custard
Indulging in a comforting egg custard is just the beginning; let’s build a delightful meal around it!
-
Fresh Berries: A colorful medley of strawberries, raspberries, and blueberries adds a refreshing burst of flavor that perfectly contrasts the creamy custard.
-
Crunchy Butter Cookies: Crisp, buttery cookies provide a delightful crunch that balances the custard’s velvety richness, making each bite an irresistible experience.
-
Chocolate Sauce: Drizzling a warm chocolate sauce over the custard transforms it into a decadent dessert that satisfy chocolate cravings and elevates the overall indulgence.
-
Coconut Whipped Cream: Light and airy, this tropical twist complements the custard’s creaminess while adding a fun, summery flavor. It’s an awesome surprise with each spoonful.
-
Spiced Apple Compote: A warm, cinnamon-spiced apple compote brings a comforting fall flavor that pairs wonderfully with the silky custard, creating a nostalgic dessert experience.
-
Sweet Tea or Coffee: Enjoying your egg custard with a glass of refreshing sweet tea or a bold cup of coffee adds a delightful contrast of temperatures, enhancing the overall enjoyment.
-
Lemon Zest: A sprinkle of freshly grated lemon zest on top of the custard brings bright, citrus notes that cut through the richness, making every bite taste vibrant and refreshing.
-
Almond Amaretto: For an adult twist, serve the custard alongside a glass of almond amaretto liqueur, adding a sophisticated flavor that complements the dessert’s creaminess.
Make Ahead Options
These Easy and Creamy Fail-Proof Egg Custards are perfect for meal prep! You can prepare the custard mixture up to 24 hours in advance by whisking the eggs, heating the milk, and combining all the ingredients, then strain the mixture into your ramekins. Cover the ramekins tightly with plastic wrap and refrigerate them overnight to maintain their smoothness and flavor. When you’re ready to bake, simply remove the custards from the fridge, set up the water bath, and pop them in the oven as directed. This way, you’ll enjoy a luxurious dessert with minimal effort on busy weeknights, just as delicious as if you made them the same day!
Storage Tips for Fail-Proof Egg Custard
- Room Temperature: It’s best to avoid leaving the fail-proof egg custard out at room temperature for more than 2 hours to ensure food safety.
- Fridge: Store the custard in an airtight container in the refrigerator for up to 3 days. This will keep it fresh while preserving its creamy texture.
- Freezer: While freezing is not recommended due to potential texture changes, you can freeze the custard for up to 1 month if necessary. Thaw in the fridge and consume immediately.
- Reheating: If you prefer to enjoy the custard slightly warm, gently reheat individual ramekins in a water bath at low heat for about 10 minutes to avoid curdling.
Expert Tips for Fail-Proof Egg Custard
- Watch the Time: Keep a close eye on your custard as it bakes; overcooking can result in a grainy texture. Aim for a gentle jiggle in the center.
- Prevent Bubbles: When whisking the eggs, avoid whipping too vigorously to prevent air bubbles forming. A smooth mixture is key to a velvety fail-proof egg custard.
- Strain Well: Don’t skip the straining step! This ensures a silky texture by removing any lumps, ensuring your custard is creamy from the first spoonful.
- Temperature Matters: Make sure the milk isn’t boiling before adding it to the eggs; this prevents cooking the eggs and maintains the custard’s delicate texture.
- Flavor Infusions: Feel free to customize your custard with flavors like almond extract or citrus zest. Just remember to use these additions in moderation for balance.
Easy and Creamy Fail-Proof Egg Custard Recipe FAQs
How do I select the best eggs for this custard?
Absolutely! For the best results in your Fail-Proof Egg Custard, always choose fresh large eggs. Look for eggs with clean, uncracked shells. If possible, opt for organic or farm-fresh eggs to enhance flavor and richness.
What’s the best way to store leftover custard?
After you’ve indulged in this delightful custard, store any leftovers in an airtight container in the refrigerator for up to 3 days. This will maintain its creamy texture and delicious flavor, making it easy to enjoy later!
Can I freeze egg custard?
While I recommend enjoying your Fail-Proof Egg Custard fresh, you can freeze it for up to 1 month if needed. Just pour the cooled custard into freezer-safe containers, leaving some space at the top for expansion. To thaw, place it in the fridge overnight and consume immediately for the best texture.
What should I do if my custard turns out grainy?
If your custard develops a grainy texture, don’t despair! One trick is to serve it with a dollop of whipped cream – it’s a delicious way to mask any imperfections. Additionally, ensuring that you strain the mixture thoroughly before baking can help avoid this issue altogether.
Is this egg custard suitable for people with dietary restrictions?
For those with dietary restrictions, yes! You can substitute the whole milk with almond, coconut, or soy milk to make it lactose-free or vegan. Just keep in mind that these alternatives may alter the flavor and texture slightly. Always check for allergies when selecting ingredients!
How can I ensure my custard will set properly?
To ensure your Fail-Proof Egg Custard sets perfectly, follow the baking instructions closely. Keep an eye on it during the last minutes of baking; it should jiggle slightly in the center when you remove it. A water bath is essential for gentle cooking, preventing overcooking and graininess!
Elevate Your Dessert Game with This Fail-Proof Egg Custard Recipe
Ingredients
Equipment
Method
- Preheat your oven to 325°F (165°C).
- Gently whisk together 4 large eggs in a medium mixing bowl until just combined.
- Pour 2 cups of whole milk into a medium saucepan and heat over medium heat until small bubbles form.
- Gradually whisk warm milk into the egg mixture, continuously whisking.
- Stir in 3/4 cup of granulated sugar, 1 teaspoon of vanilla extract, and a pinch of salt until fully dissolved.
- Strain the mixture through a fine sieve into a measuring cup or bowl to remove lumps.
- Pour the strained custard mixture into ramekins, filling them about three-quarters full.
- Fill a deep baking dish with hot water halfway up the sides of the ramekins.
- Bake for 35-40 minutes until edges are firm and centers are slightly jiggly.
- Cool ramekins at room temperature for about 20 minutes, then chill in the refrigerator for at least 2 hours.
- Before serving, sprinkle nutmeg on top and optionally add a dollop of whipped cream.
Leave a Reply