
It was one of those cozy evenings, where the aroma of cinnamon danced through the air and drew everyone into the kitchen. That’s when I decided to share the love of my childhood with a bowl of Homemade Rice Pudding—a dessert that’s creamy, comforting, and effortlessly simple to prepare. In less than an hour, you’ll have a delightful treat made from pantry staples, perfect for satisfying your sweet tooth or sharing with loved ones. Plus, it’s naturally gluten-free and can easily be made dairy-free for those seeking alternatives. This pudding not only brings warmth to the table but also evokes beautiful memories with each spoonful. What toppings will you choose to elevate this nostalgic dessert?

Why is Homemade Rice Pudding a Keeper?
Creamy Comfort: The texture is so smooth that each bite is like a warm hug from your childhood.
Quick to Make: In under an hour, you can whip up this nostalgic favorite, perfect for any time you crave something sweet.
Versatile Delight: Top it with fresh berries, nuts, or even a drizzle of cream to customize your dessert! If you’re in the mood for more comforting recipes, don’t miss my Tiramisu Chia Pudding or Creamy Garlic Butter Shrimp with Rice.
Gluten-Free Goodness: Naturally gluten-free, it caters to various dietary needs, making it a thoughtful choice for gatherings.
Crowd-Pleaser: It’s a dessert that delights all ages, drawing everyone in with its inviting aroma and heartwarming flavors.
Homemade Rice Pudding Ingredients
• Here’s everything you need to create a rich and creamy dessert experience!
For the Pudding
- Rice – Use white rice for the best texture; it absorbs flavors beautifully.
- Milk – Adds creaminess; swap with almond, oat, or coconut milk for a dairy-free version.
- Sugar – Sweetens the pudding; feel free to adjust based on your taste or use a healthier sweetener.
- Eggs – Helps thicken the pudding; use fresh eggs for optimal flavor.
- Vanilla Extract – Elevates the dessert; pure vanilla enhances the overall taste depth.
- Cinnamon – Introduces warmth and spice; you can replace it with nutmeg for a different twist.
Enjoy the process of creating this Homemade Rice Pudding, as it brings joy in every bite!
Step‑by‑Step Instructions for Homemade Rice Pudding
Step 1: Combine Ingredients
In a large pot, combine 1 cup of white rice with 4 cups of your choice of milk. Stir the mixture gently, ensuring all the rice is submerged. Set your stove to medium heat and bring the pot to a gentle boil, monitoring closely to avoid overflows. This initial step sets the foundation for your creamy homemade rice pudding, so keep an eye on it!
Step 2: Simmer the Rice
Once boiling, reduce the heat to low and let the rice simmer uncovered. Stir occasionally for about 20 minutes, allowing the rice to absorb the milk and soften. You’ll know it’s ready when the mixture thickens slightly, and the rice appears tender and plump. This slow cooking process ensures that the flavors meld beautifully for your homemade rice pudding.
Step 3: Add Sweetness
After 20 minutes of simmering, stir in ½ cup of sugar, adjusting to taste. Mix well to ensure the sugar dissolves completely into the pudding. The liquid will continue to thicken as it cooks, so keep stirring to prevent any sticking or burning at the bottom of the pot. This step adds a delightful sweetness to your creamy rice pudding.
Step 4: Incorporate Eggs
In a separate bowl, whisk together 2 fresh eggs until well beaten. Slowly temper the eggs by adding a small amount of the hot rice mixture into the bowl while whisking continuously. This gradual mixing will prevent the eggs from scrambling. Once well combined, return the tempered egg mixture to the pot, stirring continuously for a smooth consistency.
Step 5: Flavor the Pudding
Add 1 teaspoon of pure vanilla extract and 1 teaspoon of cinnamon to the pot, enhancing the warmth and fragrance of your homemade rice pudding. Stir thoroughly to ensure the flavors are evenly distributed. Allow the pudding to cook for another 5-10 minutes, stirring frequently until it thickens to your desired consistency. The aroma will be truly irresistible!
Step 6: Cool and Serve
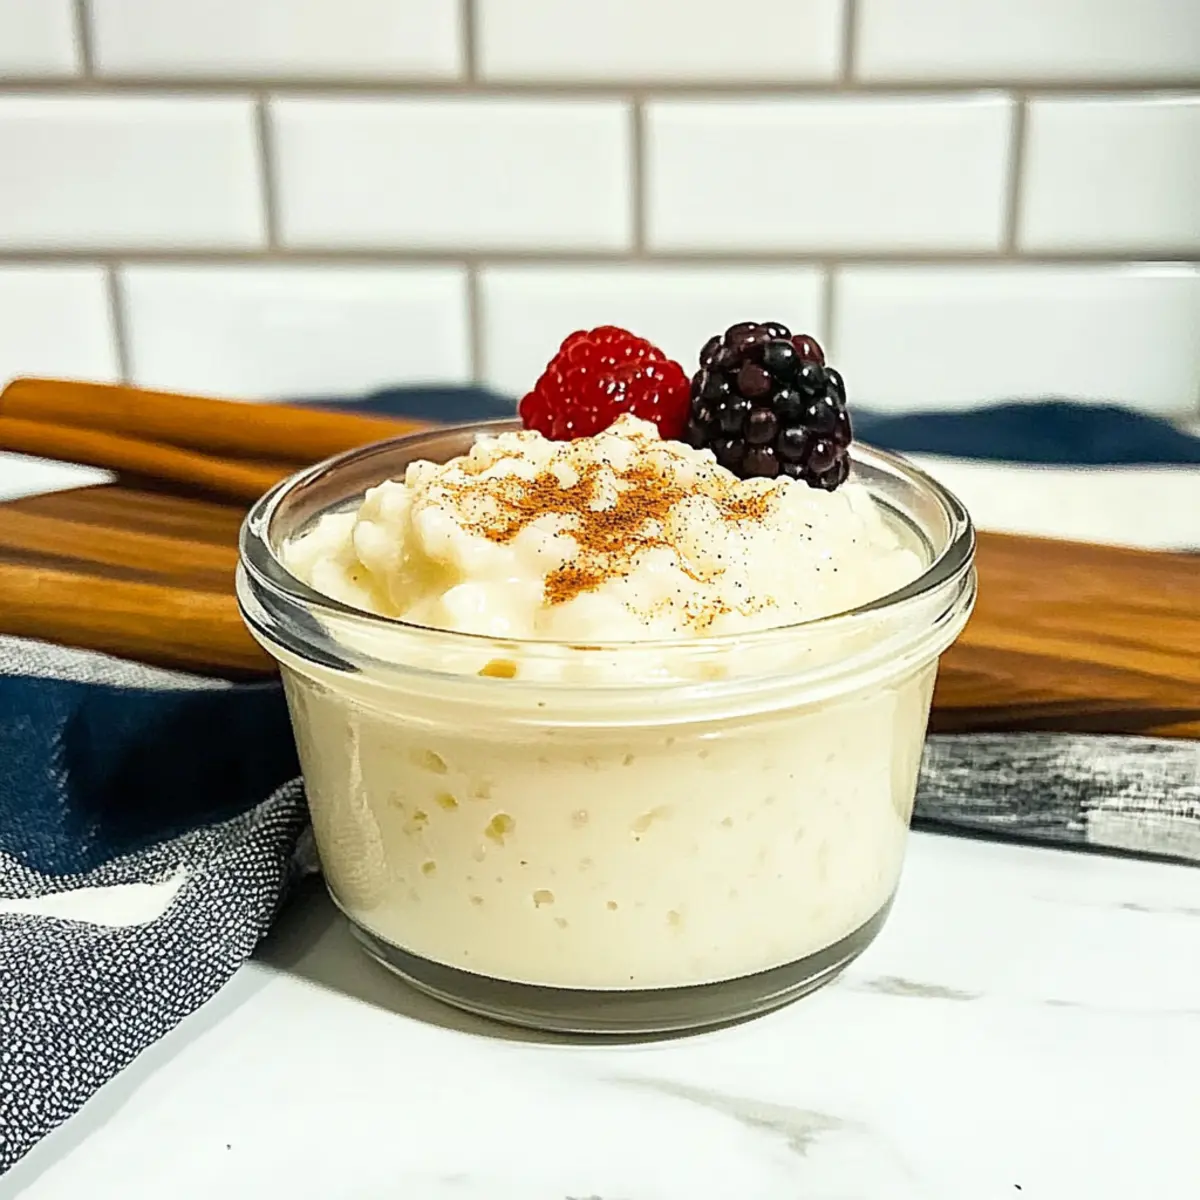
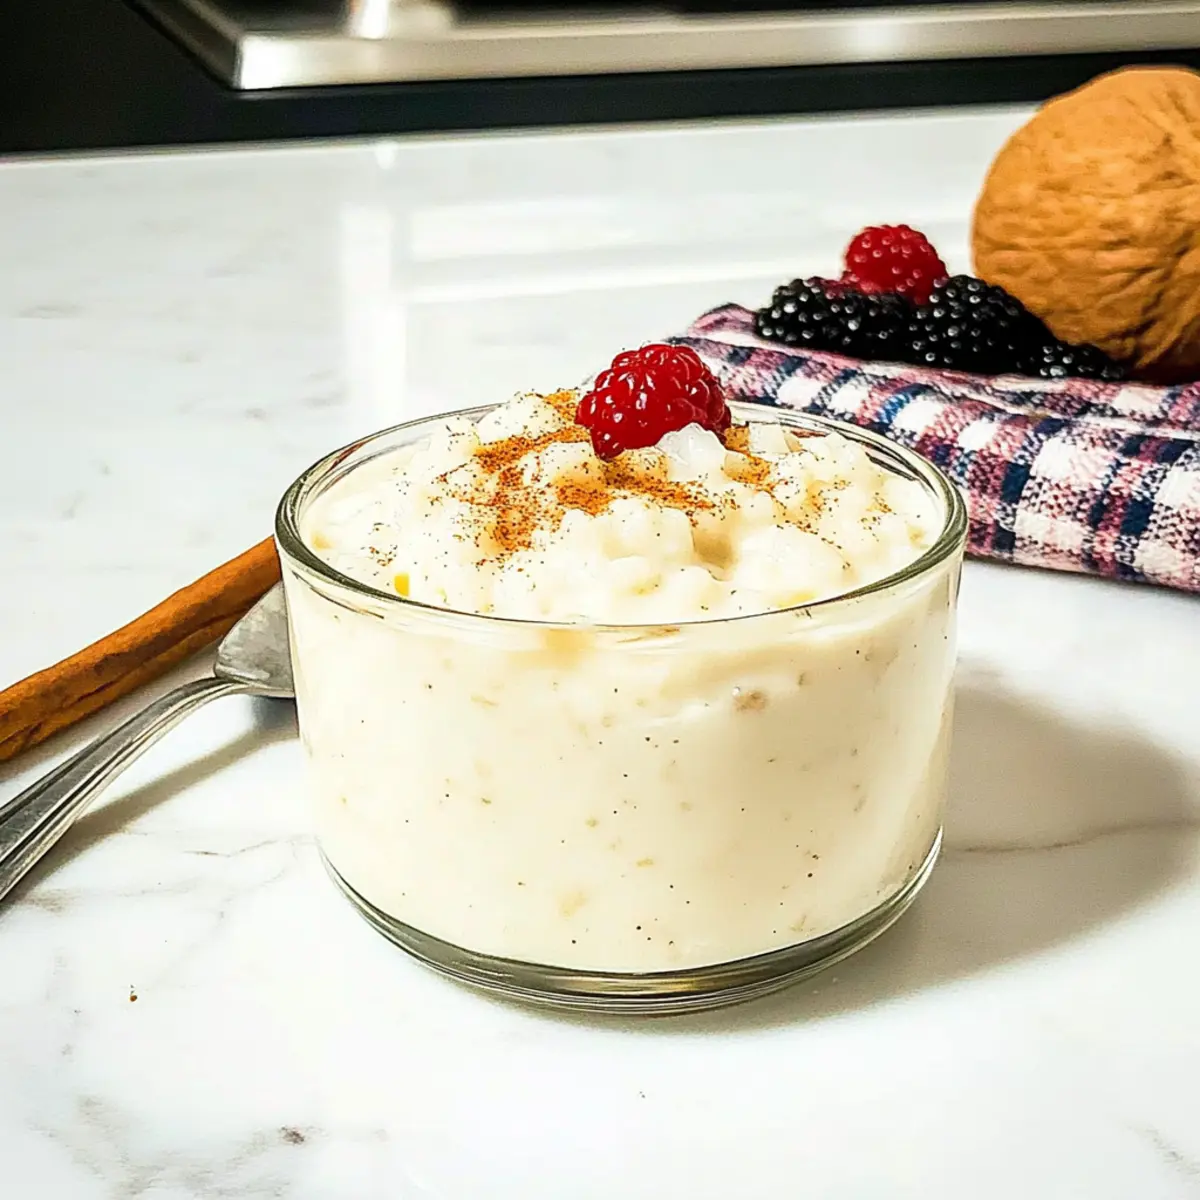
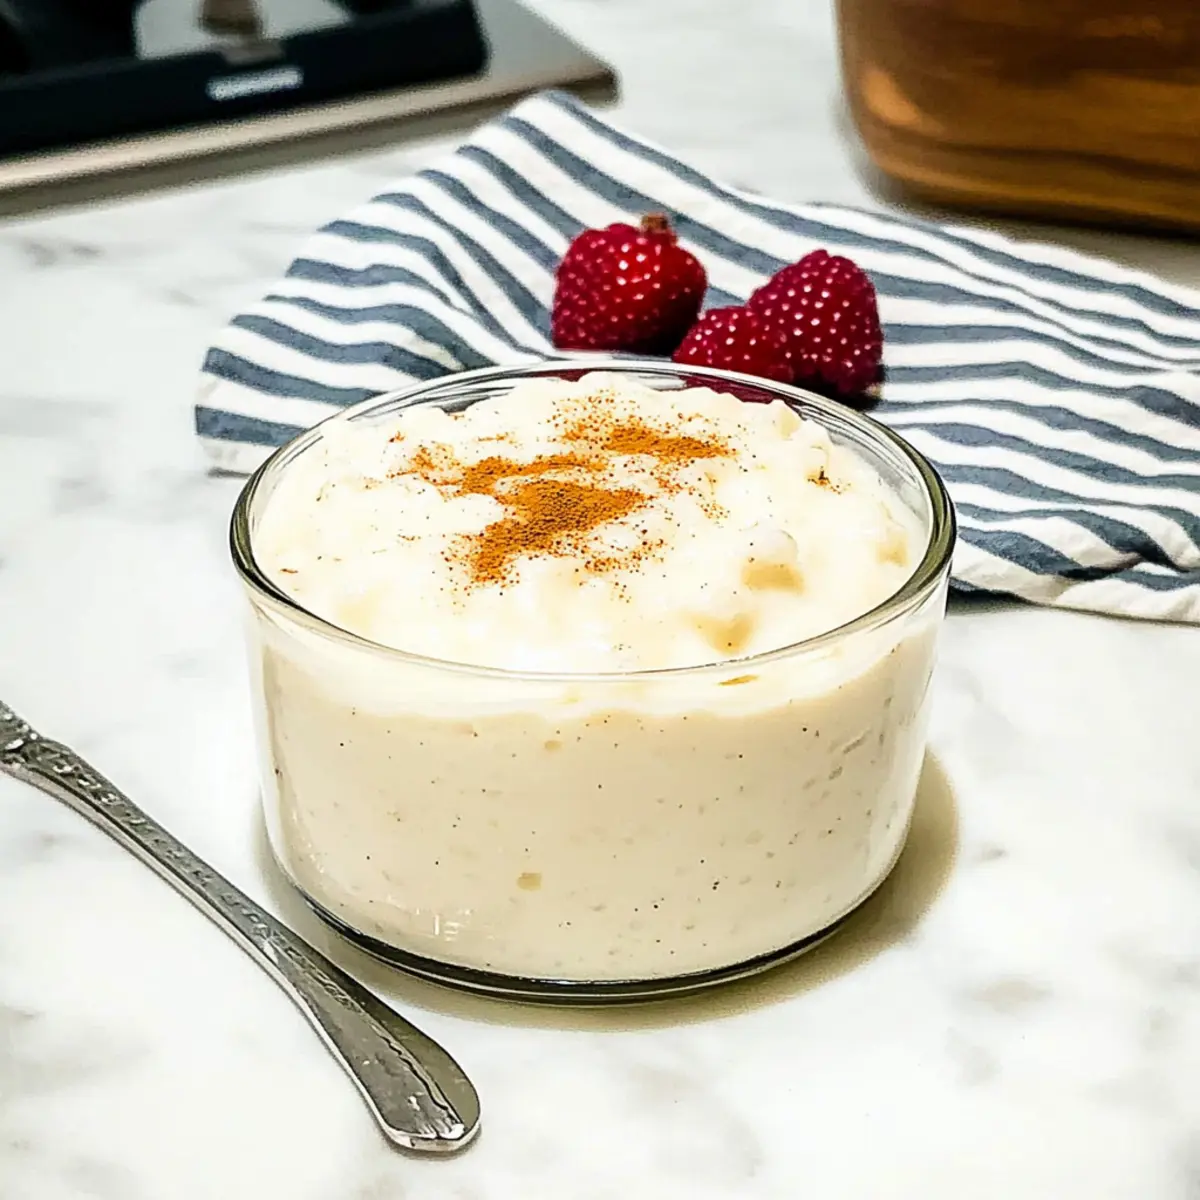
Once thickened, remove the pot from heat and let the rice pudding cool slightly. You can serve it warm in individual bowls, garnished with fresh berries or a sprinkle of extra cinnamon for a charming touch. Alternatively, if you prefer chilled pudding, transfer it into an airtight container and refrigerate. It’s delightful either way, making this homemade rice pudding a truly versatile dessert!
Expert Tips for Homemade Rice Pudding
Whisk Eggs Carefully: Ensure the eggs are well-beaten and temper them slowly to avoid scrambling. This ensures a smooth and creamy texture in your pudding.
Stir Frequently: Keep the pudding stirring to prevent sticking to the bottom of the pot and burning. Consistent stirring is key to achieving the best homemade rice pudding.
Adjust Sweetness: Start with less sugar and adjust according to your taste. Remember that sweetness can vary based on personal preference and the milk used.
Use Fresh Rice: Using fresh white rice ensures optimal creaminess and flavor absorption. Avoid old rice, as it may affect the pudding’s texture.
Chill Before Serving: For a refreshing twist, allow the rice pudding to chill in the fridge before serving. It can change the texture and enhance the flavors beautifully.
Make Ahead Options
Busy home cooks will love that you can prepare components of this Homemade Rice Pudding in advance, saving precious time! You can cook the rice and milk mixture up to 24 hours ahead; just allow it to cool completely before transferring it to an airtight container in the fridge. The sugar and spices can be pre-measured and ready to add when you’re prepared to finish the pudding. On serving day, simply combine the chilled rice mixture with the prepped sugar, whisk in the eggs gradually, and cook it for an additional 5-10 minutes until thickened. This way, you ensure that your pudding remains just as delicious and creamy, ready to warm your heart and delight your family with minimal effort!
What to Serve with Homemade Rice Pudding
Elevate your creamy dessert experience with delightful side dishes and beverages that truly complement this nostalgic treat.
-
Crispy Cinnamon Sugar Cookies: These cookies bring a delightful crunch and sweetness that pairs beautifully with the creamy textures of rice pudding.
-
Fresh Berries: A burst of tangy flavor and vibrant color adds freshness, balancing the richness of the pudding perfectly.
-
Sweet Almond Milk: Serve this nutty beverage alongside your pudding, providing a soothing drink that complements its sweetness and creamy character.
-
Fluffy Whipped Cream: A dollop of whipped cream enhances the dessert, introducing a light, airy texture and added richness for every spoonful.
-
Roasted Nuts: A sprinkle of toasted almonds or pecans adds a satisfying crunch and nutty flavor, creating a lovely contrast to the soft pudding.
-
Coconut Macaroons: These chewy, sweet bites echo the pudding’s creamy coconut flavor (especially if using coconut milk!), creating a delightful dessert duo.
-
Spiced Chai Tea: The warm spices in chai beautifully harmonize with the vanilla and cinnamon tones in the rice pudding, making it an inviting pairing.
-
Chilled Fruit Compote: A homemade fruit compote, warm or chilled, will add a sweet-tart note that lifts the comforting flavors of the pudding.
Each of these accompaniments creates a unique dining experience, turning your homemade rice pudding into a memorable meal!
How to Store and Freeze Homemade Rice Pudding
Fridge: Store leftovers in an airtight container for up to 3 days. This helps maintain the creamy texture of your homemade rice pudding, keeping it fresh for your next delicious dessert.
Freezer: If you’d like to keep it longer, freeze the pudding in an airtight container for up to 2 months. Just be sure to leave some space at the top for expansion!
Reheating: To enjoy again, gently reheat in a saucepan over low heat, adding a splash of milk to restore creaminess, or enjoy it cold if you prefer.
Homemade Rice Pudding Variations
Feel free to get creative with your Homemade Rice Pudding and make it uniquely yours!
- Dairy-Free: Substitute whole milk with almond, oat, or coconut milk for a lighter, lactose-free dessert that retains its creamy texture.
- Sweetener Swap: Opt for honey, maple syrup, or a sugar alternative such as stevia to cater to your taste or dietary needs.
- Fruit Infusion: Fold in fresh or dried fruits like raisins, cranberries, or peaches for bursts of flavor and delightful texture.
- Citrus Zest: Brighten up your pudding with a splash of lemon or orange zest, adding a refreshing twist to each creamy spoonful.
- Nutty Crunch: Sprinkle in your favorite nuts, such as almonds or walnuts, for a satisfying crunch and added nutrition.
- Spice it Up: Experiment with other spices like nutmeg or cardamom to create an exciting flavor profile and warm aroma.
- Chocolate Delight: Stir in chocolate chips or cocoa powder for a rich, decadent variation that chocolate lovers will adore.
If you’re looking for more comforting recipes, try my Gingerbread Chia Pudding or indulge in some Butter Shrimp Rice for a delicious twist on classic flavors. Each of these suggestions can help you create a dessert that reflects your personal style and cravings!
Creamy Homemade Rice Pudding Recipe FAQs
How do I know if my rice is fresh enough for the pudding?
Absolutely! To ensure your rice is fresh, check for any unusual smells or discoloration. Fresh white rice should be white, free of dark spots, and have no hard or clumped grains. Using fresh rice contributes to the creaminess of your homemade rice pudding!
What’s the best way to store leftover rice pudding?
Very straightforward! Store your homemade rice pudding in an airtight container in the fridge where it can stay fresh for up to 3 days. Make sure to seal it well to prevent drying out. When you’re ready to enjoy it again, simply reheat it gently on the stove, adding a splash of milk to bring back that creamy texture.
Can I freeze homemade rice pudding?
Certainly! Freezing is a great option if you want to enjoy leftovers later. To freeze your homemade rice pudding, first let it cool completely. Then, place it in an airtight container, leaving some space at the top for expansion. You can freeze it for up to 2 months! When you’re ready to enjoy it again, thaw it overnight in the fridge before reheating gently on the stove.
What should I do if my pudding is too thick?
No worries at all! If your homemade rice pudding ends up too thick after cooking, simply stir in a bit of warm milk, one tablespoon at a time, until you reach your desired consistency. This helps restore its creamy texture without compromising its deliciousness!
Can I make this recipe suitable for a dairy-free diet?
Absolutely! To adapt this homemade rice pudding for a dairy-free diet, simply substitute regular milk with almond, oat, or coconut milk. Each alternative will provide a distinctive flavor while ensuring your dessert remains creamy—it’s a win-win!
Can dogs eat rice pudding?
While plain rice is usually safe for dogs, it’s best to avoid sharing your homemade rice pudding with them due to the sugar and eggs. It’s always advisable to monitor what your furry friends consume—keeping those sweet recipes just between you and the humans!
Creamy Homemade Rice Pudding That Warms the Soul
Ingredients
Equipment
Method
- In a large pot, combine 1 cup of white rice with 4 cups of your choice of milk and bring to a gentle boil.
- Once boiling, reduce heat to low and let rice simmer uncovered for about 20 minutes.
- After 20 minutes, stir in ½ cup of sugar, ensuring it dissolves completely into the pudding.
- Whisk together 2 fresh eggs, then temper them with some hot rice mixture before returning to the pot.
- Add 1 teaspoon of vanilla extract and 1 teaspoon of cinnamon, stirring thoroughly.
- Once thickened, cool slightly and serve warm or chilled, garnished with berries or cinnamon.
Leave a Reply