
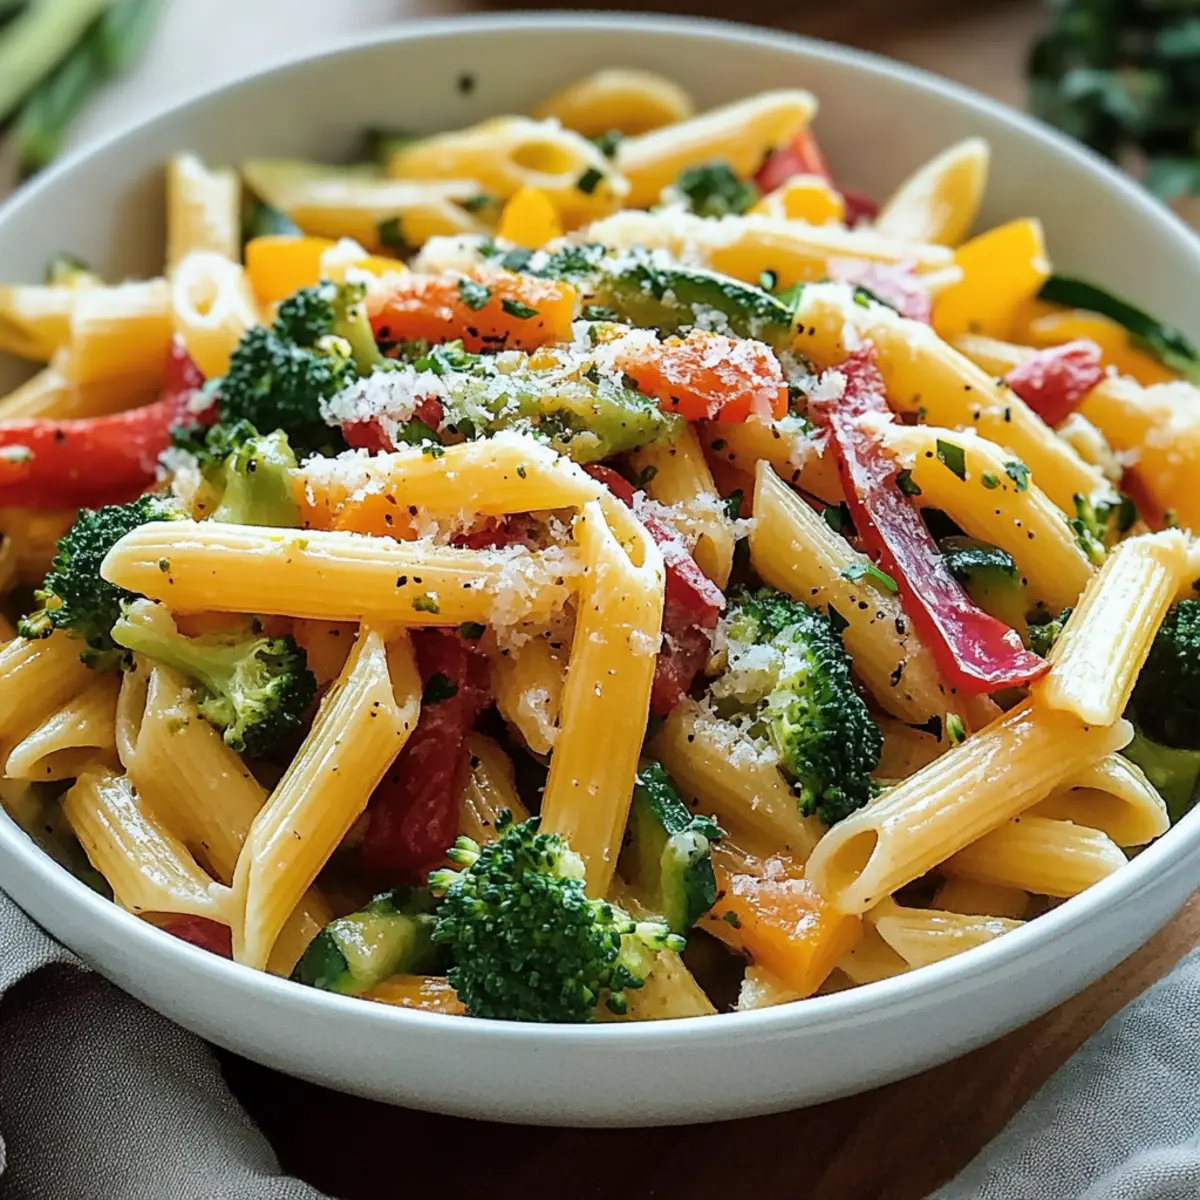
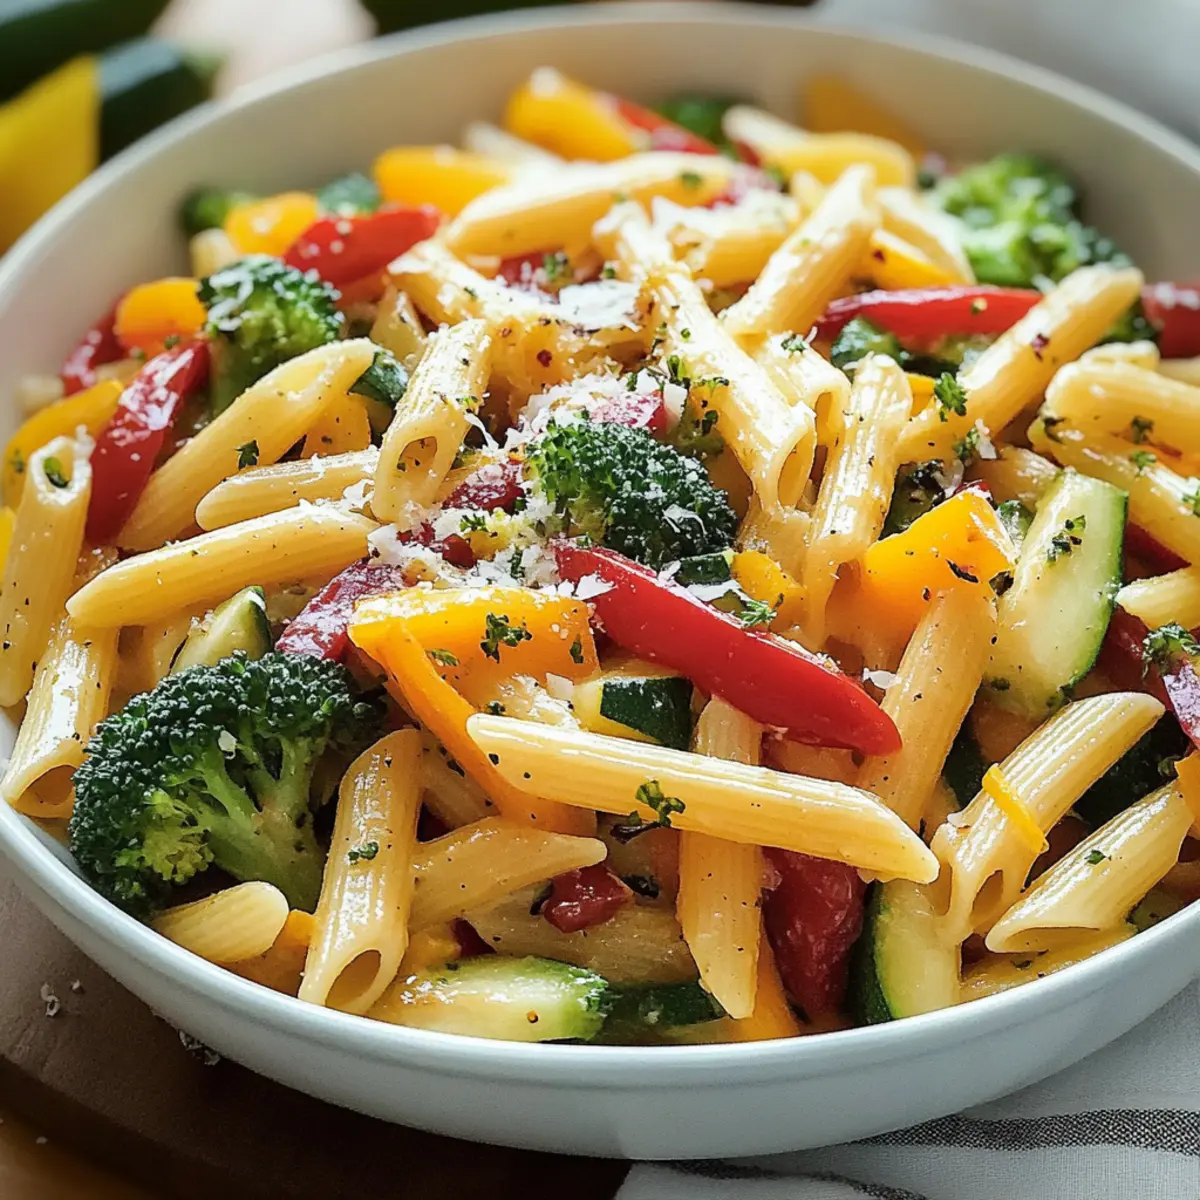
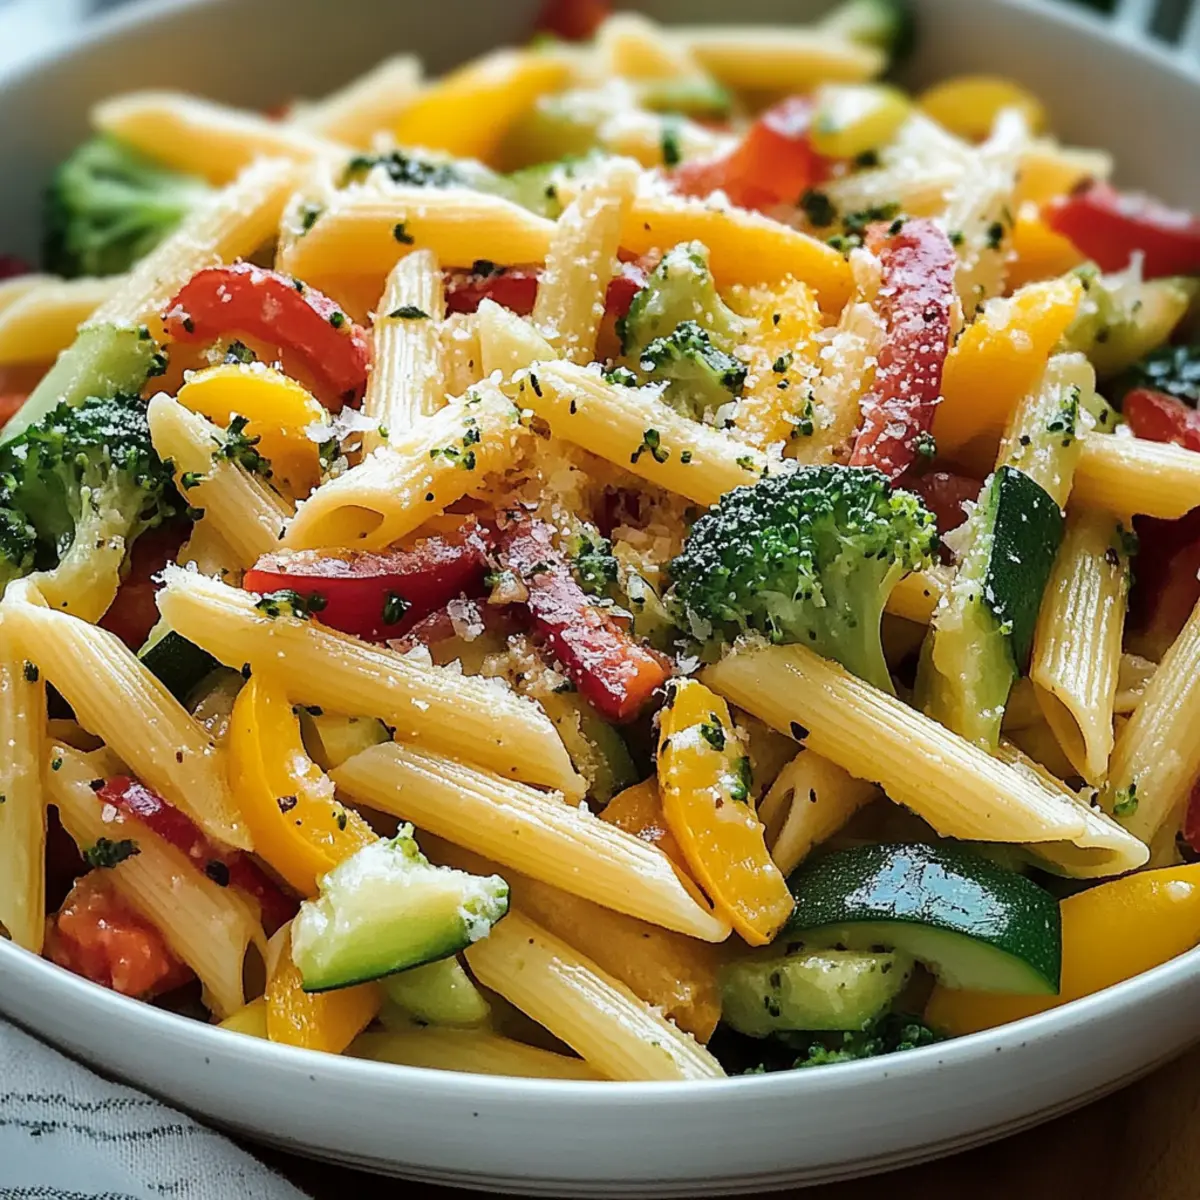
One evening, as I rummaged through my fridge, I discovered a colorful assortment of fresh vegetables vying for attention. Suddenly, inspiration struck! This is the foundation of my vibrant Pasta Primavera—a dish that transforms humble ingredients into a delightful culinary creation. Not only is this recipe quick to whip up, ready in under 30 minutes, but it’s also the ultimate customizable experience: feel free to toss in whatever seasonal produce you have at hand. Whether you’re looking for a healthy family dinner or a vibrant meal that’s both vegetarian and gluten-free adaptable, this Pasta Primavera has you covered. So, why not elevate your weeknight dinners with this deliciously fresh vegetable delight? Let’s dive into the recipe and see how easy it is to savor every colorful bite!
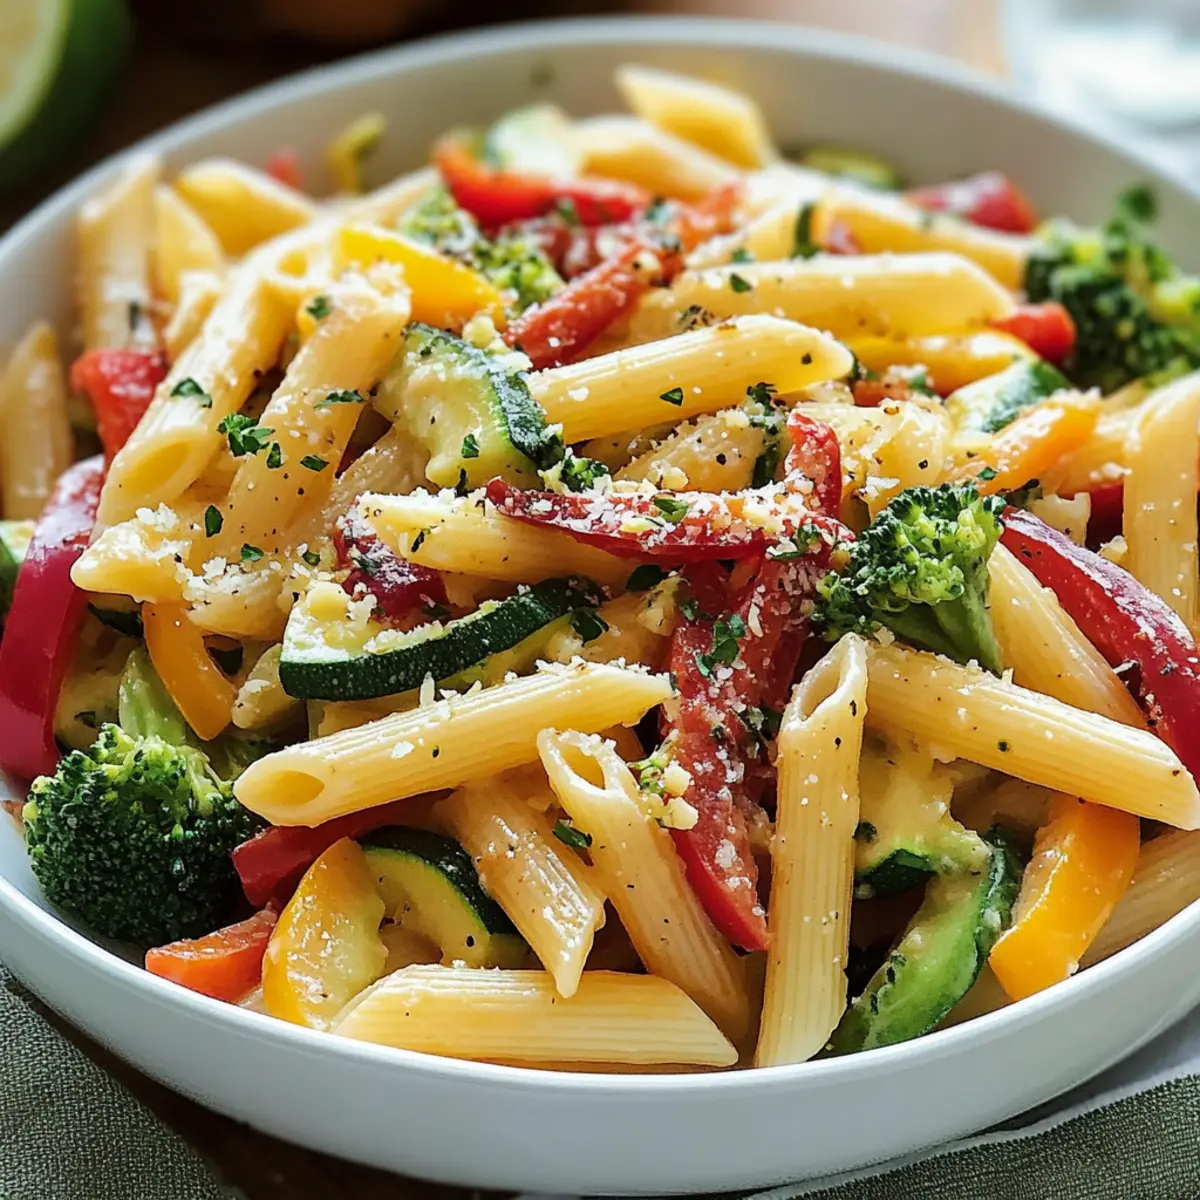
Why is Pasta Primavera a Must-Try?
Vibrant colors greet you with every bite! This Pasta Primavera showcases a medley of sautéed vegetables that not only nourish but captivate the eye. Quick and easy to prepare, it’s on the table in under 30 minutes—a lifesaver for busy weeknights. Customizable to your taste, use any seasonal produce you love or have handy for endless variations. Pair it with garlic bread or a mixed green salad for a complete meal, and consider adding grilled chicken or chickpeas for a protein kick. Experience the joy of fresh flavors with this delightful dish!
Pasta Primavera Ingredients
• Note: Here’s everything you need to create this vibrant Pasta Primavera, perfect for a quick and healthy dinner.
For the Pasta
- Penne Pasta – Provides structure and holds sauce well. Can substitute with gluten-free pasta or chickpea pasta for a protein boost.
For the Sauté
- Red Onion – Adds sweetness and depth. Yellow onions or shallots can also be used as substitutes.
- Carrot – Introduces color and sweetness to the dish. Can substitute with parsnip if desired.
- Broccoli Florets – Offers crunch and nutrients. Green beans or asparagus serve as good substitutes.
- Red Bell Pepper – Contributes sweetness and color. Any variety of bell peppers (green, yellow, orange) can be swapped in.
- Yellow Squash & Zucchini – Provide freshness and vibrancy. Eggplant or other seasonal squashes can alternatively be used.
- Garlic – Essential for flavor. Increase amount for more garlicky goodness.
- Grape Tomatoes – Add juicy sweetness. Cherry tomatoes or sun-dried tomatoes are feasible substitutes.
For Flavoring
- Dried Italian Seasoning – Infuses herby flavor. Fresh herbs such as basil or oregano can be used instead.
- Lemon Juice – Provides acidity that elevates flavors. Lime juice can be substituted if necessary.
- Parmesan Cheese – Adds rich umami flavor. Nutritional yeast is an excellent dairy-free option.
- Fresh Parsley – Used for garnish and freshness. Basil or cilantro may be used interchangeably.
- Olive Oil – Essential for sautéing.
Now that you have your ingredients ready, you’re just a few steps away from enjoying a colorful and delicious Pasta Primavera!
Step‑by‑Step Instructions for Pasta Primavera
Step 1: Boil the Pasta
Begin by bringing a large pot of salted water to a rolling boil over high heat. Once boiling, add the penne pasta and cook for 10-12 minutes, or until al dente. Stir occasionally to prevent sticking. When done, reserve ½ cup of pasta water, then drain the pasta in a colander, allowing it to steam dry while you prepare the vegetables.
Step 2: Heat the Olive Oil
While the pasta is cooking, place a deep skillet over medium-high heat and add a generous drizzle of olive oil. Heat the oil until it shimmers, which usually takes about 1-2 minutes. This step is crucial as it creates a flavorful base for the vibrant sautéed vegetables in your Pasta Primavera.
Step 3: Sauté the Onions and Carrots
To the hot oil, add the chopped red onion and carrot, stirring frequently for about 2 minutes. You’ll notice the onion becoming translucent and the carrot starting to soften—this is when the magic begins. The aroma will fill your kitchen, setting the stage for the delightful mix of colors and flavors to come.
Step 4: Add Crunchy Vegetables
Next, toss in the broccoli florets and diced red bell pepper. Sauté for another 2 minutes, stirring often until the broccoli brightens in color and the pepper starts to soften. The crunchiness of these veggies will keep the Pasta Primavera vibrant and texturally exciting, making each bite a delightful experience.
Step 5: Incorporate Yellow Squash and Zucchini
Now, it’s time to add the sliced yellow squash and zucchini into the pan. Continue sautéing for 2-3 minutes, until these vegetables are just tender yet still firm, retaining their colors. The blend of seasonal vegetables is key in this Pasta Primavera, adding freshness and a variety of nutrients to your dish.
Step 6: Add Garlic and Tomatoes
Stir in the minced garlic along with the halved grape tomatoes and dried Italian seasoning. Sauté everything together for another 2 minutes until the garlic becomes fragrant and the tomatoes begin to soften. This step enhances the flavors and adds a burst of juicy sweetness that perfectly complements the other vibrant veggies.
Step 7: Combine Pasta with Vegetables
Gently fold the drained penne pasta into the sautéed vegetables in the skillet. Use tongs or a spatula to toss everything together until well mixed, allowing the pasta to absorb the enticing aromas of the sauté. The blending of textures is essential in achieving the perfect Pasta Primavera.
Step 8: Adjust with Lemon and Pasta Water
Drizzle fresh lemon juice over the pasta and sprinkle with salt to taste. Gradually add the reserved pasta water, stirring until you achieve your desired sauce consistency. This step is crucial for ensuring that every strand of pasta is coated in the beautiful, light sauce that makes your Pasta Primavera shine.
Step 9: Finish with Parmesan and Parsley
To complete your Pasta Primavera, mix in the freshly grated Parmesan cheese and chopped parsley until well distributed. The cheese will melt into the dish, adding a rich creaminess. Serve your vibrant creation hot, and watch as your loved ones savor every colorful bite!
Pasta Primavera Variations & Substitutions
Customize this delightful Pasta Primavera to suit your taste buds and pantry offerings while letting your creativity shine through!
-
Seasonal Vegetables: Swap out any veggies you have on hand. Use asparagus in spring or roasted butternut squash in fall for delightful twists.
-
Pasta Shapes: Try farfalle or fusilli instead of penne for a fun shape change. Each pasta shape captures the sauce differently, adding new eating experiences!
-
Gluten-Free Option: Substitute penne with gluten-free pasta or chickpea pasta. Your dish will still be deliciously satisfying, just without the gluten!
-
Cheesy Delight: To keep it dairy-free, replace Parmesan with nutritional yeast. It adds a similar umami flavor while catering to vegetarian preferences.
-
Herb Swap: Use fresh basil or oregano instead of dried Italian seasoning for a brighter, more aromatic flavor profile that enhances the dish beautifully.
-
Heat It Up: Add red pepper flakes for a spicy kick or sauté in chili oil for an extra layer of flavor. Customize the heat level to your liking!
-
Protein Boost: For a heartier meal, fold in grilled chicken, shrimp, or even chickpeas. Each option elevates the dish into a satisfying main course.
-
Lemon Twist: If fresh lemon isn’t available, try lime juice for a vibrant citrus flavor. It’ll give your dish a unique twist you won’t forget!
For more unique pasta dishes, check out these options: Butter Chicken Pasta for a hearty delight or Creamy Beef Pasta to satisfy your meat cravings. No matter how you choose to vary this dish, each bite will fill your home with warmth and joy.
How to Store and Freeze Pasta Primavera
- Fridge: Store leftovers in an airtight container for up to 3 days. Reheat in a skillet with a splash of olive oil to restore some of the original texture.
- Freezer: Transfer cooled Pasta Primavera to a freezer-safe container for up to 2 months. Thaw in the refrigerator overnight before reheating.
- Reheating: To reheat, add a small amount of reserved pasta water in a skillet and warm over low heat, stirring gently until heated through, ensuring the flavors stay vibrant.
Expert Tips for Pasta Primavera
-
Prep Ahead: Chop your vegetables in advance to make cooking quick and seamless when you’re ready to whip up your Pasta Primavera.
-
Perfect Veggie Texture: Aim for crisp-tender vegetables by adjusting cooking times; thicker veggies may need a bit longer to sauté properly.
-
Sauce Consistency: Remember to use the reserved pasta water gradually to achieve that perfect sauce consistency without losing the flavor focus in your Pasta Primavera.
-
Protein Boost: For a heartier meal, consider adding grilled chicken, sautéed shrimp, or chickpeas to your Pasta Primavera.
-
Herbs Make a Difference: Swap dried herbs for fresh ones, enhancing the overall flavor and aroma of your dish for a more vibrant experience.
Make Ahead Options
These Pasta Primavera preparations are a game changer for busy home cooks looking to save time during the week! You can chop all your vegetables up to 24 hours in advance and store them in an airtight container in the fridge to keep them fresh and crisp. Additionally, you can cook the penne pasta and toss it with a drizzle of olive oil to prevent sticking, storing it in the refrigerator for up to 3 days. When you’re ready to enjoy your vibrant Pasta Primavera, simply sauté the vegetables and combine them with the prepped pasta, adding lemon juice and Parmesan at the end to ensure a burst of fresh flavor. This way, you’ll still end up with that delicious, homemade taste without the last-minute scramble!
What to Serve with Easy Pasta Primavera?
One delightful meal often deserves a delightful accompaniment, and this vibrant dish is no exception.
- Garlic Bread: Crisp-on-the-outside, soft-on-the-inside, garlic bread complements the light pasta and adds a satisfying crunch. Dip it in extra sauce for a heavenly bite!
- Mixed Green Salad: A fresh salad with a tangy vinaigrette balances the richness of the Parmesan, offering a bright, refreshing contrast to the dish.
- Grilled Chicken: Juicy, flavorful grilled chicken can easily be added for those who want extra protein, enhancing the overall meal experience without overpowering the pasta.
- Roasted Vegetables: Serving roasted seasonal veggies alongside will elevate your meal, as their caramelized flavors harmonize beautifully with the fresh flavors in the Primavera.
- Lemonade or Iced Tea: A chilled drink like lemonade or refreshing iced tea complements the bright flavors of the dish, enhancing its summer essence.
- Fruit Tart: End your meal on a sweet note with a light fruit tart. The fresh fruit enhances the vibrant theme of your dinner while providing a satisfying yet not heavy dessert.
Pasta Primavera Recipe FAQs
How do I choose the right vegetables for Pasta Primavera?
Absolutely! The key to a delicious Pasta Primavera is choosing fresh, seasonal vegetables. Aim for vibrant colors and crisp textures—in the spring, peas and asparagus shine, while summer welcomes zucchini and bell peppers. When selecting, look for firm skins without dark spots or blemishes to ensure freshness.
What’s the best way to store leftovers?
Very simple! Store any leftovers in an airtight container in the fridge for up to 3 days. To keep them tasting fresh, I recommend reheating in a skillet over medium heat with a splash of olive oil to restore the original texture and brightness.
Can I freeze Pasta Primavera?
Of course! To freeze, allow the Pasta Primavera to cool completely. Then, transfer it to a freezer-safe container and seal tightly. It can be stored for up to 2 months. When you’re ready to enjoy, simply thaw it overnight in the fridge and reheat in a skillet with a little reserved pasta water for moisture.
What should I do if my vegetables are overcooked?
If you find yourself with overcooked vegetables, don’t fret! You can revive the dish by adding a splash of fresh lemon juice or a drizzle of olive oil—this adds brightness. Additionally, serve with some fresh raw veggies or a sprinkle of fresh herbs on top to enhance the dish’s freshness.
Are there any dietary considerations for Pasta Primavera?
Definitely! This recipe is inherently vegetarian and can easily be made gluten-free by switching to gluten-free pasta options. Just be mindful of any allergies—like dairy for the cheese; consider using nutritional yeast as a dairy-free substitute. It’s a versatile dish that can cater to various dietary needs with simple adaptations.
How can I add protein to my Pasta Primavera?
The more the merrier! For a heartier dish, consider adding grilled chicken, sautéed shrimp, or even chickpeas for a plant-based protein boost. Simply cook them separately and toss them in when combining the pasta with the sautéed vegetables for a well-rounded meal.
Bright and Fresh Pasta Primavera for Quick Weeknight Dinners
Ingredients
Equipment
Method
- Begin by bringing a large pot of salted water to a rolling boil over high heat. Once boiling, add the penne pasta and cook for 10-12 minutes, or until al dente. Stir occasionally to prevent sticking. When done, reserve ½ cup of pasta water, then drain the pasta in a colander, allowing it to steam dry while you prepare the vegetables.
- While the pasta is cooking, place a deep skillet over medium-high heat and add a generous drizzle of olive oil. Heat the oil until it shimmers, which usually takes about 1-2 minutes.
- To the hot oil, add the chopped red onion and carrot, stirring frequently for about 2 minutes.
- Next, toss in the broccoli florets and diced red bell pepper. Sauté for another 2 minutes, stirring often.
- Now, it’s time to add the sliced yellow squash and zucchini into the pan. Continue sautéing for 2-3 minutes.
- Stir in the minced garlic along with the halved grape tomatoes and dried Italian seasoning. Sauté everything together for another 2 minutes.
- Gently fold the drained penne pasta into the sautéed vegetables in the skillet.
- Drizzle fresh lemon juice over the pasta and sprinkle with salt to taste. Gradually add the reserved pasta water.
- To complete your Pasta Primavera, mix in the freshly grated Parmesan cheese and chopped parsley until well distributed.
Leave a Reply