
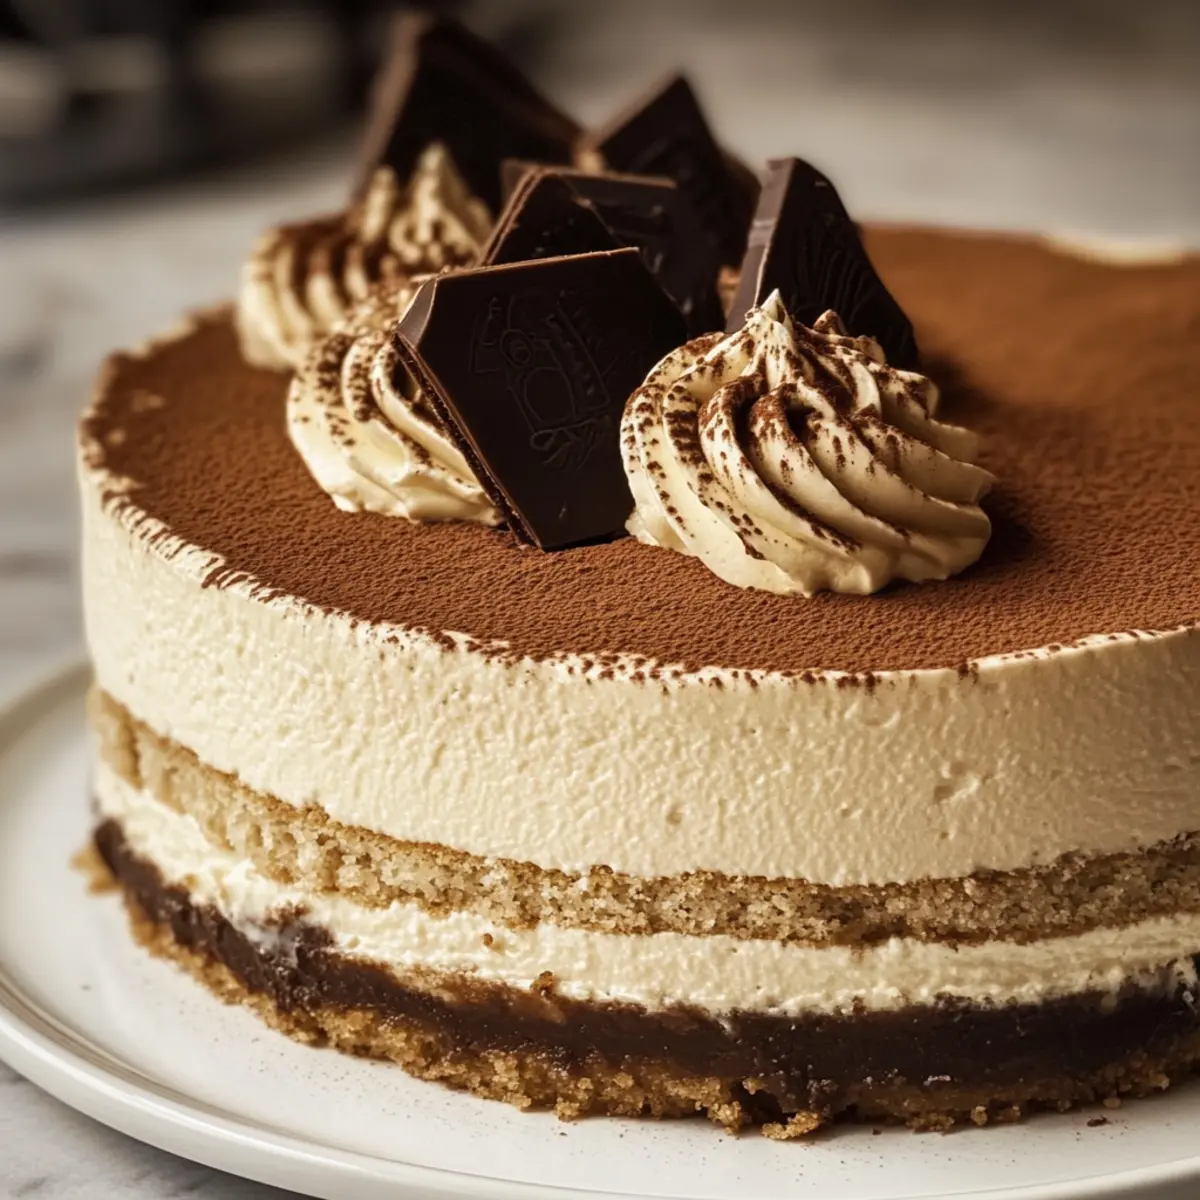
As I stirred my morning cold brew, it hit me—what if I could transform my favorite coffee experience into a dessert? That spark of inspiration led me to create this delightful Tiramisu Cold Brew Coffee Cheesecake. Featuring layers of creamy cheesecake and rich coffee flavors, this easy dessert is perfect for impressing guests or treating yourself to a well-deserved indulgence. With its smooth texture and a buttery crunch, it’s a foolproof crowd-pleaser that requires minimal effort. Whether you’re celebrating a special occasion or just want to elevate your weekend dessert game, this cheesecake is sure to satisfy your sweet tooth. Curious about how to whip up this oh-so-tempting treat? Keep scrolling for my simple recipe and tips!
Why is This Cheesecake a Must-Try?
Indulgent Flavor: Each bite of the Tiramisu Cold Brew Coffee Cheesecake marries creamy cheesecake with bold coffee, creating a taste sensation that coffee lovers will adore.
Easy to Make: With straightforward steps, this recipe is perfect for bakers of all levels, ensuring you create a stunning dessert without stress.
Versatile Options: Feel free to customize the flavors—try swapping vanilla for almond extract for a delightful twist.
Ideal for Gatherings: Impress your friends and family with this show-stopping dessert at gatherings or casual dinners. It’s a guaranteed hit!
Quick Chill Time: Just a few hours in the fridge, and you have a gourmet cheesecake ready to serve.
Looking for another indulgent option? Check out this delicious Tiramisu Chia Pudding for a lighter take on a beloved flavor!
Tiramisu Cold Brew Coffee Cheesecake Ingredients
• Discover the essential ingredients for your Tiramisu Cold Brew Coffee Cheesecake!
For the Cheesecake
- Cream Cheese – Provides a creamy richness and smooth texture; opt for full-fat for best results.
- Cold Brew Coffee – Adds deep, bold flavor; use strong regular coffee as a substitute if cold brew is unavailable.
- Sugar – Sweetens the cheesecake; consider using brown sugar for a deeper flavor.
- Vanilla Extract – Adds depth of flavor; use pure vanilla for the best taste.
- Optional Coffee Liqueur – For added complexity in flavor; Kahlúa can be used for a richer coffee note.
For the Crust
- Ladyfingers – Forms the base layers, soaked in coffee; can substitute with sponge cake if desired.
- Butter – Enhances crust flavor and texture; can be replaced with margarine for a dairy-free option.
For the Topping
- Cocoa Powder – Dusting for a classic tiramisu finish; use high-quality cocoa for richer flavor.
- Whipped Cream – Incorporates airiness into the cheesecake; whip until stiff peaks form for the best texture.
Step‑by‑Step Instructions for Tiramisu Cold Brew Coffee Cheesecake
Step 1: Prepare the crust
Begin by crushing ladyfingers using a food processor until they resemble fine crumbs. Melt butter and mix it with the crushed ladyfingers until fully combined. Press this mixture firmly into the bottom of a 9-inch springform pan, ensuring an even layer. Refrigerate the crust for 30 minutes, allowing it to firm up while you prepare the filling.
Step 2: Make the filling
In a large mixing bowl, beat the cream cheese and sugar together using an electric mixer on medium speed until the mixture is smooth and creamy, about 3-4 minutes. Gradually add in the cold brew coffee and vanilla extract, blending until well incorporated. The creamy mixture should be light and fluffy, perfect for your Tiramisu Cold Brew Coffee Cheesecake.
Step 3: Incorporate whipped cream
In a separate bowl, whip heavy cream until stiff peaks form. This usually takes about 3-5 minutes with a hand mixer. Gently fold the whipped cream into the cream cheese mixture using a spatula. Be careful not to deflate the whipped cream; this step is crucial to achieving a light, airy texture in the cheesecake.
Step 4: Layer the coffee soak
Take a shallow dish and pour in brewed cold coffee or a coffee liqueur soak, if using. Quickly dip each ladyfinger into the coffee, ensuring they soak but don’t become soggy. Layer these soaked ladyfingers evenly over the filling in the springform pan, creating the signature Tiramisu layers.
Step 5: Chill
Cover the cheesecake with plastic wrap and refrigerate for at least 4 hours, but preferably overnight. This chill time allows the flavors of the Tiramisu Cold Brew Coffee Cheesecake to meld beautifully, resulting in a rich and satisfying dessert.
Step 6: Finish
Before serving, carefully remove the cheesecake from the springform pan. Dust the top with high-quality cocoa powder for a traditional finish. You can also garnish with whipped cream or chocolate shavings for an extra touch of elegance.

Tiramisu Cold Brew Coffee Cheesecake Variations
Feel free to get creative and make this Tiramisu Cold Brew Coffee Cheesecake your very own!
-
Almond Extract: Replace vanilla extract with almond extract for a delightful twist on flavor.
-
Nutty Crust: Add chopped walnuts or hazelnuts to the crust for an extra crunch and nuttiness.
-
Chocolate Shavings: Top with dark chocolate shavings for a touch of richness that complements the coffee flavor.
-
Spicy Kick: Mix in a pinch of cinnamon or even cayenne pepper for a warm, spicy layer beneath the cheesecake.
-
Fruit Layers: Try adding a layer of fresh raspberries or strawberries between the cheesecake and ladyfingers for a refreshing fruity zing.
-
Dairy-Free Delight: Substitute cream cheese with dairy-free cream cheese and use coconut cream in place of whipped cream for a vegan-friendly version!
-
Decadent Caramel: Drizzle homemade caramel sauce over your cheesecake before chilling for a luxurious sweet note.
Feeling adventurous? You might also enjoy making a lovely Tiramisu Chia Pudding as a lighter alternative that still retains that signature coffee taste!
What to Serve with Tiramisu Cold Brew Coffee Cheesecake
This enchanting dessert is the perfect centerpiece for an unforgettable meal, inviting you to explore delightful pairings that elevate every bite.
- Rich Espresso: Its bold flavor enhances the coffee notes of the cheesecake, creating a perfect union of tastes that resonates with coffee lovers.
- Fresh Berries: The vibrant sweetness and acidity of strawberries or raspberries add a refreshing brightness, balancing the creamy texture beautifully.
- Vanilla Ice Cream: A scoop on the side provides a luscious contrast that melts into the cheesecake, making each mouthful even more indulgent.
- Chocolate Sauce: A drizzle of this rich sauce elevates the visual appeal and adds an extra layer of sweetness that harmonizes wonderfully.
- Mint Leaves: Fresh mint leaves add a burst of color and cooling freshness that brings a delightful complexity to this rich dessert.
- Hazelnut Praline: Crushed praline offers a wonderful crunch and nutty sweetness, enhancing the dessert’s textures while complementing coffee flavors.
Pairing these elements with your Tiramisu Cold Brew Coffee Cheesecake creates a wonderfully balanced dining experience, ensuring every taste is a celebration of flavor!
Expert Tips for Tiramisu Cold Brew Coffee Cheesecake
-
Chill Time: Allow the cheesecake to chill overnight for the best flavor integration. It really enhances the coffee and creaminess!
-
Whipped Cream: Make sure to whip the cream to stiff peaks to ensure a light and airy cheesecake. This step is crucial for your Tiramisu Cold Brew Coffee Cheesecake.
-
Gentle Folding: Avoid overmixing when combining the whipped cream with the filling. Gently fold to keep that heavenly texture intact!
-
Quality Ingredients: Use high-quality cold brew coffee and cocoa powder. The depth of flavor really elevates your dessert.
-
Serving Suggestion: Pair slices with a dollop of whipped cream or a drizzle of chocolate sauce for additional indulgence.
How to Store and Freeze Tiramisu Cold Brew Coffee Cheesecake
Fridge: Store your cheesecake in an airtight container in the refrigerator for up to 3 days. This keeps the flavors fresh and the texture creamy.
Freezer: If you have leftovers, slice them and freeze in a single layer for up to 3 months. Wrap each slice tightly in plastic wrap or aluminum foil to prevent freezer burn.
Thawing: To enjoy frozen slices, transfer them to the fridge and allow them to thaw overnight. This helps maintain the cheesecake’s creamy consistency.
Reheating: There’s no need to reheat your Tiramisu Cold Brew Coffee Cheesecake; simply serve chilled for the best experience.
Make Ahead Options
These Tiramisu Cold Brew Coffee Cheesecake components are perfect for meal prep and can be made ahead to save precious time during busy weeks! You can prepare the crust and fill it with the cheesecake mixture up to 24 hours in advance; just be sure to keep it tightly covered to maintain freshness. The ladyfingers can also be soaked in coffee and layered ahead of time, keeping the cheesecake equally flavorful without getting too soggy. When you’re ready to serve, simply dust with cocoa powder and garnish as desired right before serving, ensuring that your Tiramisu Cold Brew Coffee Cheesecake remains just as delicious as if it were freshly made!
Tiramisu Cold Brew Coffee Cheesecake Recipe FAQs
How do I choose the right cold brew coffee for this cheesecake?
Absolutely! For the Tiramisu Cold Brew Coffee Cheesecake, opt for strong cold brew coffee that has a rich and bold flavor. If you don’t have cold brew, you can use a strong regular coffee; just brew it double-strength and let it cool completely before using. This ensures your cheesecake is packed with delightful coffee goodness!
How should I store my cheesecake and how long will it last?
You can store your Tiramisu Cold Brew Coffee Cheesecake in the refrigerator for up to 3 days. Be sure to keep it in an airtight container to preserve its creaminess and flavor. If you have leftovers, slice the cheesecake and freeze it for up to 3 months! Just make sure each slice is wrapped tightly in plastic wrap to prevent freezer burn.
Can I freeze Tiramisu Cold Brew Coffee Cheesecake? If so, how?
Of course! Freezing this cheesecake is easy! First, slice the cheesecake into individual portions. Wrap each slice tightly in plastic wrap or foil, and then place them in a freezer-safe container. This can be kept in the freezer for up to 3 months. When you’re ready to enjoy, just move the slices to the fridge and allow them to thaw overnight for the best texture!
What should I do if my cheesecake cracks while chilling?
If you notice cracks in your Tiramisu Cold Brew Coffee Cheesecake, don’t worry too much. This can happen if the cheesecake gets too much air during mixing or if it’s chilled too quickly. To avoid this, always fold in whipped cream gently and let it chill properly in the refrigerator. If it happens, just dust the top with cocoa powder—it will still taste divine!
Are there any dietary considerations for this recipe?
Yes, definitely! If you have dietary restrictions, you can make adjustments. For a dairy-free version, use a dairy-free cream cheese and margarine for the crust. If you have issues with caffeine, consider using decaf coffee or almond milk mixed with a coffee essence. Always check ingredients to ensure they meet your requirements!
What can I substitute for ladyfingers in the crust?
If you’re in a pinch, you can absolutely substitute ladyfingers with sponge cake. Simply cut it into strips and follow the same soaking method. Alternatively, crushed graham crackers or digestive biscuits can be a delicious substitute, providing a different flavor to your Tiramisu Cold Brew Coffee Cheesecake while still keeping that essential crunchy base.
Tiramisu Cold Brew Coffee Cheesecake: Your New Favorite Dessert
Ingredients
Equipment
Method
- Prepare the crust by crushing ladyfingers in a food processor until fine crumbs. Melt butter and mix with ladyfingers. Press into a 9-inch springform pan and refrigerate for 30 minutes.
- Beat cream cheese and sugar together in a large bowl until smooth, about 3-4 minutes. Gradually add cold brew coffee and vanilla extract, blending until fluffy.
- Whip heavy cream until stiff peaks form. Gently fold the whipped cream into the cream cheese mixture.
- Soak each ladyfinger in coffee and layer over the filling in the springform pan.
- Cover with plastic wrap and refrigerate for at least 4 hours, preferably overnight.
- Remove cheesecake from springform pan. Dust top with cocoa powder and garnish with whipped cream or chocolate shavings.
Leave a Reply