
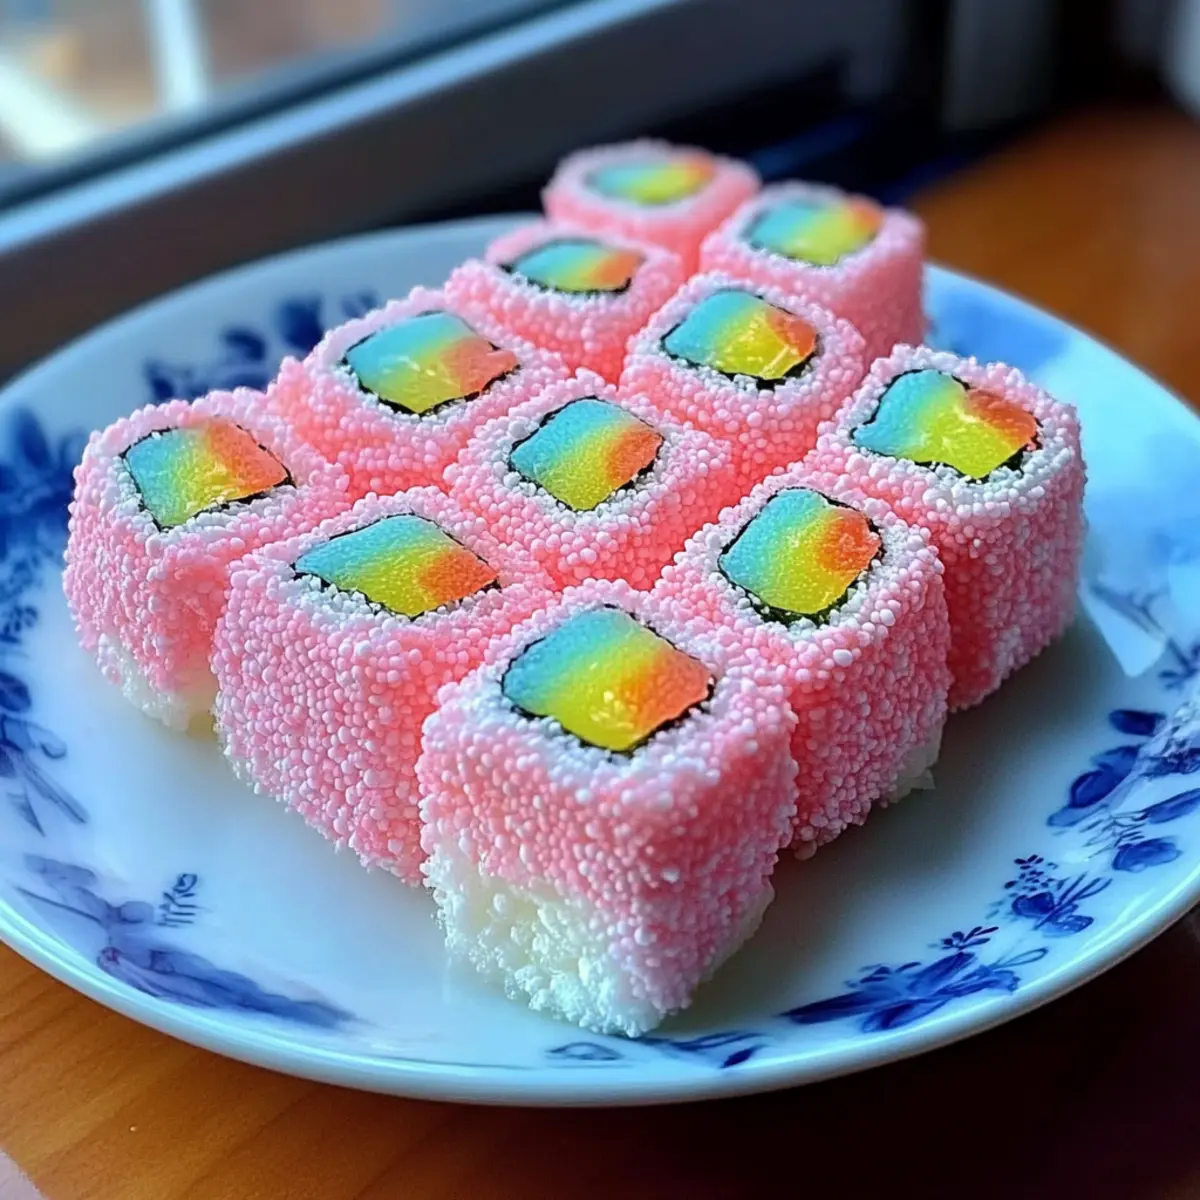
As I unwrapped the cotton candy, a cascade of nostalgia swept over me, reminding me of summer fairs and carefree days. This delightful Cotton Candy Sushi isn’t just a treat; it’s a playful twist on a classic dessert that will bring smiles to faces of all ages. With its vibrant colors and the option for endless fillings—think marshmallows, gummy candies, or fresh fruit—this no-bake dessert is a breeze to whip up, making it a perfect go-to for parties or simply a fun afternoon with the kids. Not only is it visually stunning, but it’s also a crowd favorite that’s effortlessly customizable. Are you ready to roll into a sweet adventure? Let’s get started on this whimsical creation!
Why Is Cotton Candy Sushi So Special?
Whimsy and Delight: This Cotton Candy Sushi isn’t just a dessert; it’s an experience that sparks joy in everyone, from kids to adults.
No-Bake Convenience: Quick and effortless to prepare, you can whip this up in no time, making it perfect for impromptu gatherings.
Colorful Creations: The vibrant hues and playful shapes make it a visual feast, turning any occasion into a festive celebration.
Endless Customization: With so many filling options, you can tailor each roll to suit your taste or theme—from fruity to chocolatey delights.
Crowd-Pleasing Treat: Whether at birthdays or casual get-togethers, this treat brings smiles and excitement, ensuring it’s a hit with every guest!
Why not pair this fun dessert with other sweet treats? Check out our ideas in the dessert table section.
Cotton Candy Sushi Ingredients
For the Sushi Roll
- Cotton Candy – A whimsical wrap that adds sweetness and fluffiness; homemade is fluffiest but store-bought can work in a pinch.
- Mini Marshmallows – Chewy and sweet; these are perfect for easy rolling without overpowering other flavors.
- Gummy Candies – Bright and flavorful; any variety works, but keep size in mind for smooth rolling.
- Fresh Fruit (e.g., bananas, strawberries) – Adds a refreshing touch and natural sweetness; seasonal fruits enhance flavor.
- Chocolate Chips – Optional but adds extra richness; semi-sweet or milk chocolate are both delightful choices.
For Extra Color and Flavor
- Sprinkles – Brighten up your sushi and add crunch; a fun way to customize for festivities.
- Nut Butter – For added richness; a thin layer can complement the other fillings beautifully, if you want a nutty twist.
Dive into this delightful Cotton Candy Sushi adventure with all these fun and colorful ingredients!
Step‑by‑Step Instructions for Cotton Candy Sushi
Step 1: Prepare Your Workspace
Begin by gathering all your ingredients for the Cotton Candy Sushi. Lay out cotton candy, mini marshmallows, gummy candies, sliced fruit, and chocolate chips on a clean, flat surface. It’s essential to work in a cool, dry place as this helps to keep the cotton candy fluffy. Prepping everything in advance will ensure a smooth rolling process later on.
Step 2: Form the Cotton Candy Base
Take a generous piece of cotton candy and gently stretch it out to create a flat surface, making it approximately 10 inches in diameter. This will serve as your sushi roll wrap, so make sure it is even and holds its shape. If the cotton candy is sticking to your fingers, dampen your hands slightly to help maintain its integrity without getting it too wet.
Step 3: Add Your Fillings
Now it’s time to layer the fun fillings! In the center of your stretched cotton candy, arrange a few mini marshmallows, a handful of gummy candies, and sliced fruits. Aim for a colorful mix for the Cotton Candy Sushi to showcase its whimsical nature. Be careful not to overfill, as this can make rolling difficult; keep the fillings about an inch from the edges.
Step 4: Roll It Up
With your fillings in place, carefully roll the cotton candy over the fillings, starting from one edge and rolling tightly to the other. Make sure to keep the edges secure by pressing them together as you roll; this will help maintain the sushi shape. Once rolled, you may need to pinch the ends to seal the sushi and keep the delicious fillings inside.
Step 5: Slice Into Pieces
After forming the roll, place it seam-side down on a cutting board. Using a sharp knife, slice the Cotton Candy Sushi into bite-sized pieces, about 1-2 inches thick. A gentle sawing motion will help maintain the fluffy texture without squishing the roll, so take your time to get stunning, colorful pieces that showcase all the yummy fillings.
Step 6: Your Delightful Creation Awaits
Serve your Cotton Candy Sushi pieces immediately for the best texture and flavor. Arrange them on a vibrant platter, perhaps with a sprinkle of extra candies or a drizzle of chocolate on top for a touch of flair. This whimsical dessert is sure to impress both kids and adults alike, turning any gathering into a festive celebration.
Expert Tips for Cotton Candy Sushi
- Freshness First: Always use fresh cotton candy to keep it fluffy and delicious. Stale cotton candy can fall apart easily when rolling.
- Cool Environment: Work in a cool, dry space to prevent the cotton candy from sticking and losing its shape, ensuring a better Cotton Candy Sushi experience.
- Keep It Simple: Avoid overfilling your rolls; too many ingredients can make rolling difficult. Stick to a few colorful fillings for the best results.
- Cut with Care: Use a sharp knife and a gentle sawing motion to slice your sushi. This helps maintain the fluffy texture without squishing your delightful creation.
- Customizable Fun: Feel free to experiment with different fillings! Try various fruits, candies, or even flavored nut butters to create your perfect Cotton Candy Sushi.
How to Store and Freeze Cotton Candy Sushi
Fridge: Store leftover Cotton Candy Sushi in an airtight container to prevent it from drying out. It’s best enjoyed within 1-2 days for optimal freshness.
Freezer: Although not recommended, you can freeze it for up to 1 month. Wrap tightly in plastic wrap and place in a freezer-safe container; however, expect texture changes upon thawing.
Reheating: Cotton candy does not reheat well, so enjoy it cold or at room temperature right after making to experience its delightful fluffiness!
Room Temperature: If serving at a party, keep the sushi out for no more than 1-2 hours, as cotton candy can begin to dissolve in humid conditions.
What to Serve with Cotton Candy Sushi
Imagine a playful gathering filled with laughter and colorful treats, where your vibrant dessert takes center stage.
- Fruit Skewers: Fresh fruit on skewers add a crisp contrast to the fluffy sweetness of the sushi, ensuring a refreshing bite.
- Chocolate Fondue: The rich, warm chocolate provides a delightful dip for your cotton candy creations, enhancing the decadent experience.
- Mini Cupcakes: These bite-sized sweets offer a perfect balance of flavor and fun, complementing the whimsical nature of your dessert.
- Ice Cream Float: A bubbly, creamy beverage pairs wonderfully, adding a fizzy twist to this already playful dessert.
- Rainbow Fruit Salad: A bright mix of seasonal fruits enhances the visual appeal and freshness, balancing out the sweetness of the sushi.
- Sparkling Lemonade: This refreshing drink adds a zesty kick that contrasts nicely with the sugary treat, making every bite exhilarating.
- Whipped Cream Dip: A light, airy dip can enhance the experience of each bite, blending beautifully with the cotton candy’s texture.
- Cookies: Crunchy and sweet cookies provide an enjoyable textural contrast, bringing classic cookie flavors into your delightful dessert adventure.
Make Ahead Options
These delightful Cotton Candy Sushi rolls are perfect for meal prep, allowing you to minimize stress on busy event days! You can prepare the filling components—such as mini marshmallows, gummy candies, and fresh fruit—up to 24 hours in advance. Store the fillings in airtight containers in the refrigerator, ensuring they remain fresh and vibrant. However, keep the cotton candy separate and wrapped in plastic to prevent it from losing its fluffiness. When you’re ready to serve, simply stretch the cotton candy, assemble your fillings, roll them up, and slice into pieces. This way, you’ll have a whimsical dessert ready to impress your guests with delicious flavor and minimal effort!
Cotton Candy Sushi Variations
Customize your Cotton Candy Sushi with these fun and delicious twists that will excite your taste buds!
-
Fruit Swap: Replace bananas with sliced apples or berries for a fresh, seasonal twist on sweetness. The crunch of apples or the burst of berries takes this creation to new fruity heights.
-
Dairy-Free: Use vegan marshmallows and swap chocolate chips for dairy-free alternatives. This way, you can enjoy the same delightful flavors without dairy!
-
Gourmet Chocolate: Add gourmet chocolate or chocolate drizzle for a decadent layer. The richness of dark chocolate pairs beautifully with sweet cotton candy, creating a gourmet experience.
-
Nutty Flavor: Spread a thin layer of your favorite nut butter, like almond or cashew, on the cotton candy before adding fillings. This not only adds an intriguing flavor profile but also a bit more nutrition!
-
Spicy Kick: For the adventurous, drizzle a little chili-infused honey over the fruit before rolling. This unexpected warmth against the sweetness is sure to tantalize your taste buds.
-
Candy Explosion: Experiment with sour candies, like Sour Patch Kids, to add a tangy contrast. The sour and sweet combo will create a mouthwatering balance that kids will absolutely love.
-
Seasonal Celebration: Try holiday-themed fillings, like pumpkin pie spice marshmallows for fall or peppermint candies for winter. This will help you celebrate seasonal flavors all year round!
-
Colorful Sprinkles: Top your sushi with vibrant sprinkles before slicing for a festive look. These little bursts of color not only enhance the visual appeal but also add a fun crunch!
Feel free to make it your own, and if you want more exciting dessert ideas, check out our delightful dessert table section!
Cotton Candy Sushi Recipe FAQs
How should I select and store cotton candy for this recipe?
Absolutely! When choosing cotton candy, freshness is key. Look for fluffy, airy strands with vibrant colors; avoid any that have dark spots or appear clumpy. For storage, keep leftover cotton candy in an airtight container at room temperature, and enjoy within 1-2 days for peak fluffiness.
Can I freeze Cotton Candy Sushi?
Very! While it’s not the best option due to potential texture changes, you can freeze Cotton Candy Sushi for up to 1 month. Wrap the sushi tightly in plastic wrap and place it in a freezer-safe container. When you’re ready to enjoy it, let it thaw in the fridge for a few hours. Just be prepared for it to be a bit different in texture upon thawing!
What’s the best way to store leftover Cotton Candy Sushi?
I recommend placing any leftovers in an airtight container and storing them in the refrigerator. For optimal flavor and texture, it’s best consumed within 1-2 days. If you’ve made a lot, try to limit exposure to air and moisture, as that can cause the cotton candy to dissolve.
Can I use different fillings besides marshmallows and fruits?
Absolutely! Feel free to get creative with your fillings. You can use a variety of gummy candies, chocolate chips, or even dark chocolate-covered fruits. Just remember to keep the fillings manageable in size and avoid overloading the roll, as this will ensure easier rolling and a better overall texture.
Are there any allergies or dietary considerations?
Very much so! If you have dietary restrictions, make sure to check the ingredient labels on all candies and chocolates for common allergens, such as nuts or gluten. Also, if preparing for kids with allergies, you can substitute marshmallows with allergy-friendly options, or make homemade marshmallows to control the ingredients. Always err on the side of caution when serving to guests with known allergies.
How long can the Cotton Candy Sushi sit out at room temperature?
I often recommend that you keep Cotton Candy Sushi out for no more than 1-2 hours at room temperature, especially in humid conditions. Since cotton candy tends to dissolve when exposed to moisture, it’s best served fresh and enjoyed right away for the ultimate fluffy experience!
Delightful Cotton Candy Sushi: A Fun No-Bake Treat!
Ingredients
Equipment
Method
- Prepare Your Workspace: Gather all your ingredients for the Cotton Candy Sushi and lay them out on a clean, flat surface.
- Form the Cotton Candy Base: Stretch a generous piece of cotton candy to create a flat surface, approximately 10 inches in diameter.
- Add Your Fillings: Layer mini marshmallows, gummy candies, and sliced fruits in the center of the stretched cotton candy.
- Roll It Up: Carefully roll the cotton candy over the fillings, starting from one edge and rolling tightly to the other.
- Slice Into Pieces: Place the roll seam-side down and slice it into bite-sized pieces, about 1-2 inches thick.
- Your Delightful Creation Awaits: Serve immediately on a vibrant platter for best texture and flavor.
Leave a Reply